HOW TO SET UP AIDE – ADVANCED INTRUSION DETECTION ENVIRONMENT
HOW TO SET UP AIDE – ADVANCED INTRUSION DETECTION ENVIRONMENT
Date Posted: 13/03/2019
Introduction
Aide also called as Advanced Intrusion Detection Environment is an open source host based file and directory integrity checker.
It is very usefull when someone placing a backdoor on your web site and make changes that may take your system down completely.
Functionality
Aide creates a database from your filesystem and stores various file attributes like permissions, inode number, user, group, file size, mtime and ctime, atime, growing size, number of links and link name.
When someone make changes in filesystem, then Aide compare the database against the real status of the system and report it to server administrator.

In this tutorial, we will go through step by step instruction of how to install and use AIDE on centos -7 ambience.
Method 1
1. Install AIDE
# yum install aidePress y on the terminal to proceed with the installation.
2. Check Version.
Therefore the installation comletes successfully.
After that, verify the aide version using below command.
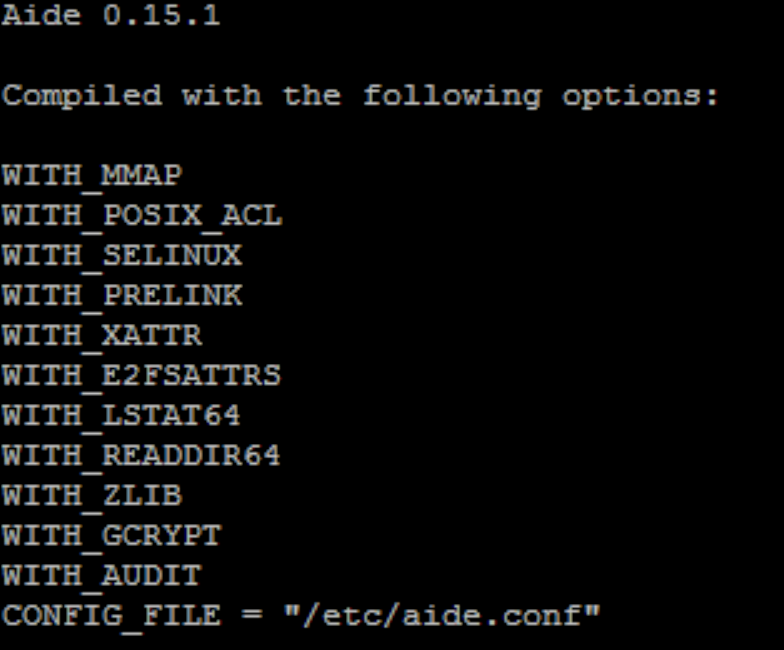
# aide -vThe output will show the version like below reference snapshot
3. Generate a aide database.
You can use the default files as provided in the config file using /etc/aide.conf
Once changes to aide.conf file have been finalised. However, generate the database, using following command
# aide — initFor instance, the database has been successfully created, you can see a message on the console as shown below-

The database is created in location /var/lib/aide/aide.db.new.gz.
4. Move the database
The database must be moved to location of/var/lib/aide/aide.db.gz .
#mv /var/lib/aide/aide.db.new.gz /var/lib/aide/aide.db.gz5. you can issue the check command
This will take some time to execute.
# aide–checkSimilarly, if all the files gets match, then you will see the following message on the console:

Method 2
Single-line command to perform all of the above steps:
yum install aide -y && /usr/sbin/aide –init && cp /var/lib/aide/aide.db.new.gz /var/lib/aide/aide.db.gz && /usr/sbin/aide –cIn addition, schedule cron activity.
echo “05 5 * * * root /usr/sbin/aide –check” >> /etc/crontabThat’s it. Thanks for using Pheonix solutions.