How to use checkbox and radio buttons
How to use checkbox and radio buttons
Date : 05/06/2019
step 1 : check box
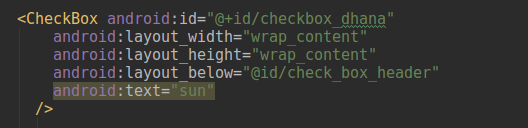
Check boxes allow the user to select one or more options from a set. Typically, you should present each checkbox option in a vertical list.

The implementation part is simple that you need to mention check-box in your XML file. You can set onclick attribute to the boxes. Make sure that the method you mentioned are public , void, View as the only parameter. The one of the check boxes mentioned above is here.
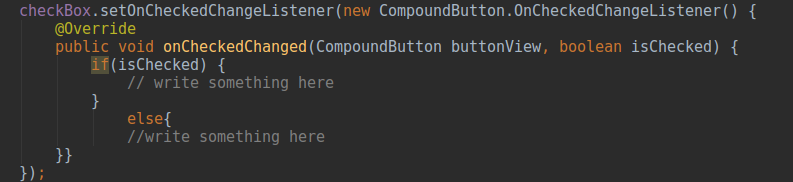
On user click events, we can do something we want by setting up a listener.
Step 2 : radio button
Radio buttons allow the user to select one option from a set. You should use radio buttons for optional sets that are mutually exclusive if you think that the user needs to see all available options side-by-side. If it’s not necessary to show all options side-by-side, use a spinner instead. It will look like this.

Option can be set to horizontal or vertical in the RadioGroup. We have to set the radio buttons inside a RadioGroup. And can set one of the button by default as clicked.

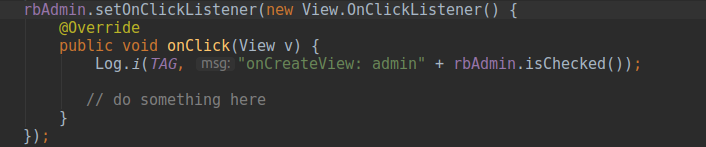
Every feature in android have feature to respond upon user actions. So we can find which button being clicked by invoking isChecked() method on the button.
You can also setup listener to absorb at run-time.
Thank you using pheonixsolutions.
If you find it useful, share it to keep alive.