Install and configure Nessus in centos 7
Install and configure Nessus in centos 7
Date posted: 28/06/2019
Introduction
In this blog post, we will explain how to install Nessus on CentOS 7. Nessus is one of the most popular vulnerability scanner in the market.
Moreover, it provides Nessus Home allowing you to scan your personal network with up to 14 IP adresses per scanner. On the other hand this is perfect for your home lab.
APPLY FOR HOME KEY:
In order to use Nessus Home, you have to apply for a Nessus Home Key under the following link:
https://www.tenable.com/products/nessus-home
Applying for a Nessus Home Key, you will receive an Email with an activation code, which is used later in this blog post.
After that, you can download Nessus under the following link:
https://www.tenable.com/downloads/nessus
Command line to Install Nessus
Open a terminal and use the following linux command to install Nessus:
rpm -ivh Nessus--es7.x86_64.rpm
In order to access the default port 8834 of Nessus, a new firewall rule in CentOS is necessary:
firewall-cmd --add-port=8834/tcp --permanent
firewall-cmd --reload
Now, we are ready to start Nessus:
systemctl start nessusd
Connect to the scanner using your browser with the following url:
https://[ip or hostname]:8834
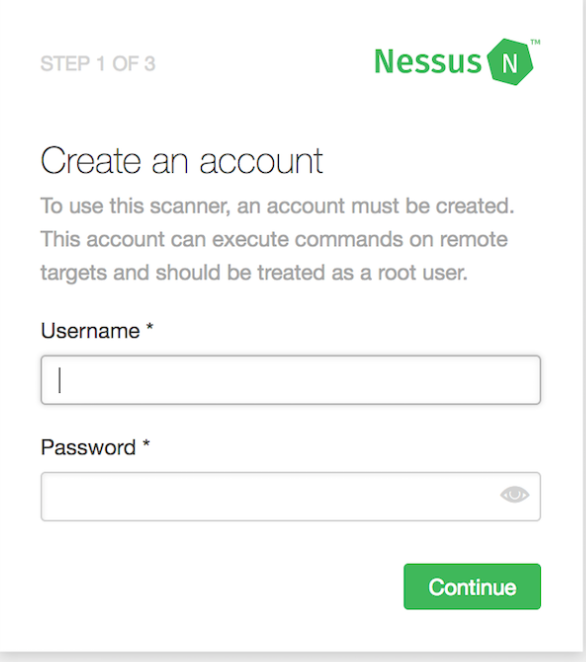
In the first step of the configuration, you have to create an account:
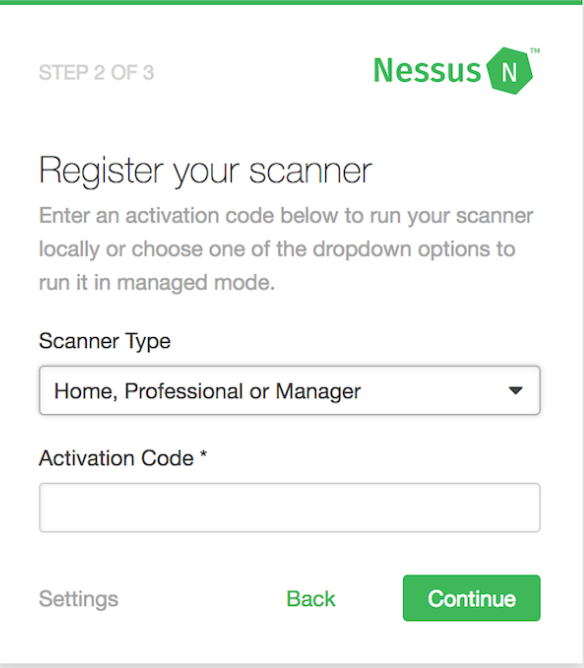
In the second step of the configuration, you have to register your scanner with the activation code, which you received by E-Mail:
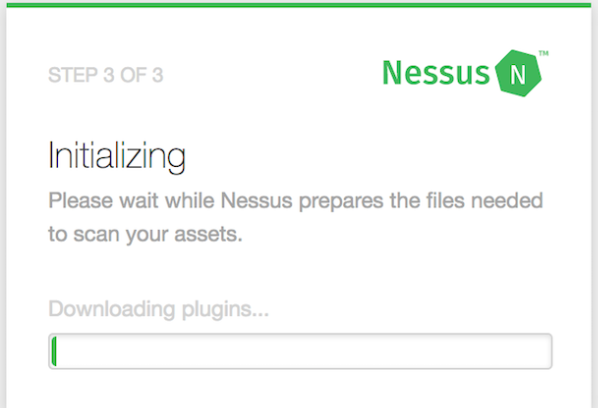
Afterwards, Nessus is initializing. This can take some time.
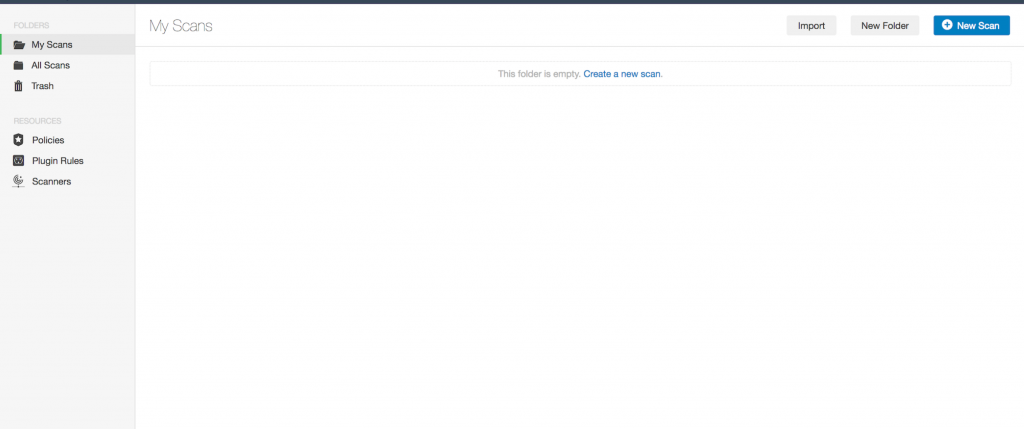
However when the initializing phase is finished, you can start to scan your network
Thank you for reading this article. we hope this blog post helped you to setup your Nessus vulnerability scanner.
Thanks for using pheonix solutions.
You find this tutorial helpful? Share with your friends to keep it alive.