Introduction:
DomainKeys Identified Mail (DKIM) is an email authentication method that helps protect your domain from being used for email spoofing. By enabling DKIM in cPanel, your outgoing emails will be digitally signed, which improves email deliverability and trustworthiness.
Prerequisites:
- Access to your cPanel account
- Access to your domain’s DNS zone editor (if DNS is hosted outside cPanel)
Steps to Add a DKIM Record in cPanel:
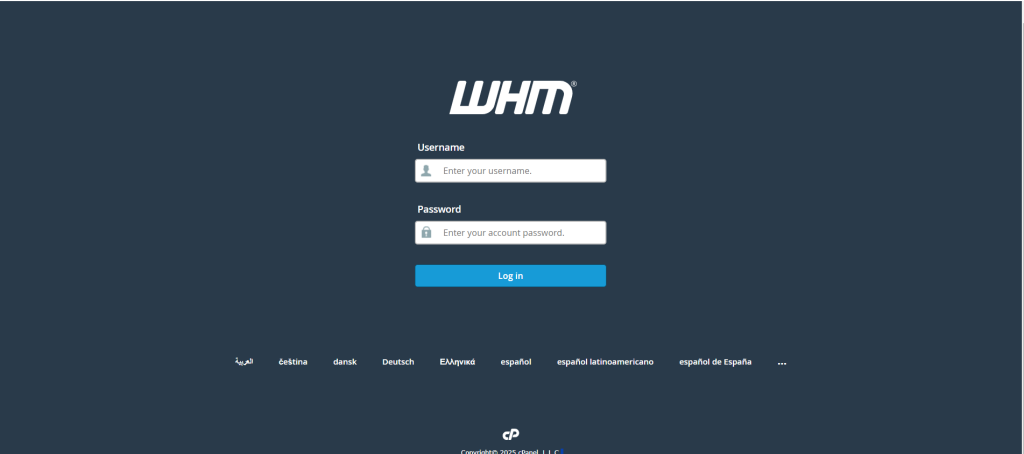
- Open your browser and go to:
https://yourdomain.com:2083
- Enter your cPanel username and password
Step 1 – Enable DKIM record from cPanel
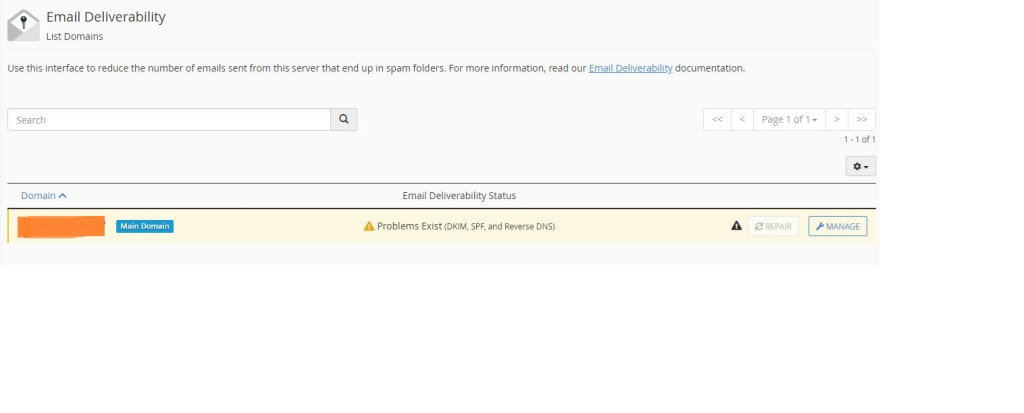
Log into cPanel and click “Email Deliverability” under the “Email” section.

Step 2:
You will be redirected to a page with a list of domains and their respective deliverability status. Click on the “Manage” button displayed for the domain you wish to add/modify the DKIM record.
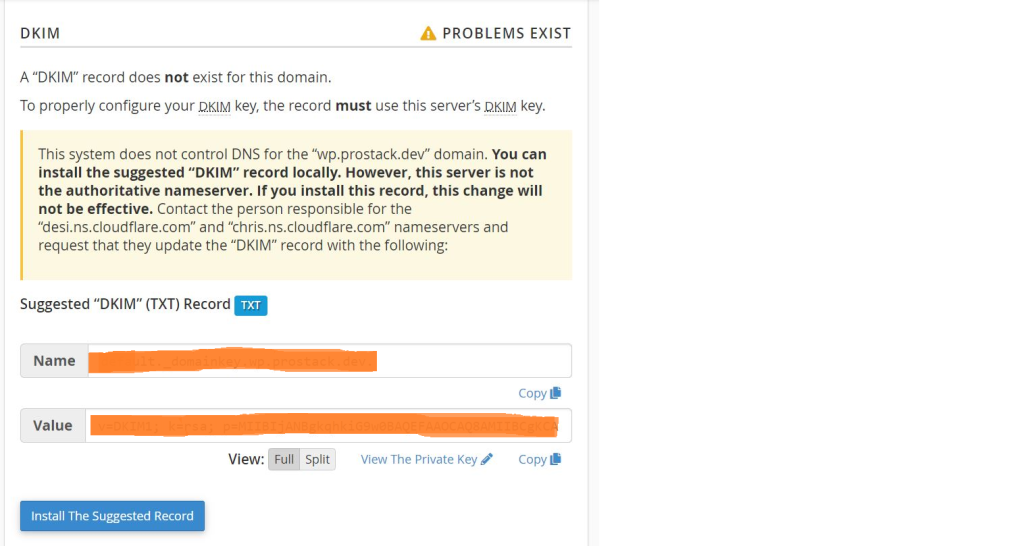
Step 3:
Scroll down to “DKIM” section. There, you will find boxes that are mentioned as Name and Value, which will be automatically generated by the cPanel server. The Name section will have the “selector.domain_name.com” mentioned and the “Value” section will have the DKIM record for the server.
Both these sections can be used to edit the DKIM that’s generated. When done, click on “Install the Suggested Record”.
Step 4:
You are all done here! The DKIM record is now added to your domain’s DNS. You can verify the added record [here].
Conclusion
By adding a DKIM record in cPanel, you ensure that outgoing emails from your domain are authenticated and trusted by receiving mail servers. This reduces the risk of your emails being marked as spam and protects your brand reputation.
For best results, always configure SPF, DKIM, and DMARC together to achieve maximum email deliverability and security.