Introduction
NGINX is a high-performance, open-source web server renowned for its speed, efficiency, and scalability. When integrated with cPanel & WHM, NGINX can function as a reverse proxy, caching server, and load balancer, significantly enhancing website performance by serving content faster and reducing server load. WHM’s NGINX Manager provides a user-friendly interface to install, configure, and manage NGINX with reverse proxy capabilities. This blog will guide you through the prerequisites and step-by-step process to configure NGINX reverse proxy in WHM, empowering you to optimize your web server for better performance and security.
Prerequisites:
WHM login with root credentials.
Step 1: Using the destination server URL login to the WHMaccount.
In the WHM dashboard, go to Home » Software » NGINX Manager. If NGINX is not installed, the interface will display an option to install it. If already installed, it will open the System Settings tab.
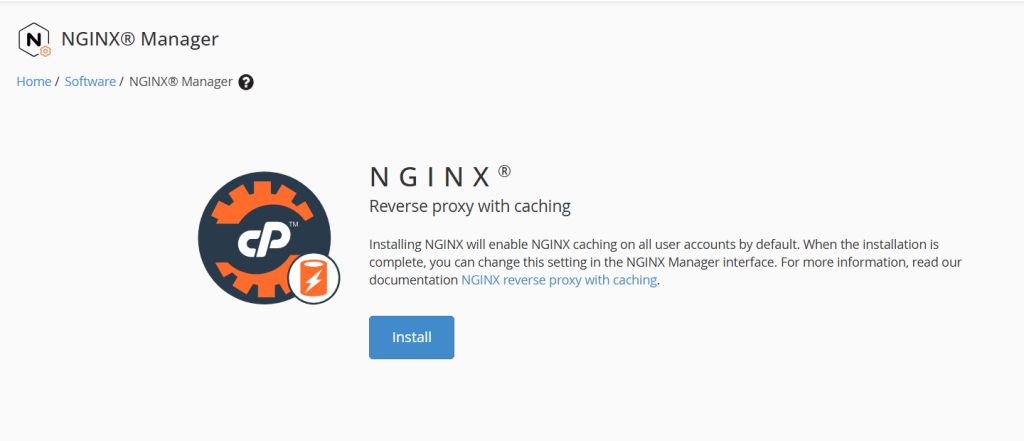
Step 2: Install NGINX with Reverse Proxy
If NGINX is not installed, click the Install button in the NGINX Manager interface. This initiates the installation of the ea-nginx package, the production version of NGINX with reverse proxy and caching.
- If the experimental ea-nginx-standalone package is detected, you’ll be prompted to switch to NGINX Reverse Proxy Mode. Click Switch to NGINX Reverse Proxy Mode to proceed.
- The installation process will:
- Install NGINX and configure it to use ports 80 and 443.
- Reassign Apache to alternate ports (e.g., 81 for non-SSL, 444 for SSL) if using default ports (80, 443).
- Enable caching by default for all cPanel accounts.
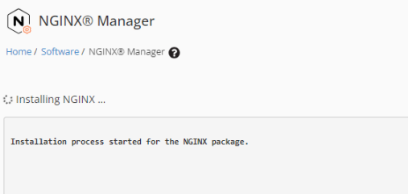
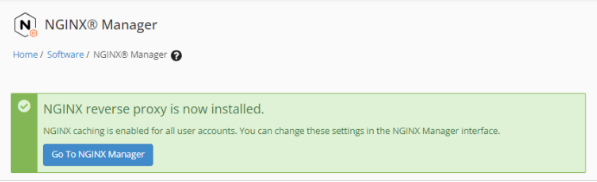
Monitor the progress log displayed during installation. Once complete, click Go to NGINX Manager to access the configuration settings.