Introduction:
Managing PHP versions is important to ensure compatibility with different applications and websites. WHM provides an easy way to manage and assign PHP versions to your cPanel accounts using EasyApache 4 and the MultiPHP Manager.
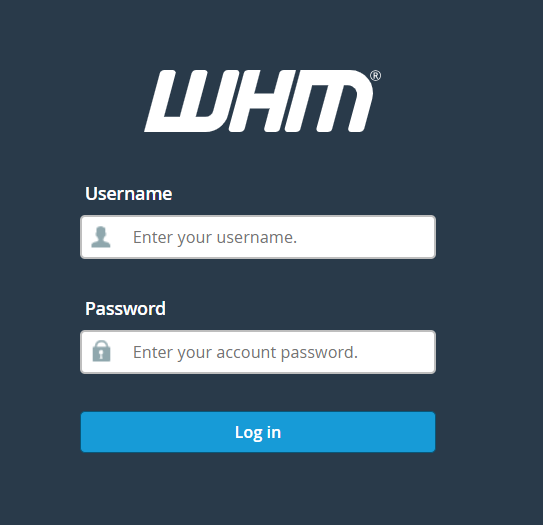
Step 1: Log in to WHM
- Open your browser and go to your WHM login URL (e.g.,
https://yourserverIP:2087). - Enter your root/WHM credentials.
Step 2: Verify Installed PHP Versions
- In the WHM search bar, type EasyApache 4.
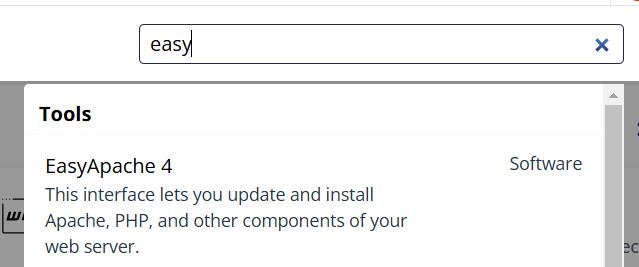
- Open EasyApache 4.
- Here you can:
- View currently installed PHP versions.
- Install additional versions if required by clicking Customize > PHP Versions.
- Once installed, WHM will automatically make them available in MultiPHP Manager.
Step 3: Set PHP Versions for Domains
- In the WHM search bar, type MultiPHP Manager.
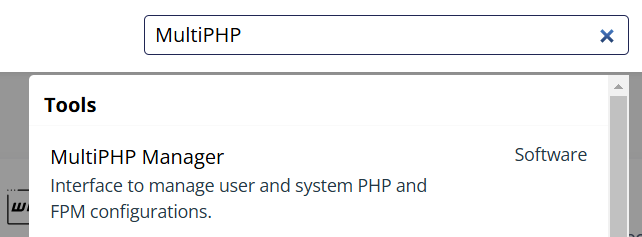
- Open MultiPHP Manager.
- You will see a list of domains and their current PHP versions.
- To change a PHP version:
- Select the domain(s).
- Choose the desired PHP version from the PHP Version dropdown.
- Click Apply.
Step 5: Verify the Change
- Log in to the cPanel account for the domain.
- Use phpinfo() or check via the cPanel → MultiPHP Manager to confirm the active PHP version.
Conclusion:
Managing PHP versions in WHM is simple with EasyApache 4 and the MultiPHP Manager. By assigning the correct PHP version to each cPanel account, you can ensure compatibility, improve performance, and maintain security across your hosted websites. Regularly updating to supported PHP versions will also help protect your server from vulnerabilities.