Introduction
JetBackup provides detailed logs for backup and restoration tasks, making it easier to troubleshoot failures. If a restoration process fails, reviewing the corresponding log file can help identify the root cause and guide further troubleshooting.
Prerequisites
Before proceeding, ensure that you have:
- Root access to the WHM server.
- JetBackup installed and configured on the server.
- A failed restoration task available in the JetBackup logs.
Procedure
Step1. Login to WHM as the root user
Step2. Navigate to: Home »Plugins »JetBackup
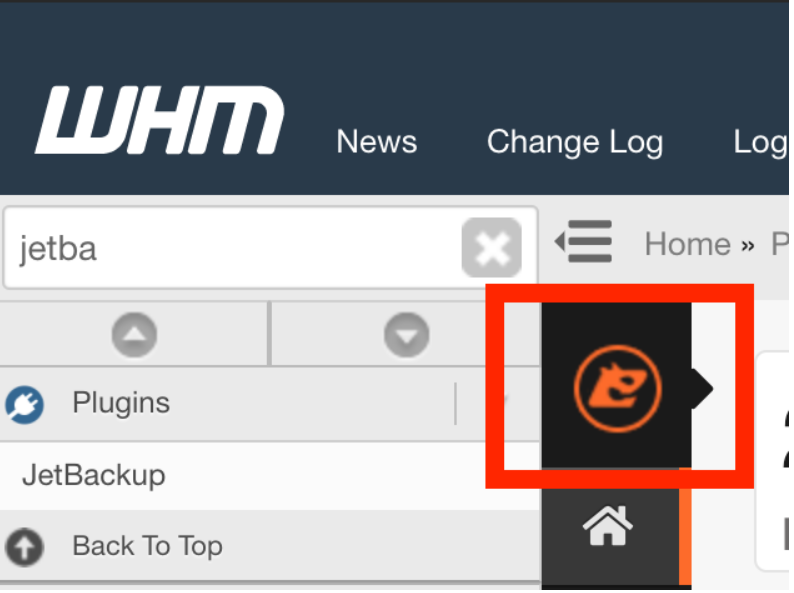
Step3. Click on the JetBackup icon in the upper left area to expand the side menu:
Step4. In the left sidebar, click on the Logs menu item
Step5. Locate the failed restoration from the table, and click on it to expand further options
Step6. Click “View Log File”
Step7. Review the log for further details about why the restoration failed.
Conclusion
We have successfully accessed and reviewed the JetBackup restoration logs. Analyzing the log details can help determine the cause of restoration failures and assist in resolving the issue efficiently.