Introduction
Keeping your Plesk updated ensures better security, performance, and access to the latest features. This guide explains how to upgrade the Plesk version and handle common errors during the process.
Prerequisites
- Access to Plesk as an administrator
- SSH access to the server (root user)
- Stable internet connection
- Full server backup before proceeding
Implementation
Step 1:
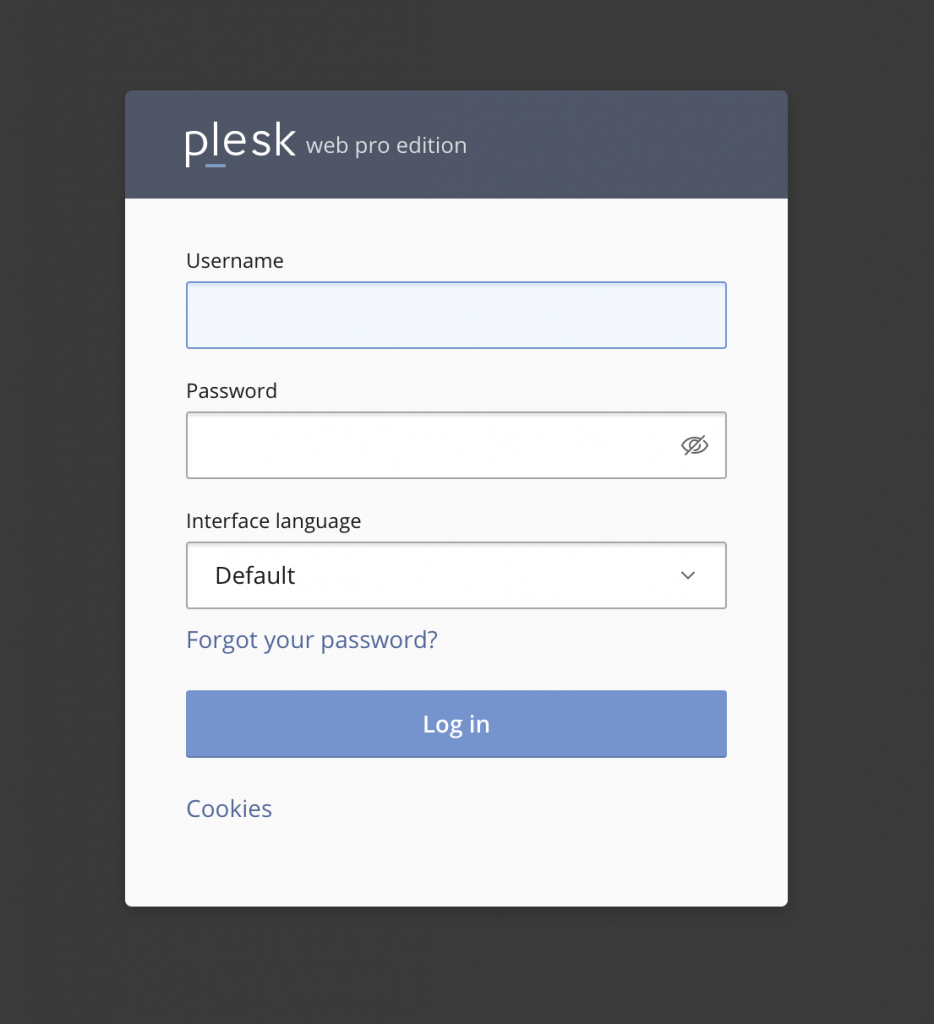
Log in to your Plesk Control Panel.
Step 2:
Navigate to Updates
- From the left menu, click Tools & Settings
- Select Updates and Upgrades

Step 3:
Choose Upgrade Option
A new window/tab will open
Click:
1. Install or Upgrade Product → to upgrade the Plesk version
2. Update Components → to update only components

Step 4:
Backup & Proceed
- Ensure you have a full server backup
- Click “Continue” to start the upgrade

Step 5:
Backup & Proceed
- Ensure you have a full server backup
- Click “Continue” to start the upgrade
Step 6:
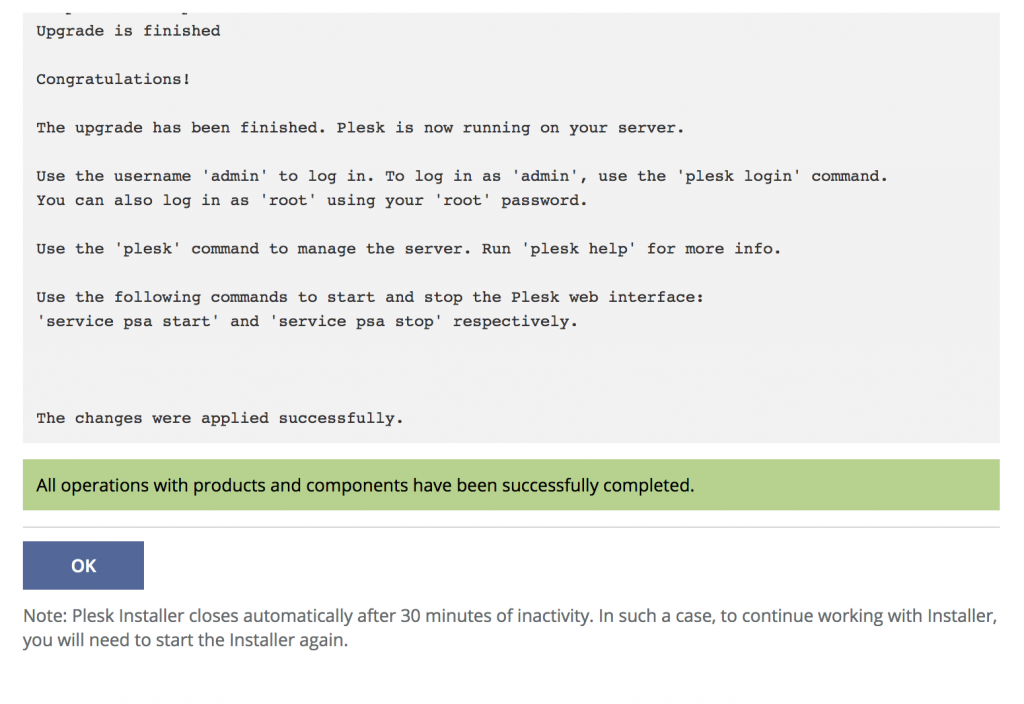
Handle Upgrade Errors
1. If you encounter errors during the upgrade, proceed with manual fixes.

Step 7:
Fix via SSH
Connect to your server using SSH:
ssh root@your_server_ip -p port_number
Run the following commands:
yum clean all
yum update
rpm -Uvh http://mirror.centos.org/centos-7/7/os/x86_64/Packages/ImageMagick-6.9.10.68 3.el7.x86_64.rpm –nodeps
yum update -y
Conclusion
Updating Plesk is a straightforward process through the UI. In case of errors, resolving dependencies via SSH ensures a smooth upgrade. Regular updates help maintain server stability and security.