Introduction
Apache (also known as httpd) is one of the most widely used web servers globally. In a cPanel/WHM-managed server environment, ensuring that Apache is running smoothly is essential for website uptime and reliability. WHM’s Service Manager allows system administrators to monitor and manage critical services like Apache with ease.
Prerequisites
- Root access to WHM
- WHM/cPanel is already installed on the server.
- Apache is installed and running on your server
Implementation
Step 1: Log in to WHM
URL: https://your-server-ip:2087
Enter your root username and password
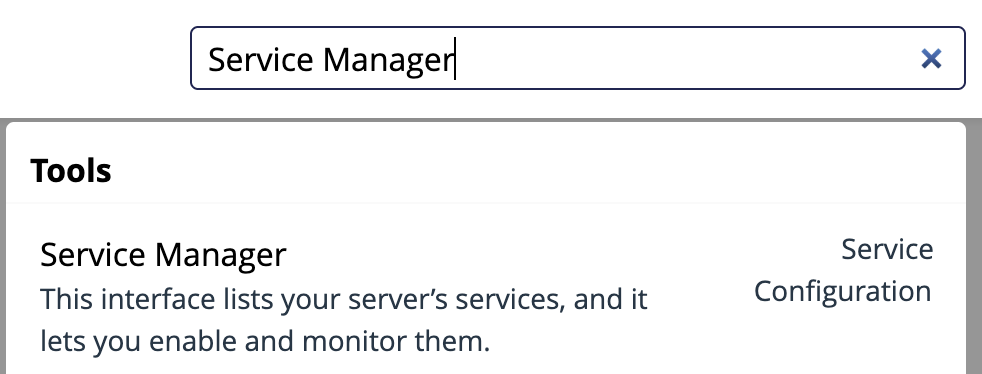
Step 2. Navigate to Service Manager
In WHM’s left sidebar, search for “Service Manager”.Alternatively, navigate Home » Service Configuration » Service Manager
Step 3: Locate and Enable Monitoring for Apache Service
(i) Search for the service named “Apache Web Server”.
(ii) There are two main options in each service:
a. Monitor: Tells WHM to monitor this service and restart it automatically if it fails.
b. Enabled: Ensures the service is started when the server boots.
(iii) To monitor Apache:
Check both the boxes for “Enabled” and “Monitor” next to httpd / Apache.
This ensures:
WHM will automatically restart Apache if it crashes or stops unexpectedly
Apache will start on boot
Step 4: Save the changes
Scroll to the bottom of the Service Manager page and click the “Save” button.
Once saved, WHM will begin monitoring Apache through its internal monitoring system (usually chkservd)

Conclusion
Monitoring Apache via WHM Service Manager is a simple yet powerful way to ensure that your web server remains operational at all times. By enabling the “Monitor” and “Enabled” options in WHM, server administrators can automate Apache recovery in the event of a failure, reducing downtime and improving reliability