- In WHM search bar type “addon” , you will see “convert addon domain to account”. Click on it.

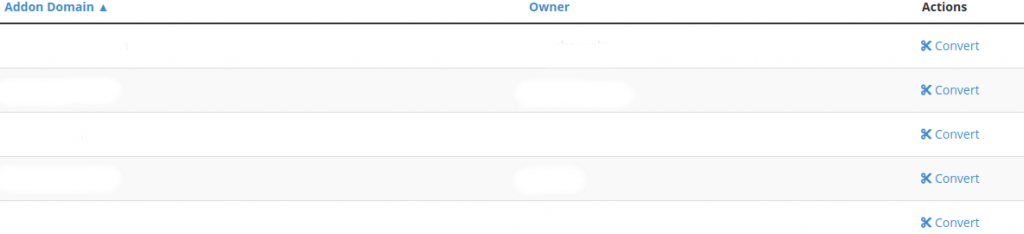
2. You will see the list of addon domain and aslo you will see the option “convert” beside these domains. Select the addon domain and click on “convert”.
3. It willl ask for username, contact email, package, etc.. Fill and proceed.
4. Website configuration- Configure and continue.

4) Configure the custom DNS records, Email, Mysql, Subaccounts and click on start conversion.

5) Conversion will start and it will be successfully converted to account.