Introduction
An Email Forwarder allows you to automatically send incoming emails from one email address to another. This is useful when you want to manage multiple email accounts from a single inbox, ensure important emails are never missed, or redirect messages to another user or department. Most hosting control panels, such as cPanel Webmail, provide an easy way to configure email forwarding without requiring advanced technical knowledge.
Prerequisites
Before creating an email forwarder, ensure that the following requirements are met:
- You have a valid email account created in your hosting account.
- You have access to Webmail or the hosting control panel (such as cPanel).
- You know the destination email address where the emails will be forwarded.
- The destination email address is active and capable of receiving emails.
- You have the necessary permissions to manage the email account.
IMPLEMENTATION
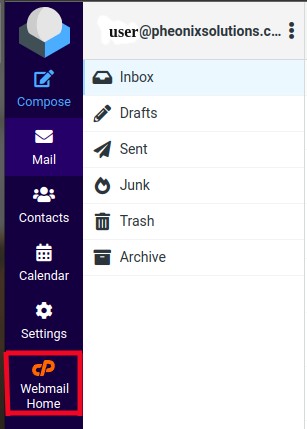
Step 1: Log in to the Webmail.

Step 2: Then click the Webmail Home, as marked in the snapshot below.
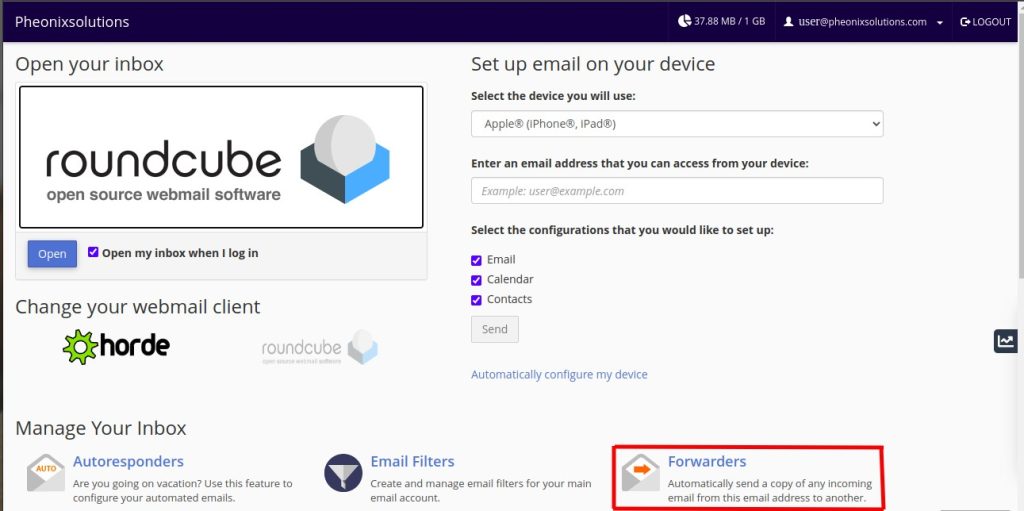
Step 3: You will get the Webmail Home page as below, click on the Forwarders.
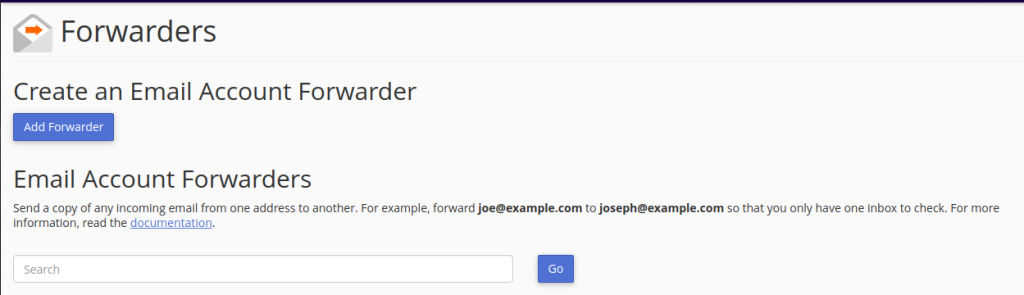
Step 4: Now we get the screen to add Forwarders, click on Add Forwarder.
Step 5: Fill in the required Email ID in the box and click on Add Forwarder.
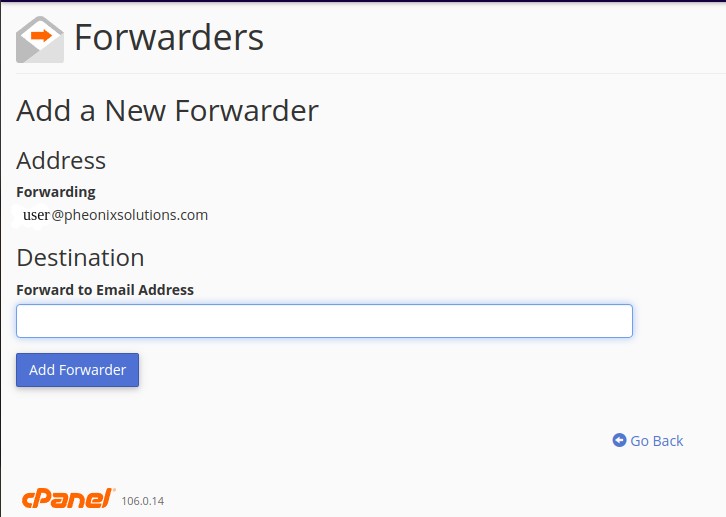
Now the email is added in Forwarder.
Conclusion
Creating an email forwarder in Webmail is a simple and effective way to automatically redirect incoming emails to another email address. It helps centralize email management, improves accessibility, and ensures that important messages are received even when multiple email accounts are in use. After configuring the forwarder, it is recommended to send a test email to confirm that emails are being forwarded successfully.