Introduction
Data backup means creating a copy of the data on the system that is used for recovery in case your original data is lost or corrupted. We can also use backup to recover copies of older files if it is deleted from the system
Prerequisite
- WHM root credentials
Implementation
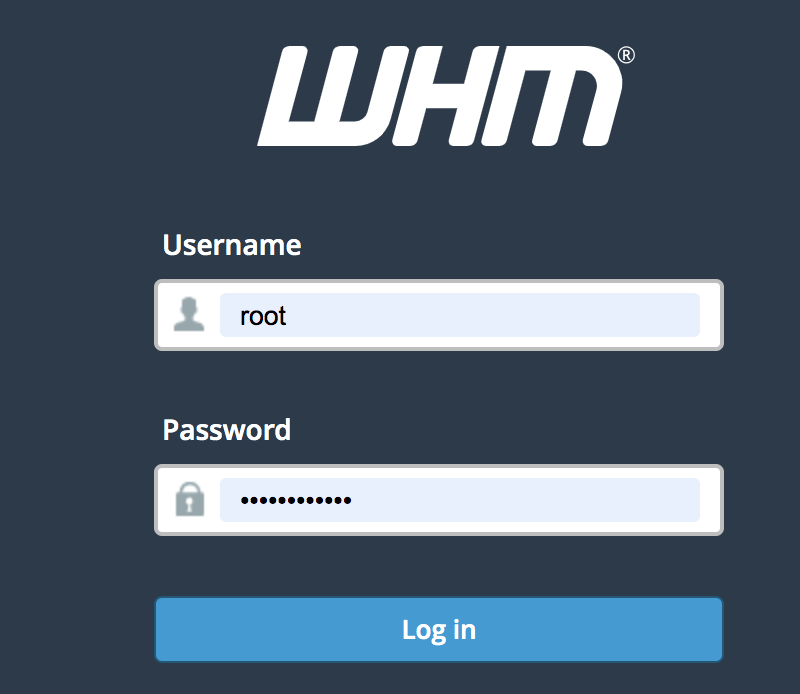
Step 1: Log in to the WHM
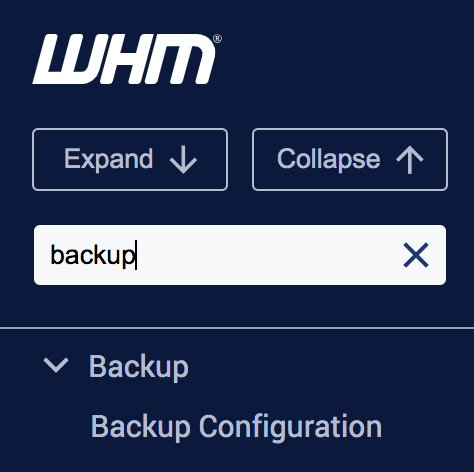
Step 2: Select “Backup Configuration” under the Backup section from the main menu
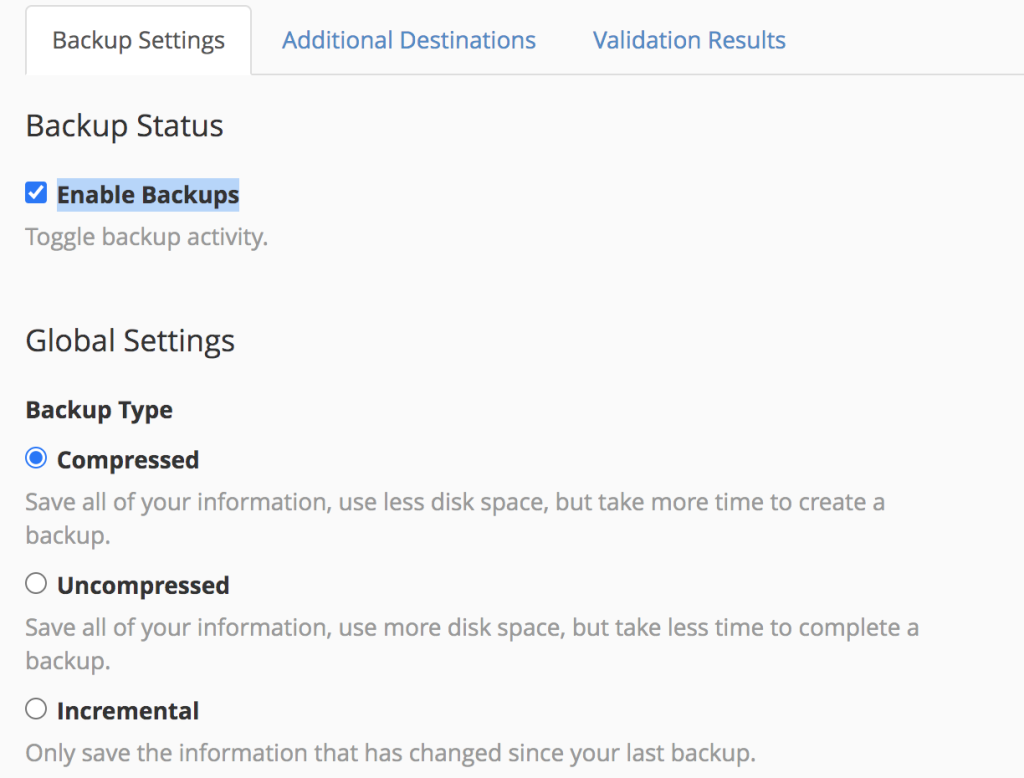
Step 3: Enable the check box “Enable Backups” and select any one of the three options
Step 4: Enable the “Check the Available Disk Space” option and mention the percentage of disks that should be available before running the backup

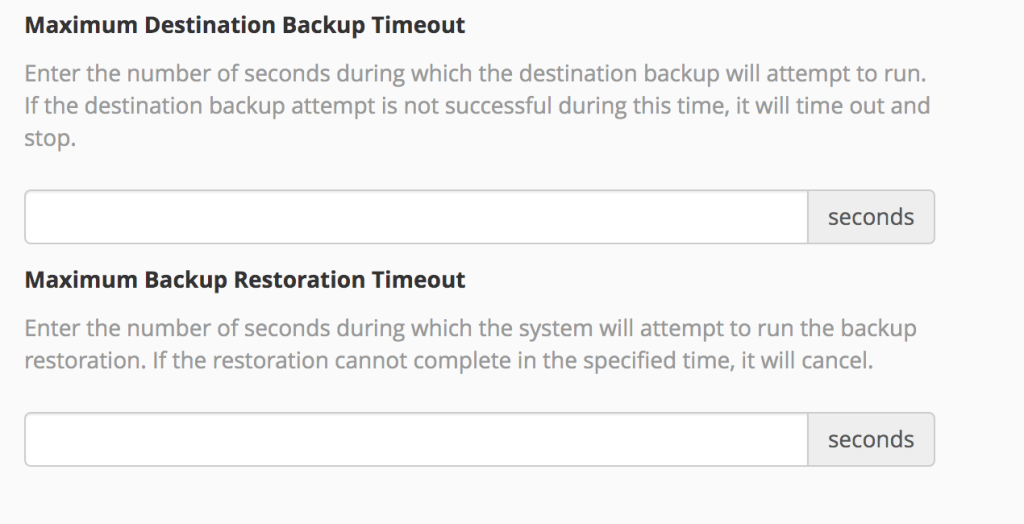
Step 5: Set the “Maximum Destination Backup Timeout and Maximum Backup Restoration Timeout”
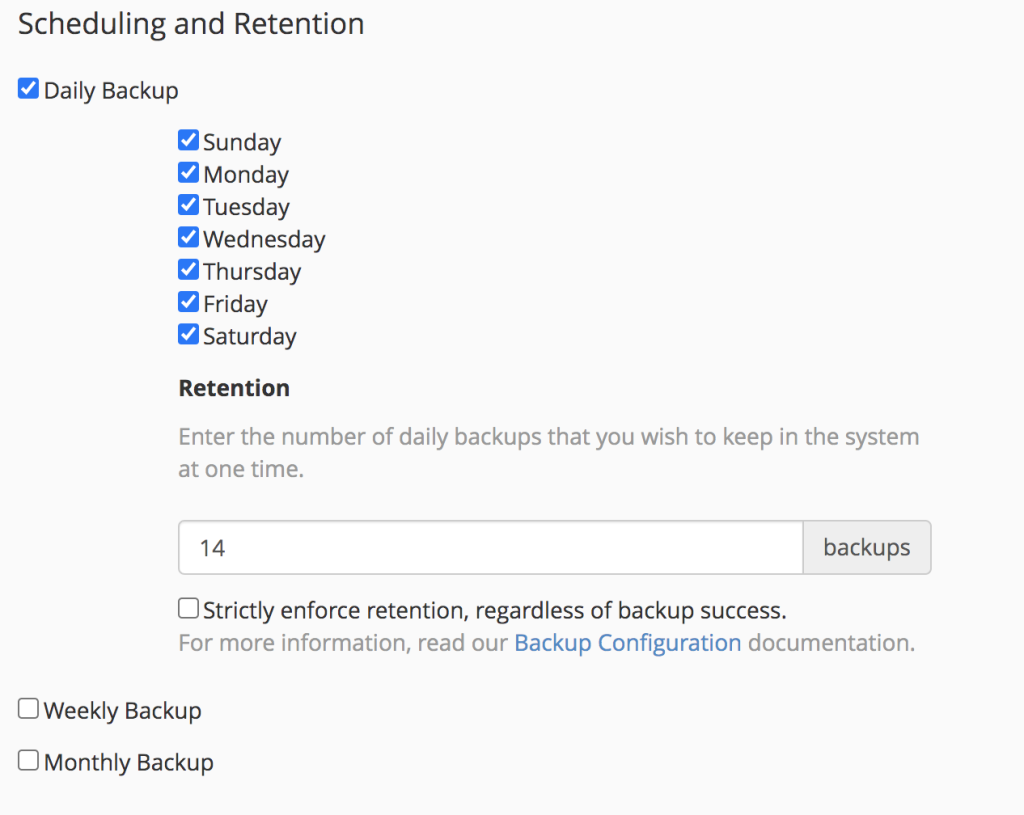
Step 6: Based on the requirement select the daily, weekly, and monthly backup with the number of retentions
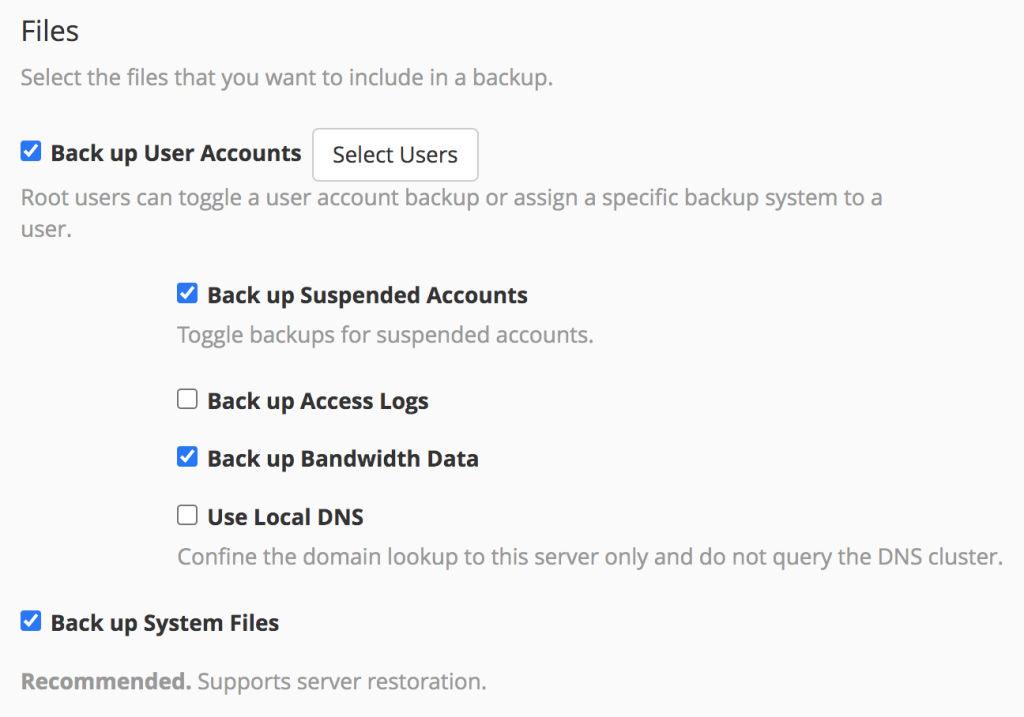
Step 7: Enable the Backup User Accounts, Backup Suspended Accounts, Backup Bandwidth Data and Backup System Files
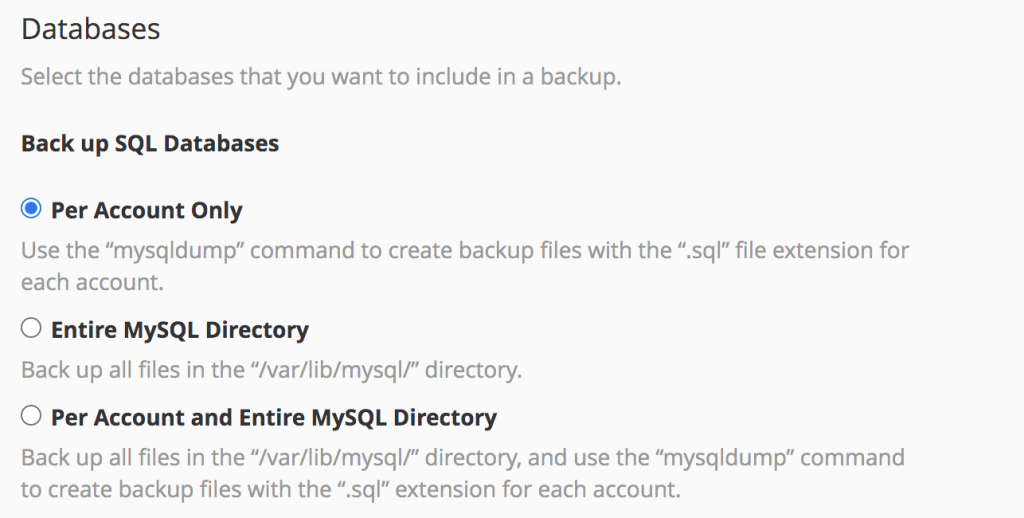
Step 8: Select the required Database backup option
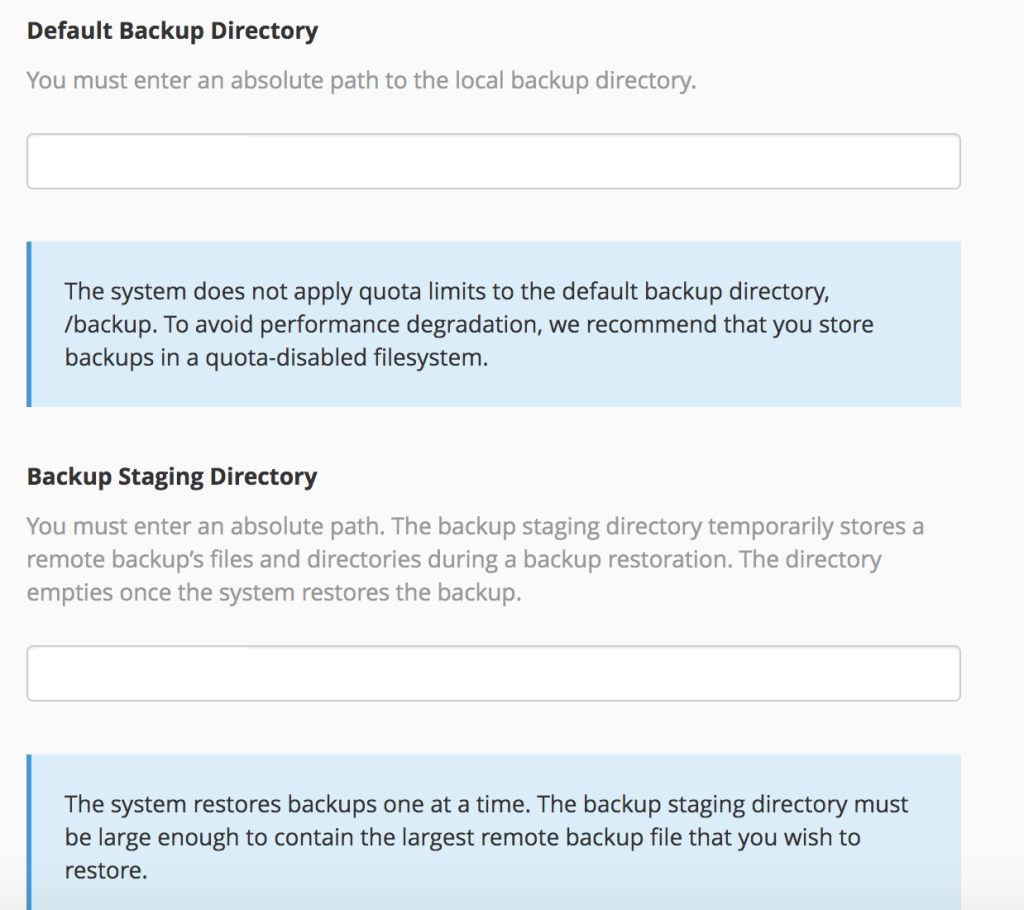
Step 9: Mention the “Default Backup Directory” and “Backup Staging Directory path”
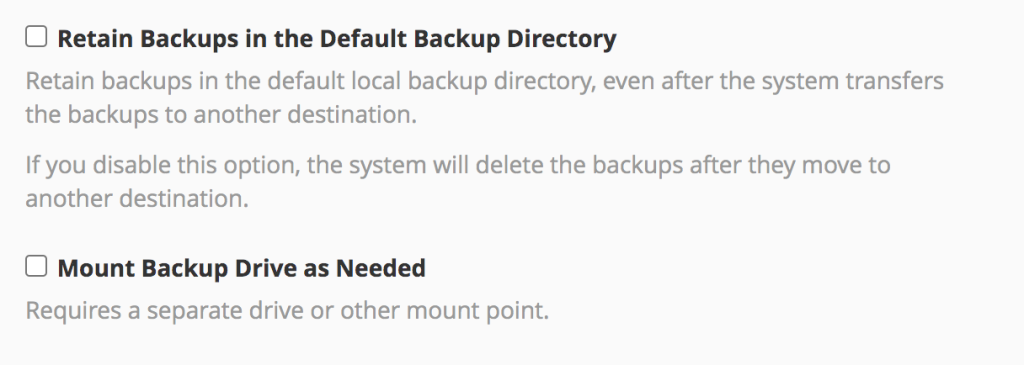
Step 10: Enable the “Retain backup in the Default Backup Directory” if the backup needs to be retained locally in the WHM server. Enable “Mount Backup Drive as Needed” if any additional volumes/ drives are attached to the server for the backup
Step 11: Click on “save configuration”

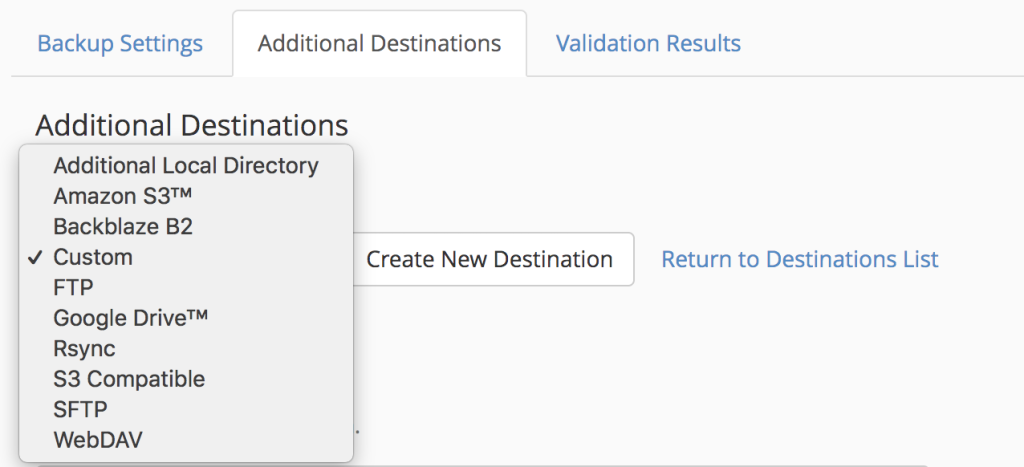
Step 12: The Additional Destinations section allows to set up a method for transferring the backup files via SFTP or other means. To perform this, select a Destination Type, click the “Create new destination” button, and provide the requested credentials in the form
