Introduction
Managing your website efficiently requires the right tools, and cPanel is one of the most popular control panels used by website owners worldwide. One important feature of cPanel is the ability to change your PHP version easily. PHP plays a crucial role in how your website functions, affecting speed, security, and compatibility with modern applications like WordPress and Laravel. Using an outdated PHP version can lead to performance issues and security risks, while the latest version can significantly improve your website’s overall performance. In this guide, you will learn how to change the PHP version in cPanel quickly and safely, even if you are a beginner.
Step 1: Login to cPanel
- Go to your hosting URL (e.g.,
yourdomain.com/cpanel) - Enter your username and password
- Click Log in
Step 2: Find “Select PHP Version” or “MultiPHP Manager”
Scroll to the Software section Click on:
- Select PHP Version (common in shared hosting) OR
- MultiPHP Manager (common in WHM/cPanel setups)
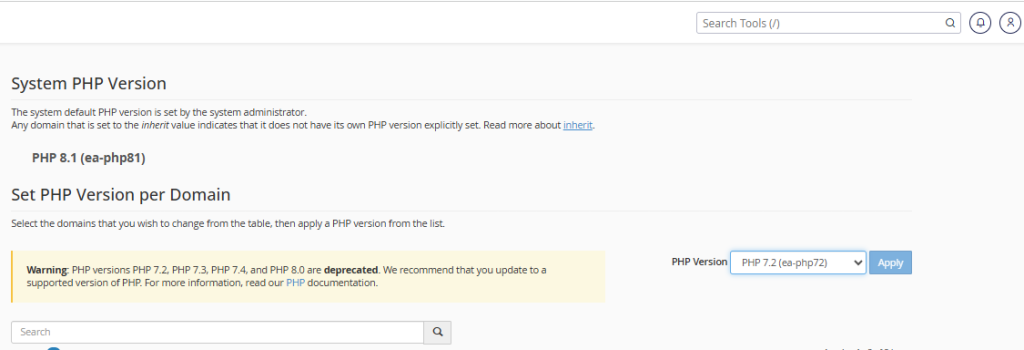
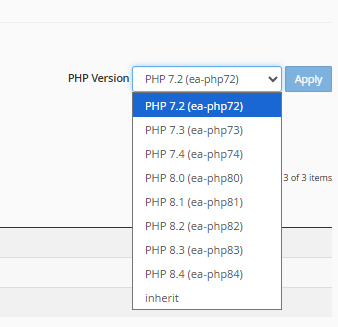
Step 3: Choose Your PHP Version
- You’ll see a dropdown with available PHP versions
- Select a version (e.g., PHP 8.1 or 8.2)
- Click Set as Current or Apply
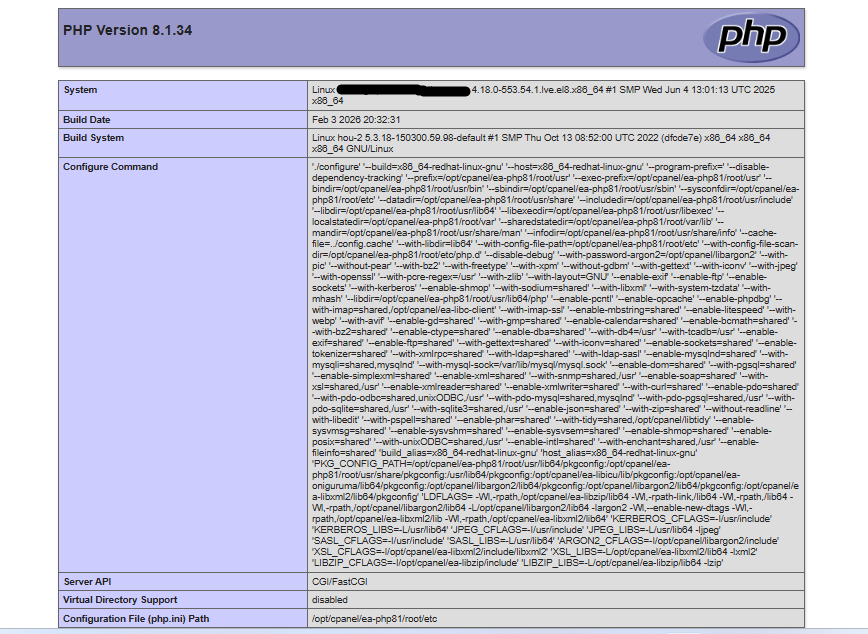
Step 4: Verify Your PHP Version
- Create a file named
phpinfo.php - Add this code:
<?php phpinfo(); ?>- Open it in your browser
- Confirm your new PHP version is active
Conclusion
Changing the PHP version in cPanel is a simple yet powerful way to enhance your website’s performance, security, and compatibility. By following the correct steps and choosing the right PHP version, you can ensure your website runs smoothly without errors. Always remember to test your site after making changes and keep backups to avoid any unexpected issues. With regular updates and proper management, cPanel makes it easy to keep your website optimised and up to date.