How to login to cPanel
Date posted: 03-Oct-2019
Introduction
Let us see how to login to cPanel account step by step.
To view and manage your user account, each user is provided with login credentials when hosting space is purchased from the hosting provider.
Step 1:
Load your cPanel website as <domain_name>:2083 (or) <domain_name>/cpanel for secured connection.
For example,
pheonixsolutions.com:2083 (or) pheonixsolutions.com/cpanel
Step 2:
Login page will be displayed as below.

Step 3:
Enter your user name and password and click on Log in
Step 4:
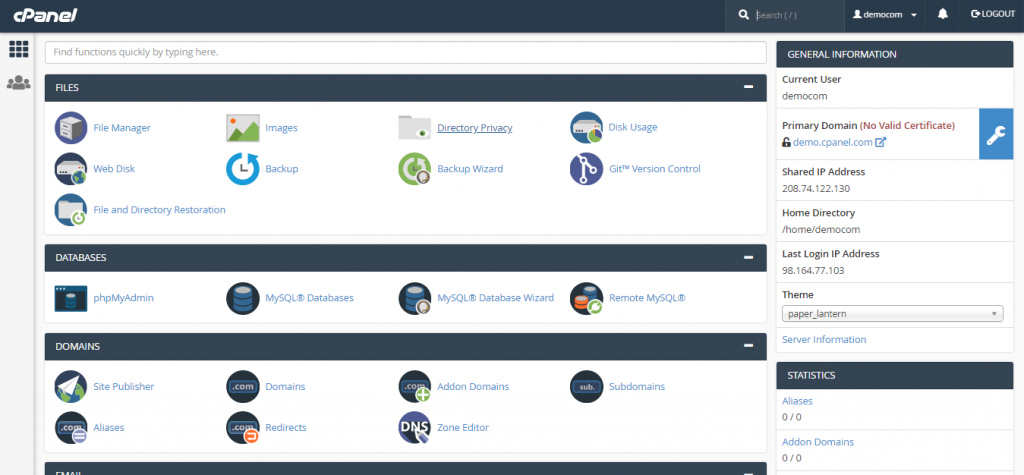
Home page will be loaded as below.

Now you have successfully logged into your cPanel account!
Changing cPanel account Password
On the first time logging into your cPanel account, the first step you have to do is to change your account’s password for security purpose.
Here, Let us see the steps to be followed to change your account password.
Step 1:
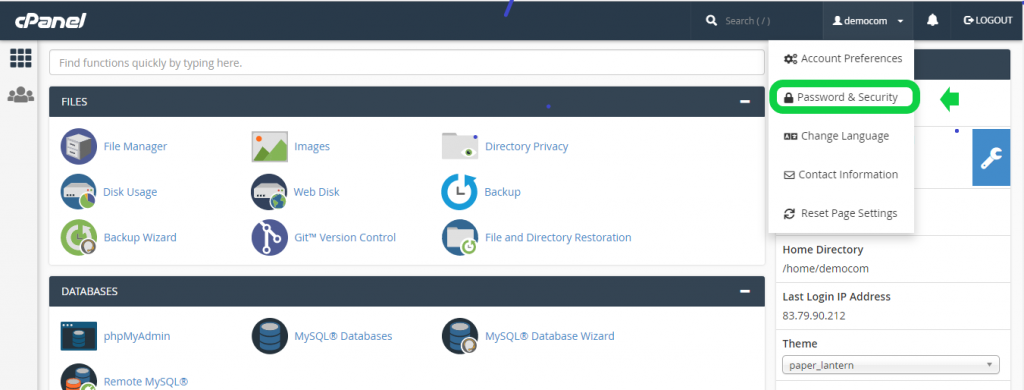
On the right top of the dashboard, your user account name will be displayed. On clicking your username,a drop down will be displayed.
Step 2:
Click Password & Security Option from the drop down.

Step 3:
Now a page will be displayed to change your password.

Step 4:
—> Enter your old password and then provide new password twice as it is required for confirmation. Else generate new password using Password Generator button. Make sure your password is strong.
—> Then click on Change your password now!
You will be automatically logged out now. Login again with your new password.
Perfect!!! You have successfully changed your account password now !!!