Introduction
When uploading large files to your website, you may encounter PHP upload size restrictions. This limitation is controlled by the upload_max_filesize directive in PHP configuration settings. By increasing this value in cPanel, you can allow larger file uploads for applications such as WordPress, Joomla, or custom PHP websites.
Follow the steps below to increase the upload_max_filesize limit using the MultiPHP INI Editor in cPanel.
Step 1: Log in to cPanel
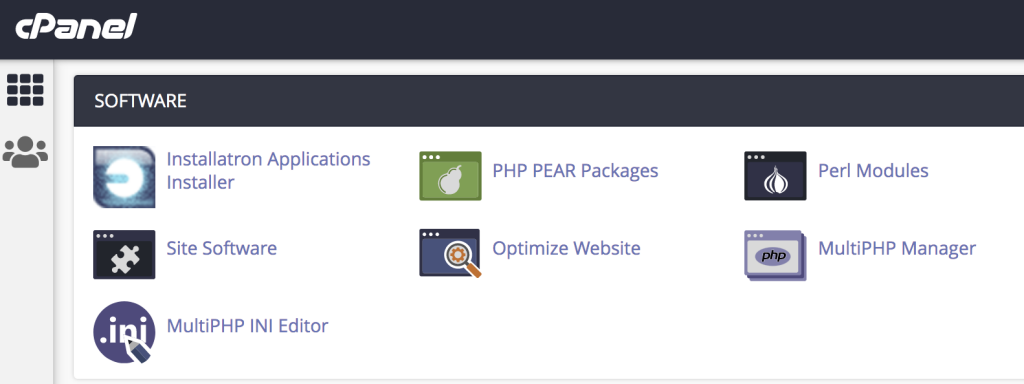
Log in to your cPanel account and navigate to the SOFTWARE section.
Click on MultiPHP INI Editor.
Step 2: Select Your Domain
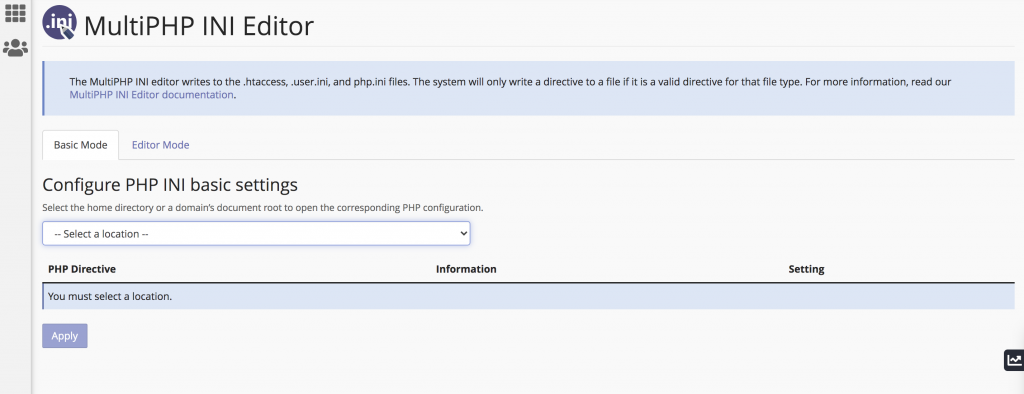
Under Configure PHP INI Basic Settings, choose the main domain or subdomain for which you want to modify the PHP settings.
You can use either:
- Basic Mode – Simple interface for common PHP settings
- Editor Mode – Advanced mode for manual configuration
Step 3: Modify upload_max_filesize
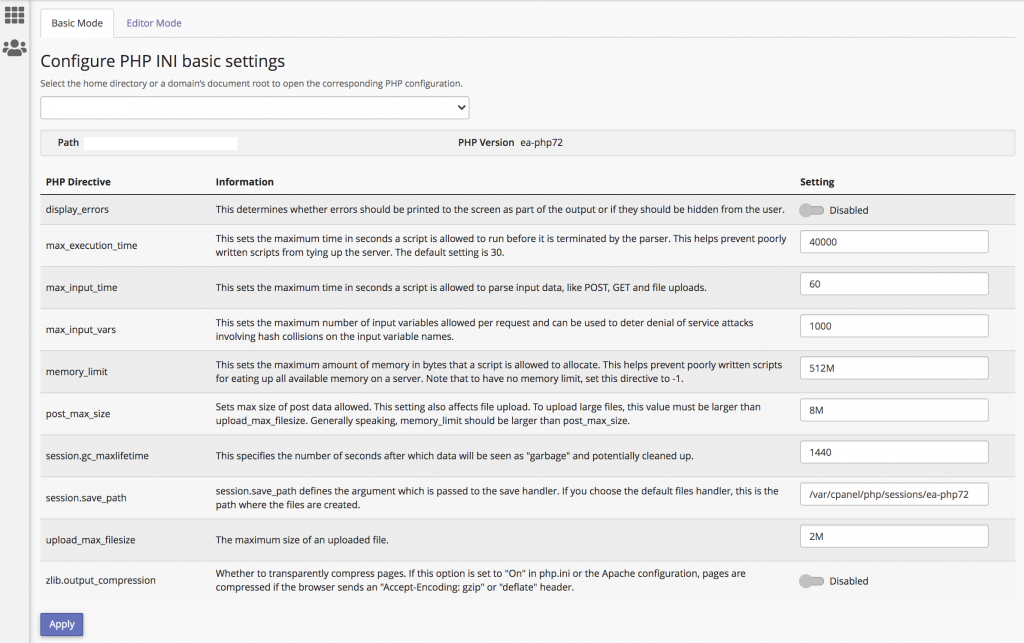
After selecting the domain, you will see the current PHP directives and their values.
Locate the following directive:
upload_max_filesizeIncrease the value to your preferred upload size (for example: 64M, 128M, or higher).
You may also want to increase:
post_max_size
memory_limit
max_execution_time
to ensure large file uploads work properly.
Important Note
The MultiPHP INI Editor may update the following files automatically:
.htaccess.user.iniphp.ini
You can also modify these files manually using the Terminal or File Manager in cPanel.
Conclusion
Increasing the upload_max_filesize limit in cPanel is a simple process that helps prevent upload errors when handling larger files. By adjusting the appropriate PHP settings through the MultiPHP INI Editor, you can ensure smoother file uploads and better website functionality. Always remember to save your changes and verify the new upload limit after updating the settings.