Introduction
Automating backups for your Amazon EC2 instances helps protect your data and ensures quick recovery in case of failures. Using AWS Data Lifecycle Manager, you can schedule and manage snapshot backups efficiently.
Prerequisites
- Active Amazon EC2 instance
- Access to AWS Management Console
- Proper IAM permissions
- Volumes attached to the instance
Implementation
Step 1:
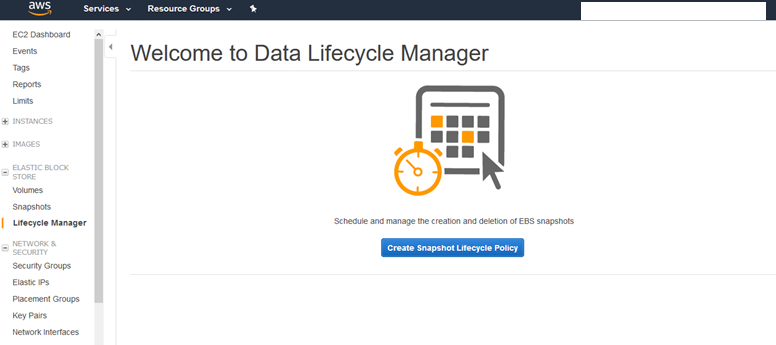
Open Lifecycle Manager
- Go to the Amazon EC2 console
- Navigate to Elastic Block Store → Lifecycle Manager
- Click Create snapshot lifecycle policy
Step 2:
Provide the following information for your policy as needed:
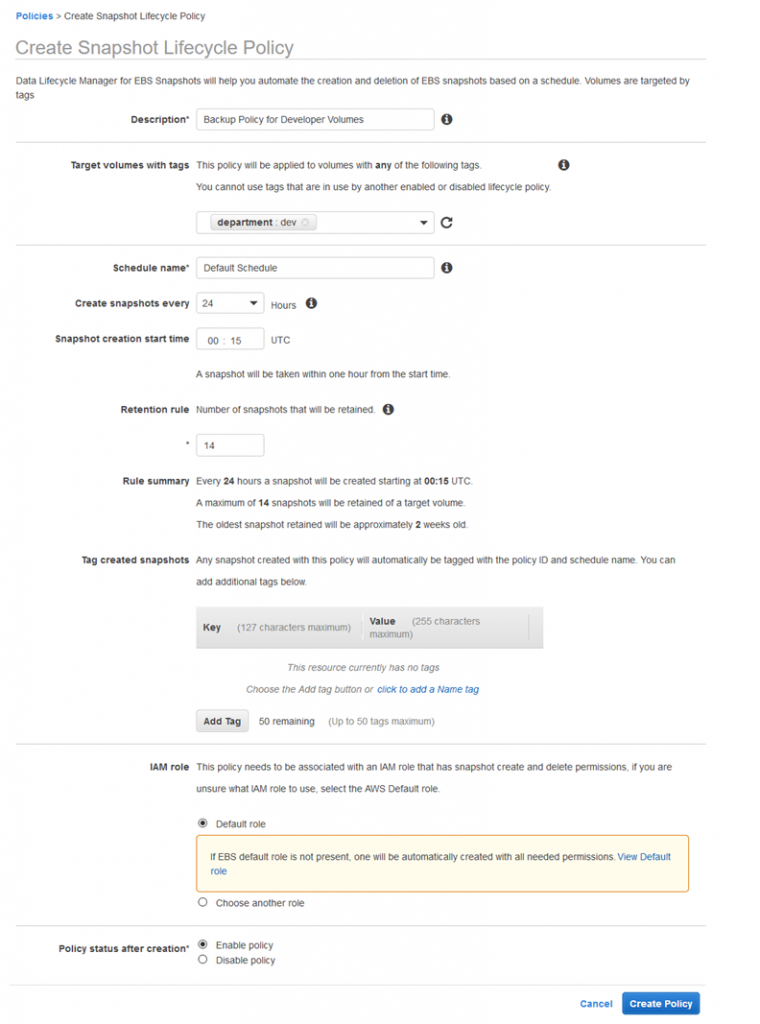
Description–A description of the policy. The policy name is Prod_blog_policy
Resource type–The type of resource to back up. Use VOLUME to create snapshots of individual volumes or use INSTANCE to create multi-volume snapshots from the volumes for an instance. I have selected an instance.
Target with these tags–The resource tags that identify the volumes or instances to back up. We have selected the Amazon EC2 instance.
Schedule name–A name for the schedule. We have created a name is 15 days.
Run policy every n Hours–The number of hours between policy runs. The supported values are 1, 2, 3, 4, 6, 8, 12, and 24. we choose 24.
Starting at hh: mm UTC–The time at which the policy runs are scheduled to start. The first policy run starts within an hour after the scheduled time.
Retain–You can retain snapshots based on either the total count of snapshots or the age of each snapshot. For retention based on the count, the range is 1 to 1000. After the maximum count is reached, the oldest snapshot is deleted when a new one is created. For age-based retention, the range is 1 day to 100 years. After the retention period of each snapshot expires, it is deleted. The retention period should be greater than or equal to the creation interval. We have selected the count and the given number is 15.
Cross-Region copy– Optionally, select Copy Tags from volume to copy all user-defined tags on a source volume to snapshots of the volume created by this policy.
IAM role–An IAM role that has permissions to create, delete, and describe snapshots, and to describe volumes. AWS provides a default role, AWSDataLifecycleManagerDefaultRole, or you can create a custom IAM role.
Policy status after creation–Choose Enable policy to start the policy runs at the next scheduled time or Disable policy to prevent the policy from running.
Step 3:
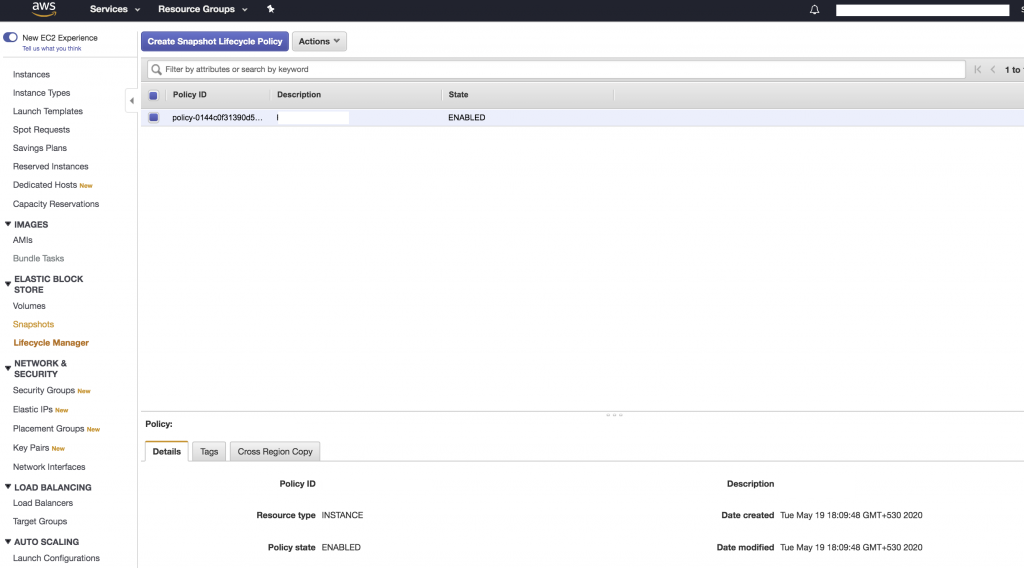
Choose Create Policy. Finally, the Policy ID has been created successfully
Conclusion
Using AWS Data Lifecycle Manager with Amazon EC2 allows you to automate backups, manage retention, and ensure data safety with minimal manual effort.