Introduction
Roundcube Webmail allows users to organize emails efficiently using folders. Creating folders in the Roundcube interface helps manage emails by separating important messages into categories such as Work, Personal, Clients, or Projects. This guide explains the step-by-step process to create folders in Roundcube Webmail through the cPanel webmail interface.
Prerequisites
Before creating folders in Roundcube Webmail, ensure you have the following:
- A valid email account hosted on your server
- Access to cPanel Webmail
- Your email address and password
- Internet connection and a web browser
- Roundcube selected as the webmail client
Steps to Create Folders in Roundcube Webmail
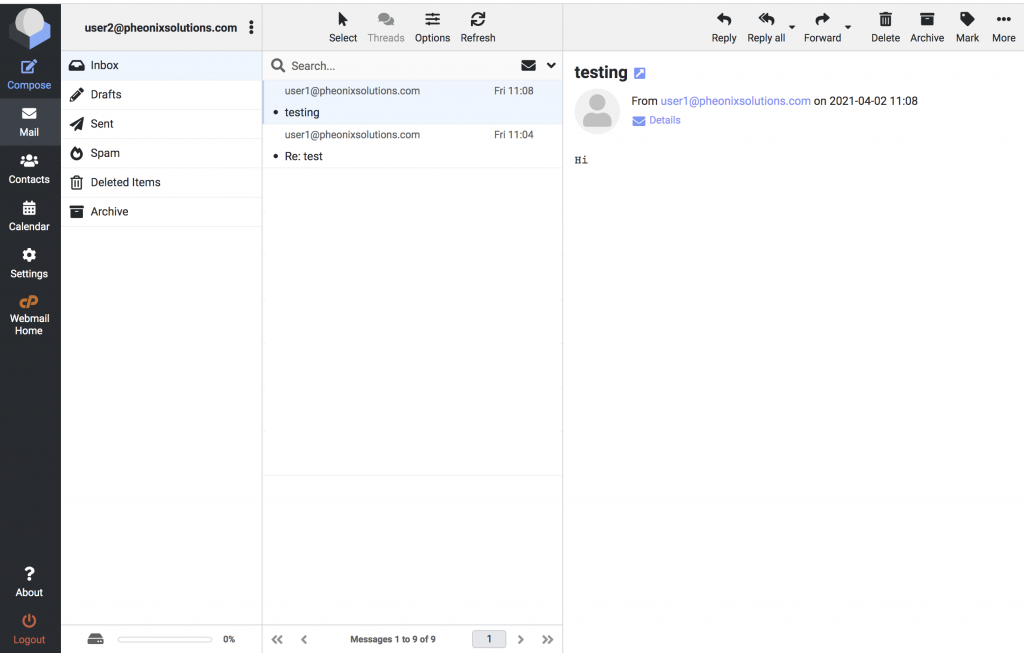
Step 1: Login to Webmail
Login to cPanel Webmail using your email address and password.

Step 2: Open Settings
After logging in to Roundcube, click the Settings option available in the left-side menu bar.
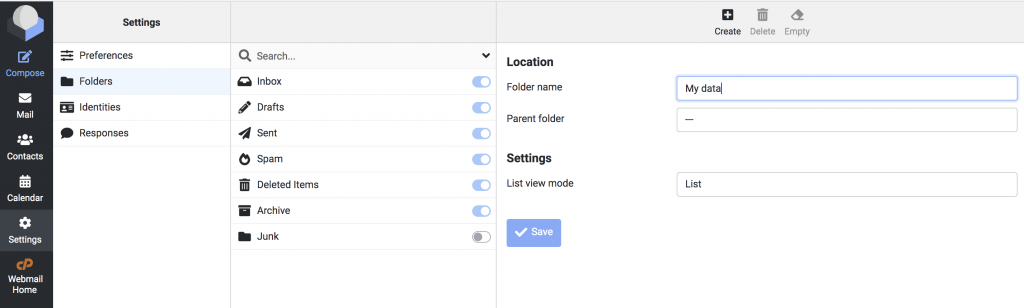
Step 3: Create a Folder
- Select the Folders option.
- Click the Create button available on the top-right side.
- Enter the desired folder name.
- Click Save to create the folder.
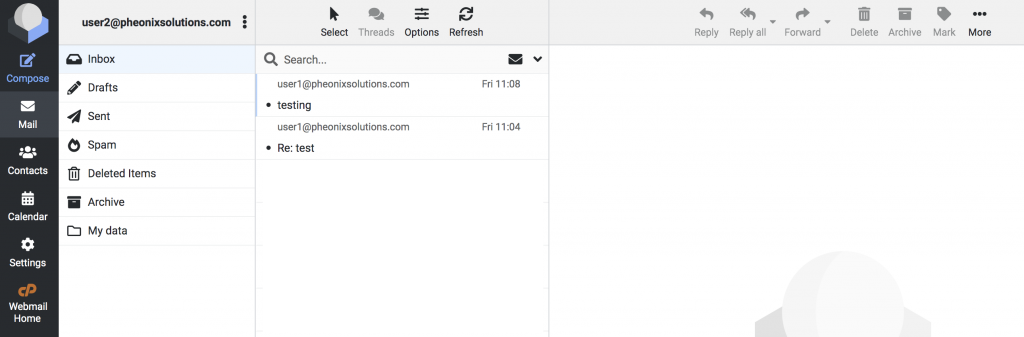
Step 4: Verify the Folder
The newly created folder will now appear in the Roundcube Webmail interface and can be used to organize emails.
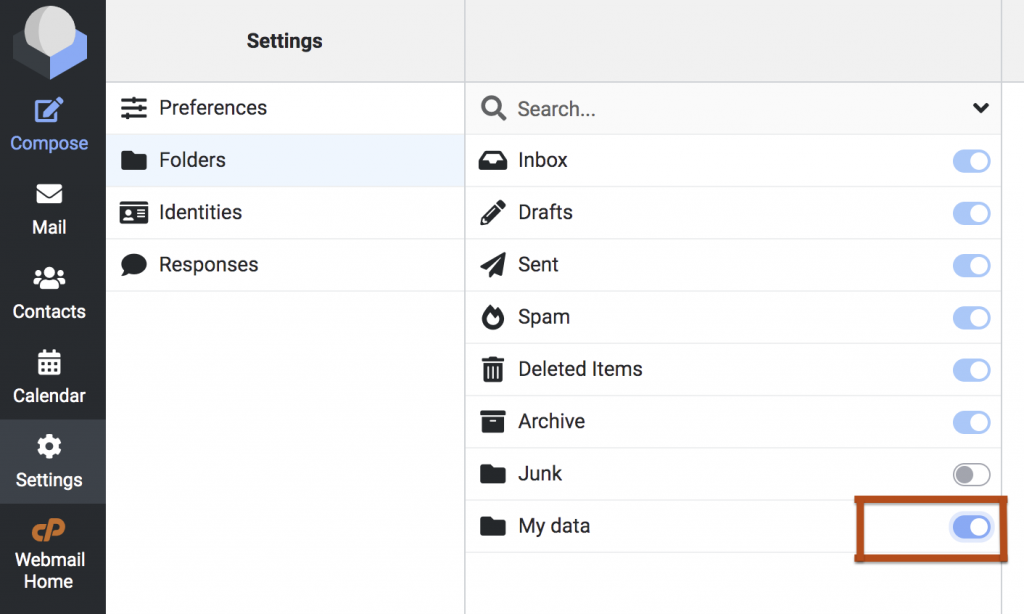
Additional Note
If you want to hide or display folders:
- Go to Settings
- Open the Folders section
- Enable or disable the folders as needed
Conclusion
Creating folders in the Roundcube Webmail interface is a simple and effective way to organize emails and improve mailbox management. By following the above steps, users can easily create, manage, hide, or display folders according to their requirements.