Introduction
The cPanel File Manager is a web-based tool that allows users to manage website files directly from the hosting control panel without using FTP software. With File Manager, you can upload files such as website pages, images, scripts, backups, and documents quickly and securely. This method is especially useful for users who need a simple and fast way to transfer files to their hosting account.
Prerequisites
Before uploading a file using cPanel File Manager, ensure you have the following:
- Valid cPanel login credentials
- Access to the hosting account
- The file(s) you want to upload stored on your local computer
- Basic knowledge of the destination folder (for example:
public_htmlfor website files)
IMPLEMENTATION
Step1: Log into Cpanel
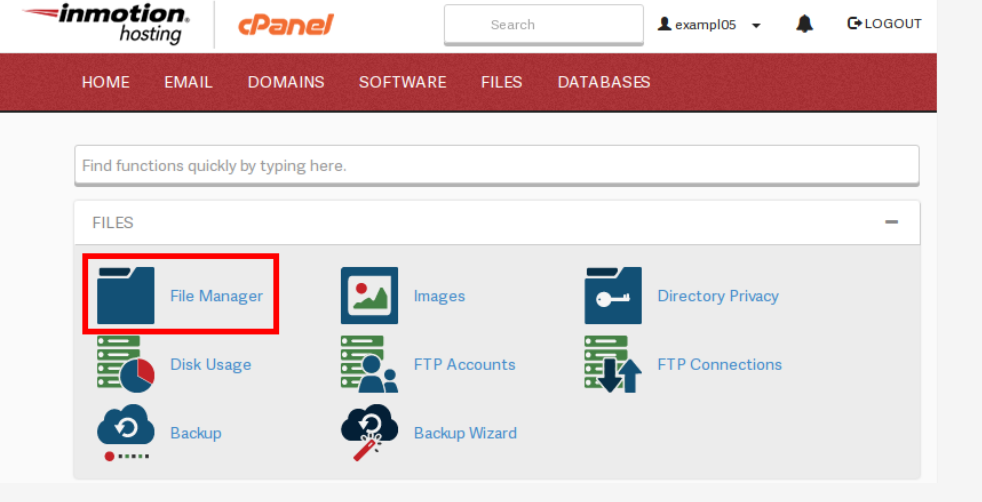
Step2: On the home screen, We have the file section choose File Manager.
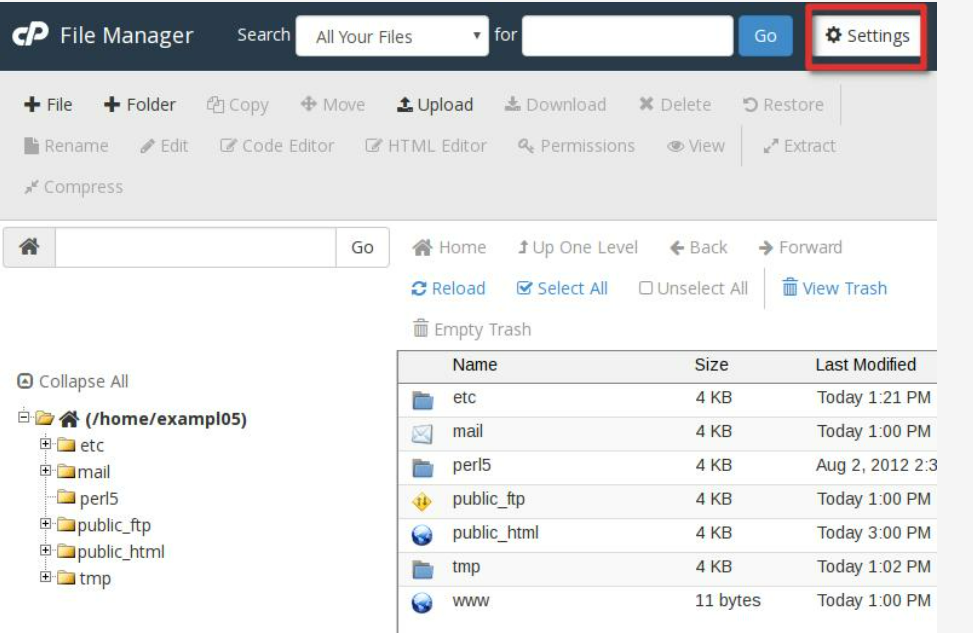
Step3: Click the Settings icon in your File Manager window
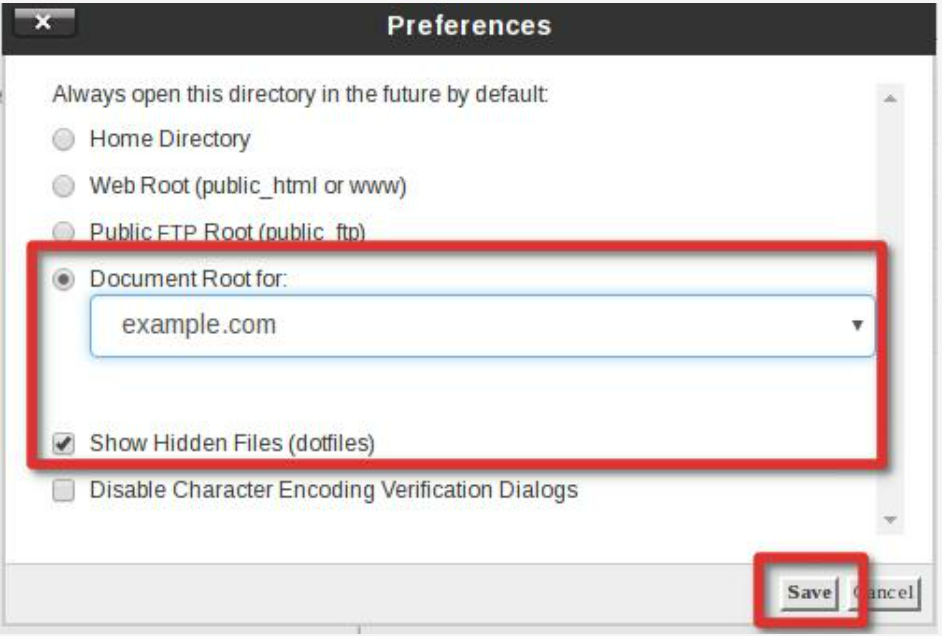
Step4: After, choose the folder location you’d like to start in. For this example, we’re going to use the Document Root for our website
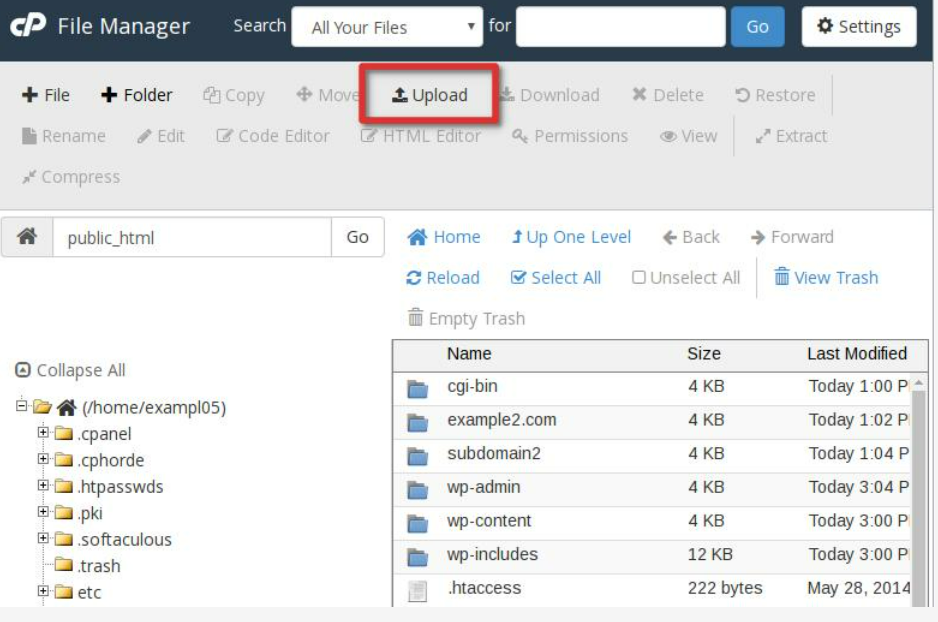
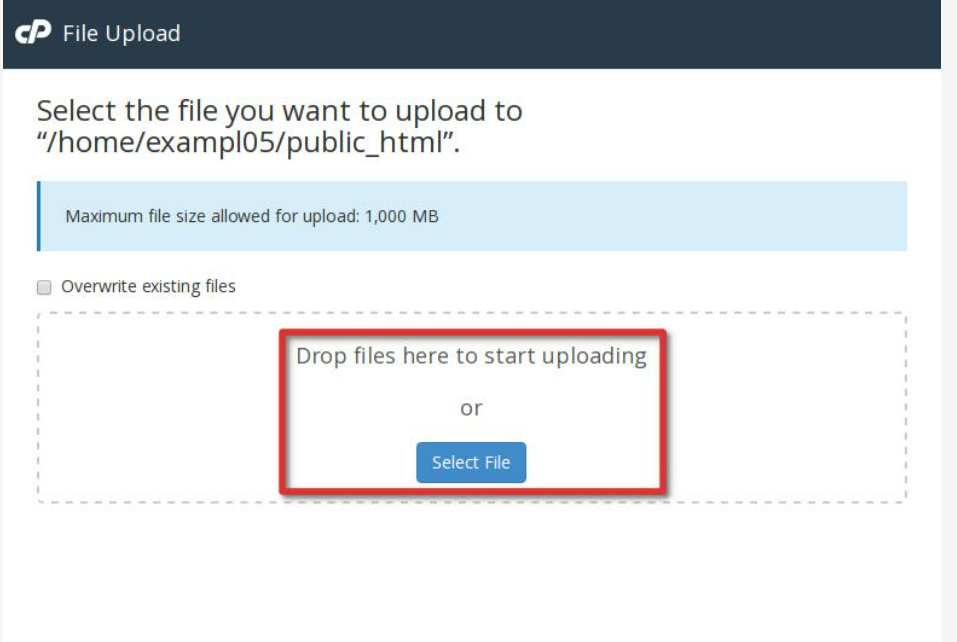
Step5: Select Upload from the icons at the top.
Step6: Navigate to the file you want to upload on your local computer by clicking the “Select File” button.
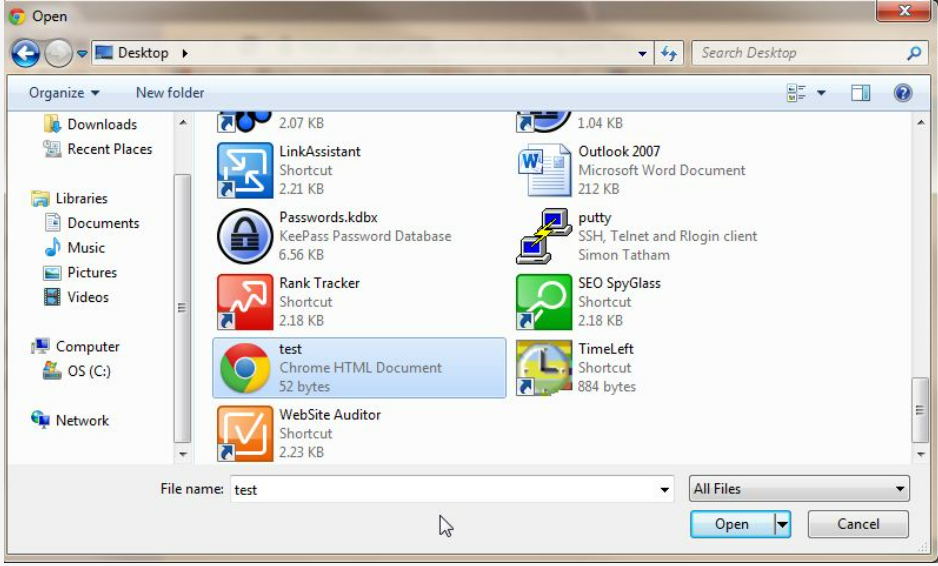
Step7: Select the file and click Open. Once the file is finished uploading you can click on the link in the centre of the screen to return to the folder you uploaded the file.
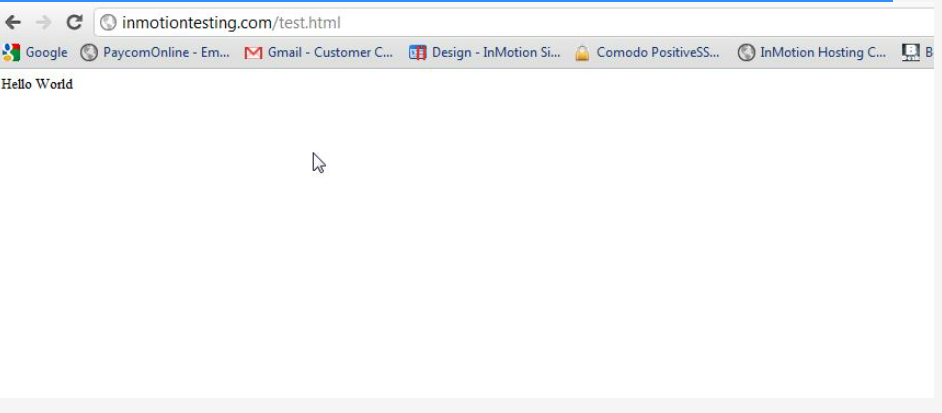
Step8: Now, in a web browser, we can visit the file and verify it uploaded to the location correctly.
Conclusion
Uploading files through cPanel File Manager is one of the easiest ways to manage website content on a hosting server. It eliminates the need for additional FTP applications and provides a user-friendly interface for quick file transfers. By following the proper steps and uploading files to the correct directory, users can efficiently maintain and update their websites directly from the cPanel dashboard.