Introduction
Apache Solr is an open-source search platform built on Apache Lucene. In cPanel & WHM, Solr can be used to provide full-text search indexing for IMAP email accounts through Dovecot, enabling faster and more efficient email searches.
This guide explains how to install cPanel Solr using either the WHM interface or the command line.
Prerequisites
Before proceeding, ensure the following requirements are met:
- Root access to the cPanel/WHM server.
- SSH access (for command-line installation).
- A supported version of cPanel & WHM.
- Internet connectivity to download and install the required packages.
- Sufficient system resources to run Apache Solr services.
Installation via WHM
Step 1: Log in to WHM
Log in to WHM using the root username and password.
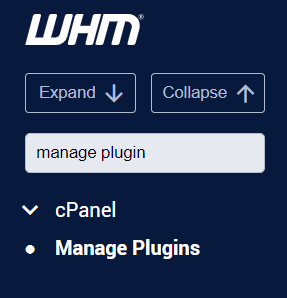
Step 2: Access Manage Plugins
- Navigate to WHM → cPanel → Manage Plugins.
- Locate Full Text Search Indexing for IMAP powered by Apache Solr™.
Step 3: Install cPanel Solr
Click the Install “Full Text Search Indexing for IMAP powered by Apache Solr™” button.
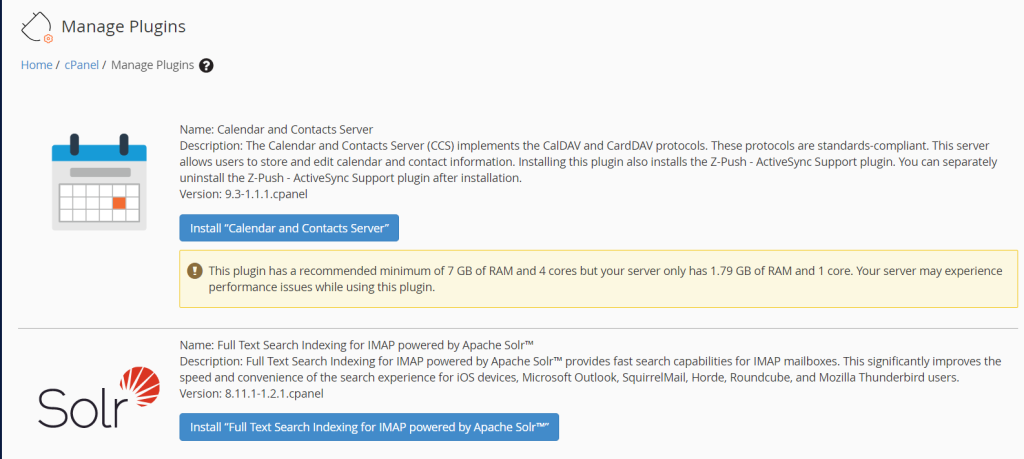
WHM will automatically download and install the required Solr components and configure Dovecot Full-Text Search (FTS) support.
Installation via SSH / Terminal
Step 1: Connect to the Server
Log in to the server via SSH as the root user.
Step 2: Run the Installation Script
Execute the following command:
/usr/local/cpanel/scripts/install_dovecot_fts
The script will install and configure Apache Solr along with Dovecot Full-Text Search support.
Step 3: Verify the Installation
After the installation completes, verify that the required services are running and that Dovecot FTS has been configured successfully.
Additional Documentation
For more information about the installation script, refer to the official cPanel documentation:
The install_dovecot_fts Script Documentation
Conclusion
Installing Apache Solr on a cPanel server enables powerful full-text email search capabilities through Dovecot. Administrators can perform the installation either through the WHM interface or by using the command-line installation script. Once installed, users can benefit from faster and more accurate email searches across their IMAP mailboxes.