Introduction
cPHulk is a security feature in WHM (WebHost Manager) that helps protect the server from brute-force login attacks. Administrators can use cPHulk to block suspicious IP addresses that attempt repeated login failures to services like cPanel, WHM, SSH, FTP, or email.
This guide explains how to manually block an IP address using cPHulk in WHM.
Steps to Block an IP Address using cPHulk
1. Log in to WHM
Access WHM using the following URL and Log in with the root credentials.
| https://server-ip:2087 |
2. Navigate to cPHulk Brute Force Protection
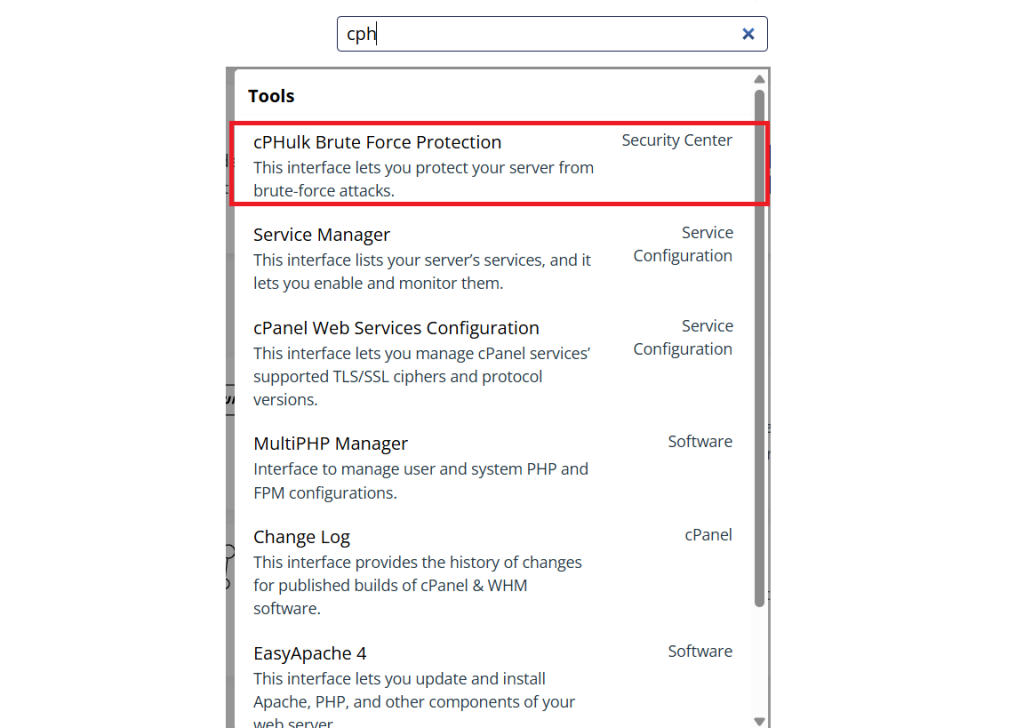
In the WHM search bar, type cPHulk.
Click cPHulk Brute Force Protection under Security Center.
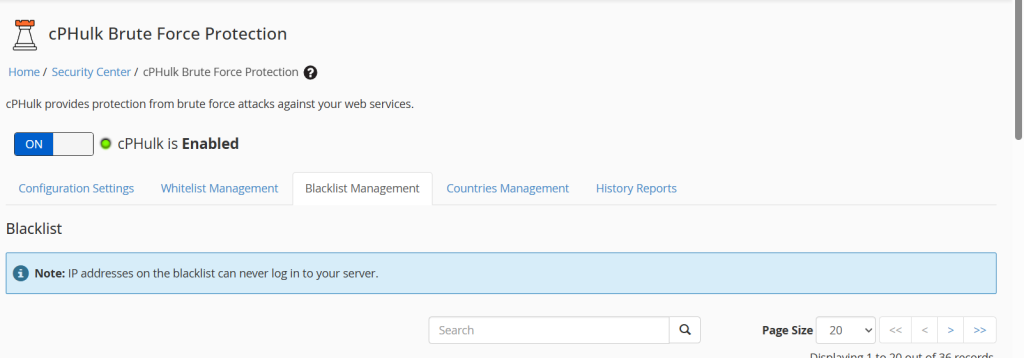
3. Open Blacklist Management
Inside the cPHulk interface, click the Blacklist Management tab.
4. Add the IP Address to the Blacklist
Enter the IP address you want to block in the Blacklist an IP Address field.
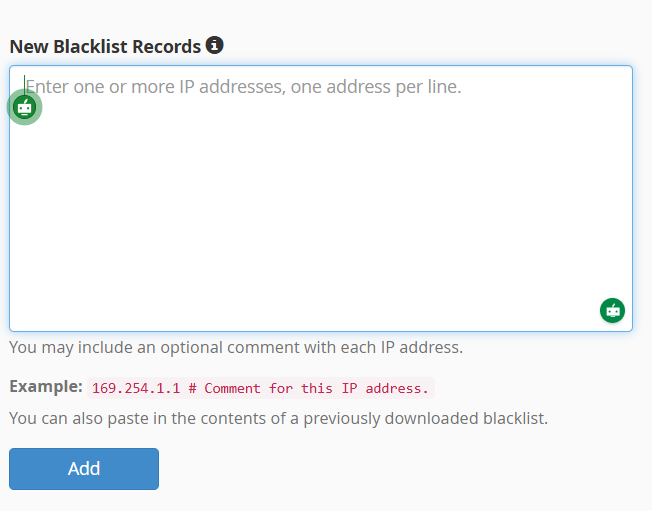
5. Add a Reason (Optional )
You can add a note describing why the IP is being blocked.
6. Save the Changes
Click Add to Blacklist.
The IP address will now be permanently blocked from accessing services protected by cPHulk.
Conclusion
Using cPHulk in WHM helps administrators prevent unauthorized access attempts by blocking malicious IP addresses. Regular monitoring of login attempts and updating the blacklist can significantly improve server security.