Introduction
Custom error pages are an important part of any website, as they improve user experience when something goes wrong. Instead of showing a generic server message, a customised error page can guide visitors, provide helpful information, and keep them engaged with your site. Using cPanel, you can easily create and manage these error pages without needing advanced technical skills.
Step 1: Log in to cPanel
Access your hosting account and log in to your cPanel dashboard.
Step 2: Open Error Pages
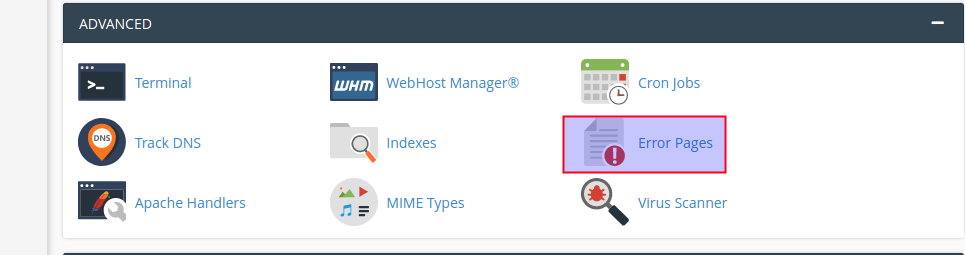
In the cPanel dashboard, scroll down to the Advanced section and click on Error Pages.
Step 3: Choose Your Domain and Error Type
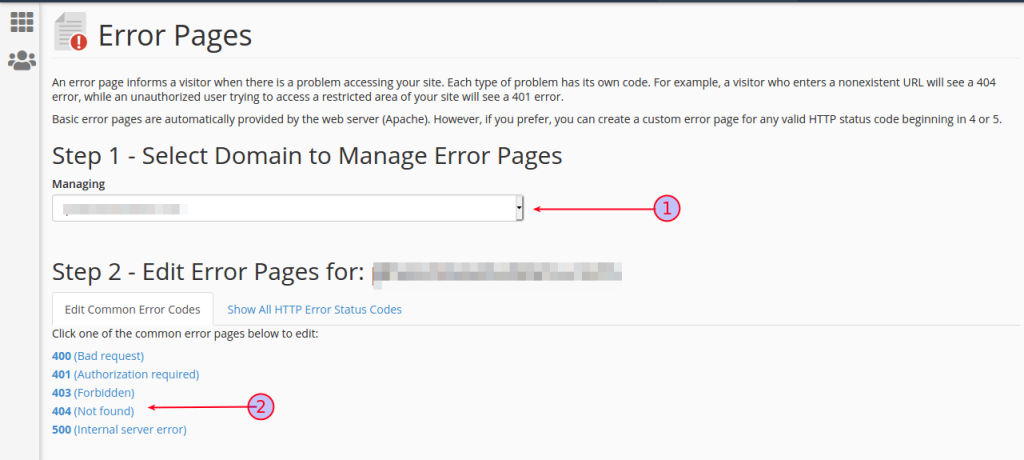
- Select the domain name for which you want to create a custom error page.
- Then, choose the specific error code (for example, 400, 401, 403, 404, or 500).
Step 4: Customize the Error Page
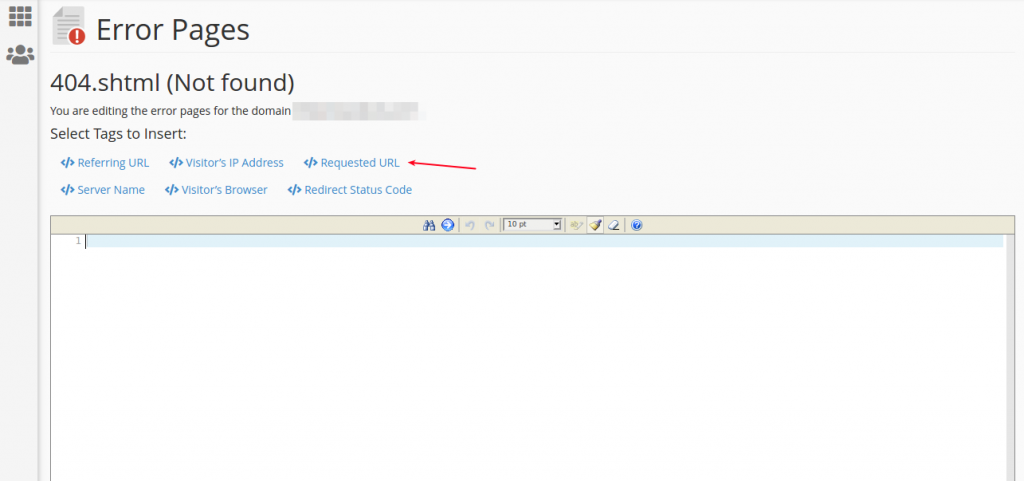
Enter your custom message or HTML content for the selected error page. You can also include available tags (variables) to display dynamic information.
Step 5: Save Your Changes
Scroll down and click the Save button to apply your custom error page.
Conclusion
Creating custom error pages in cPanel is a simple yet effective way to enhance your website’s usability and professionalism. By following a few easy steps, you can replace default error messages with informative and user-friendly pages. This not only helps retain visitors but also improves your website’s overall impression and navigation experience.