
Post Date: September 28, 2018
Last Updated: September 24, 2026
Introduction
Securing sensitive web content is an important part of server administration. Apache HTTP Server provides a simple and effective way to restrict access to specific websites, directories, or applications using Basic Authentication.
With Apache Basic Authentication, users must enter a valid username and password before accessing protected content. This method is commonly used for:
- Internal company portals
- Development and staging environments
- Administrative dashboards
- Temporary website protection during development
- Documentation portals and knowledge bases
This guide explains how to configure password authentication on a CentOS server using Apache HTTP Server (httpd).
Architecture Overview
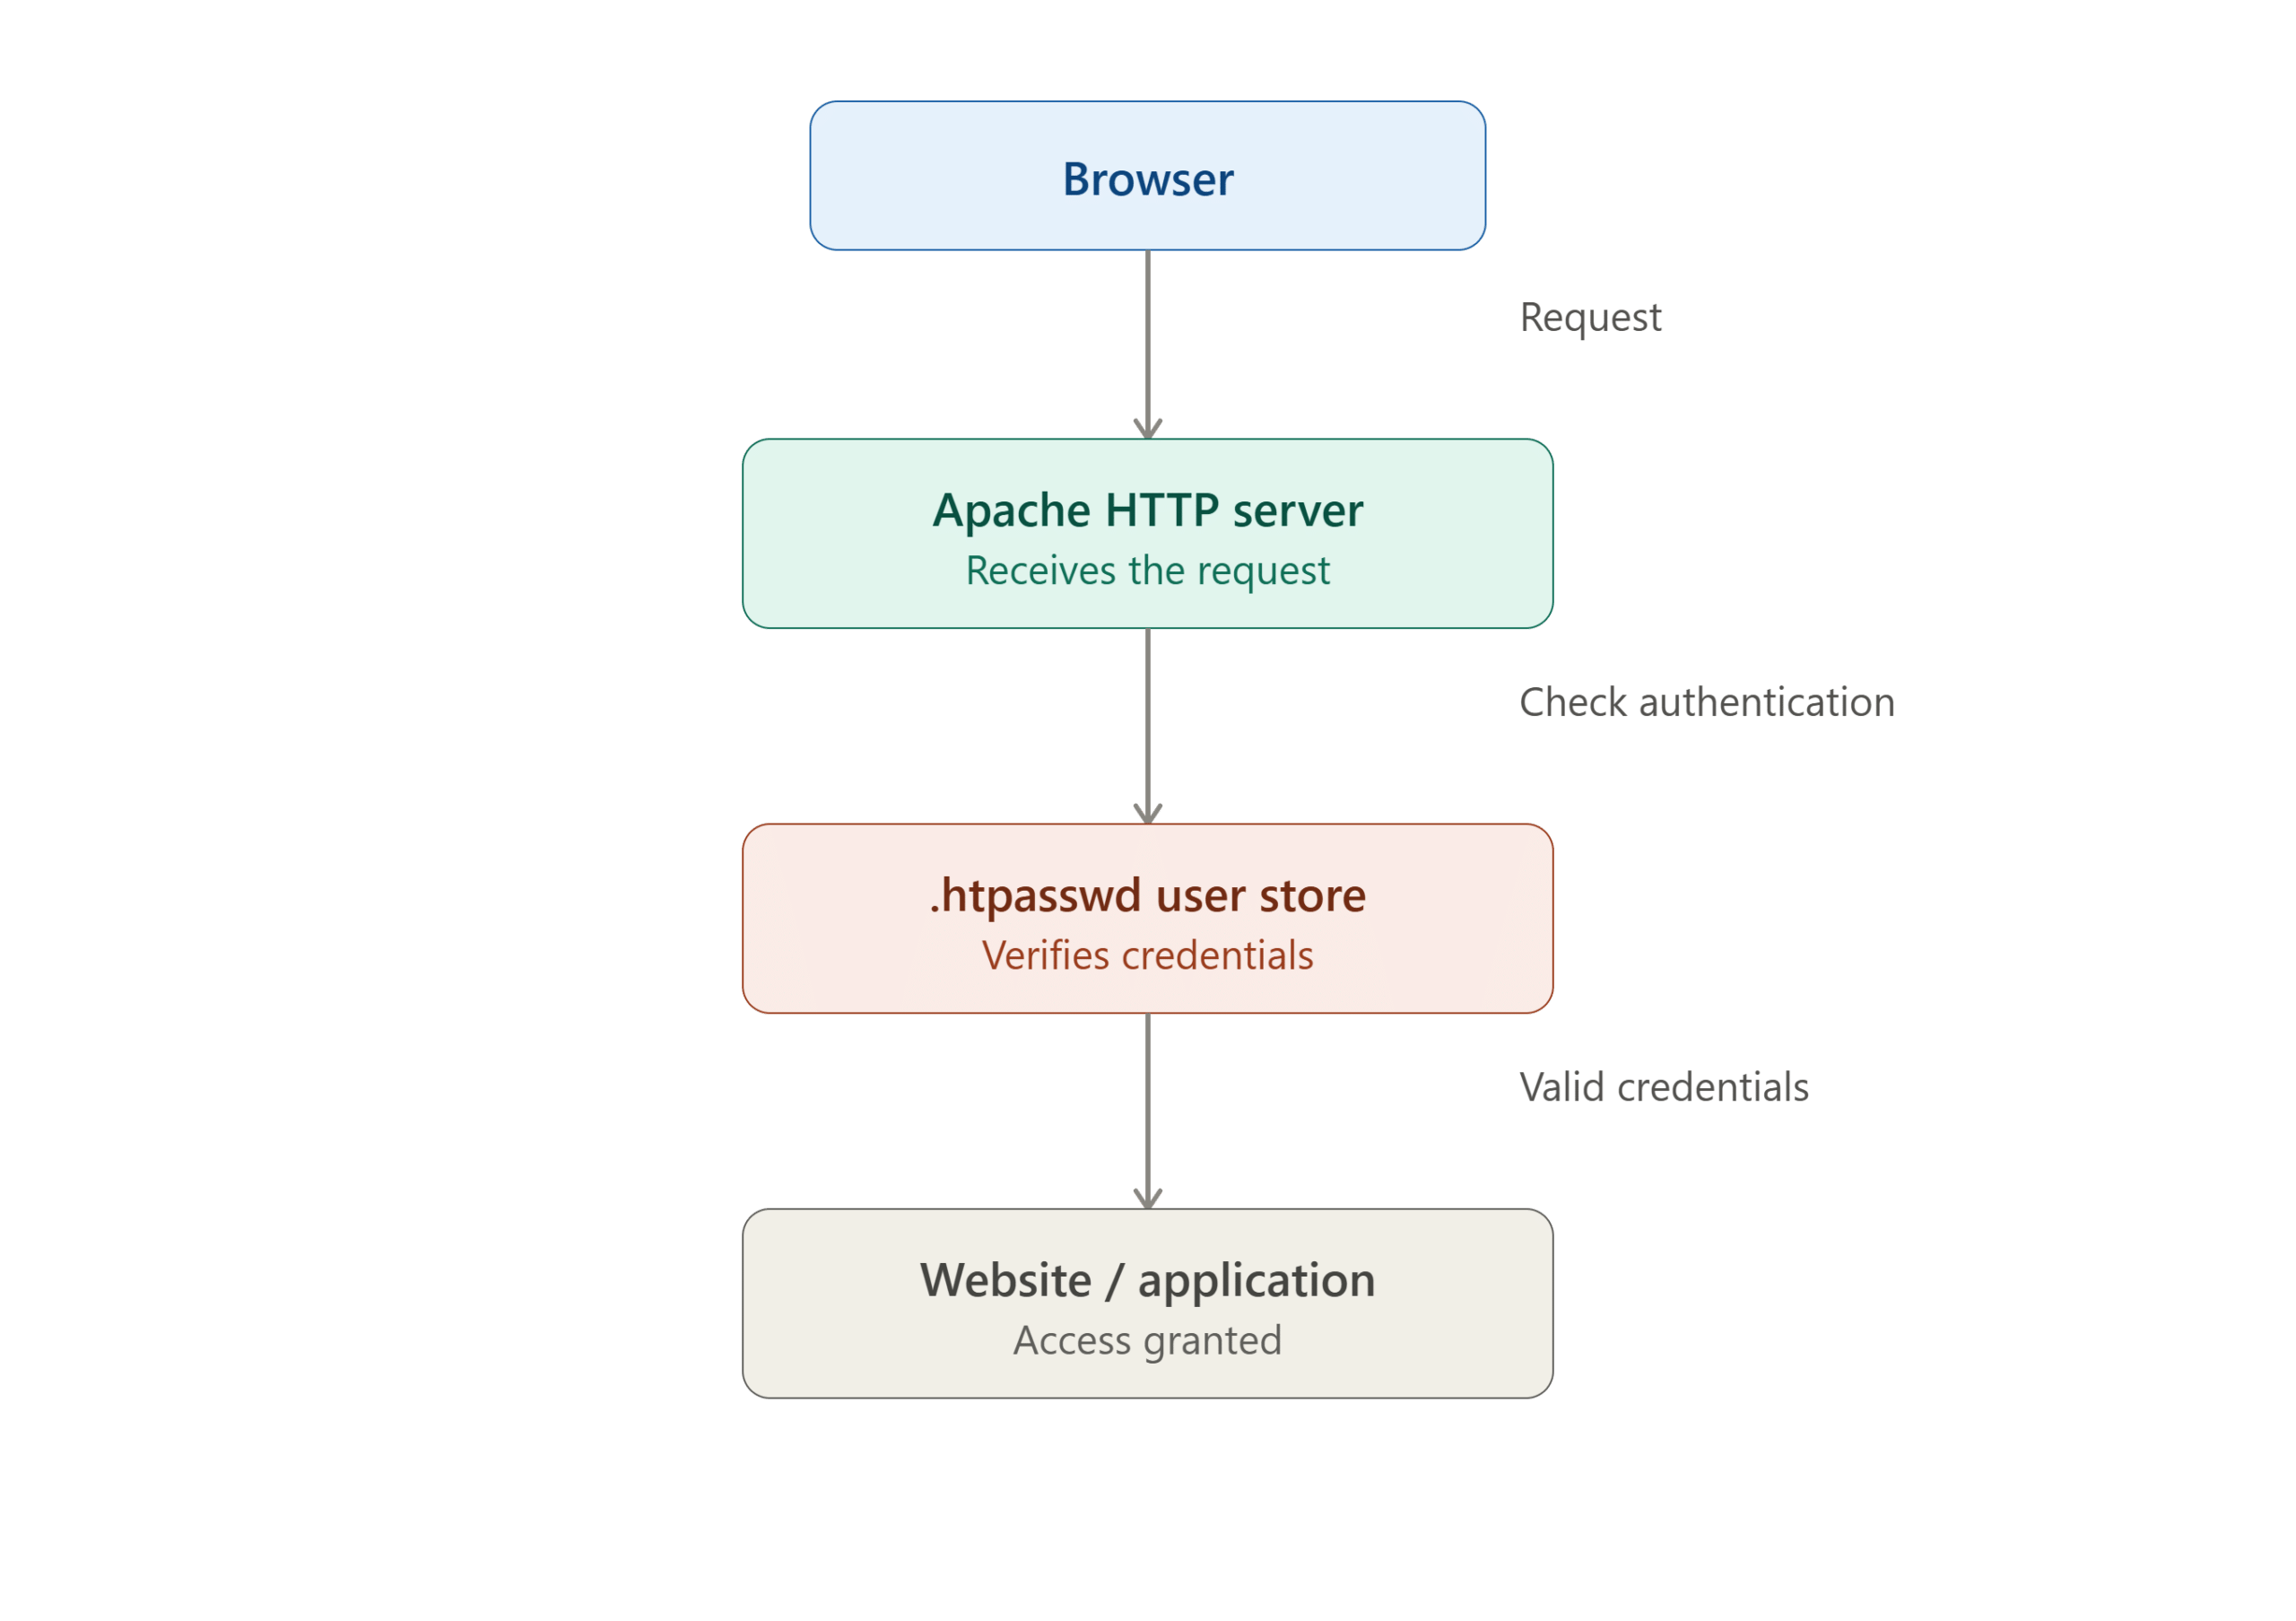
Prerequisites
Before starting, ensure you have:
- A CentOS server
- Root or sudo access
- Apache HTTP Server (httpd) installed
- Domain or website configured in Apache
- Access to terminal via SSH
Step 1: Connect to the Server
Login to your CentOS server using SSH.
ssh root@your-server-ip
Or
ssh username@your-server-ip
Step 2: Verify Apache Installation
Check whether Apache is already installed.
httpd -v
Example output:
Server version: Apache/2.4.6
Check service status:
systemctl status httpd
Step 3: Install Apache (If Not Installed)
If Apache is not installed, install it using:
yum install httpd -y
For CentOS Stream:
dnf install httpd -y
Verify installation:
httpd -v
Step 4: Start and Enable Apache
Start Apache service:
systemctl start httpd
Enable Apache at boot:
systemctl enable httpd
Check service status:
systemctl status httpd
You should see:
active (running)
Step 5: Install Apache Utilities
The htpasswd utility is required to create authentication users.
Install it if not available:
yum install httpd-tools -y
Verify:
which htpasswd
Example:
/usr/bin/htpasswd
Step 6: Create Authentication User
Create the first user and password file.
sudo htpasswd -c /etc/httpd/.htpasswd adminuser
Example:
sudo htpasswd -c /etc/httpd/.htpasswd adminuser
Output:
New password:
Re-type new password:
Adding password for user adminuser
Important
Use the -c option only for the first user because it creates the file.
To add additional users:
sudo htpasswd /etc/httpd/.htpasswd user2
sudo htpasswd /etc/httpd/.htpasswd user3
Verify users:
cat /etc/httpd/.htpasswd
Step 7: Configure Apache Virtual Host
Navigate to the Apache virtual host directory.
cd /etc/httpd/conf.d/
Create or edit your website configuration file.
Example:
vi example.conf
Add the following configuration:
<VirtualHost *:80>

    ServerName www.example.com
    ServerAlias example.com

    DocumentRoot /var/www/example.com/html

    ErrorLog /var/log/httpd/example-error.log
    CustomLog /var/log/httpd/example-access.log combined

    <Directory "/var/www/example.com/html">

        AuthType Basic
        AuthName "Restricted Content"
        AuthUserFile /etc/httpd/.htpasswd

        Require valid-user

    </Directory>

</VirtualHost>
Configuration Explanation
| Directive | Description |
|---|---|
| AuthType Basic | Enables basic authentication |
| AuthName | Message shown in login popup |
| AuthUserFile | Path to password file |
| Require valid-user | Allows authenticated users only |
Step 8: Validate Apache Configuration
Before restarting Apache, validate the configuration.
apachectl configtest
Expected output:
Syntax OK
Step 9: Restart Apache Service
Apply changes by restarting Apache.
systemctl restart httpd
Verify status:
systemctl status httpd
Step 10: Configure Firewall
If firewall is enabled, allow HTTP and HTTPS traffic.
firewall-cmd --permanent --add-service=http
firewall-cmd --permanent --add-service=https
Reload firewall:
firewall-cmd --reload
Check:
firewall-cmd --list-all
Step 11: Configure SELinux (If Enabled)
Check SELinux status:
getenforce
If required:
setsebool -P httpd_read_user_content 1
Verify Apache can access the password file:
ls -la /etc/httpd/.htpasswd
Step 12: Test Authentication
Open your browser:
http://www.example.com
You should see an authentication popup.
Username: adminuser
Password: ********
After entering valid credentials, the website will load normally.
Local Testing Using Hosts File
For testing before DNS configuration:
Linux
Edit:
/etc/hosts
Windows
Edit:
C:\Windows\System32\drivers\etc\hosts
Add:
192.168.1.100 www.example.com
Replace:
- 192.168.1.100 with your server IP
- www.example.com with your domain
Save the file and browse:
http://www.example.com
Security Best Practices
Use HTTPS
Basic Authentication transmits credentials in encoded format, not encrypted.
Always use SSL certificates.
Recommended options:
- Let’s Encrypt
- Commercial SSL certificates
- Cloudflare SSL
Protect Sensitive Directories
Instead of protecting the entire website, secure only specific directories:
<Directory "/var/www/html/admin">
    AuthType Basic
    AuthName "Admin Area"
    AuthUserFile /etc/httpd/.htpasswd
    Require valid-user
</Directory>
Use Strong Passwords
Recommended password requirements:
- Minimum 12 characters
- Uppercase letters
- Lowercase letters
- Numbers
- Special characters
Example:
Admin@2026#Secure
Troubleshooting
Authentication Popup Not Appearing
Check Apache configuration:
apachectl configtest
Restart Apache:
systemctl restart httpd
403 Forbidden Error
Verify permissions:
ls -la /var/www/
Check SELinux:
getenforce
User Cannot Login
Verify user exists:
cat /etc/httpd/.htpasswd
Reset password:
htpasswd /etc/httpd/.htpasswd adminuser
Apache Fails to Restart
View logs:
journalctl -xe
Apache logs:
tail -f /var/log/httpd/error_log
Conclusion
Apache Basic Authentication provides a quick and reliable way to secure websites, applications, and sensitive directories. By configuring a password-protected area using the .htpasswd file and Apache Virtual Host settings, administrators can prevent unauthorized access with minimal effort.
For production environments, it is strongly recommended to combine Basic Authentication with HTTPS encryption, proper firewall rules, SELinux policies, and strong password practices to ensure maximum security.
Frequently Asked Questions (FAQ)
1. What is Apache Basic Authentication?
Apache Basic Authentication is a security mechanism that requires users to provide a username and password before accessing protected resources.
2. Where are usernames and passwords stored?
They are stored in the .htpasswd file.
Example:
/etc/httpd/.htpasswd
3. Can I add multiple users?
Yes.
htpasswd /etc/httpd/.htpasswd username
Related Articles
- Upgrading WordPress Manually in Centos 7
- How to check IP address in CentOS 7 minimal Server -Ifconfig not working.
- Install CentOS 7 on VMware fusion on Mac OS.
Talk to our experts
Have a technology challenge or looking for the right solution for your business? Our team can help you with cloud, DevOps, development, infrastructure, design, and more. Feel free to reach out to our experts here.