
Introduction
Managing social media accounts from a single platform can make content management easier and more efficient. Mixpost allows users to connect supported social media accounts and manage them from a centralized interface.
Connecting a Facebook page requires authorising the integration through Facebook, selecting the required pages and business access, reviewing the requested permissions, and completing the connection.
This guide explains the step-by-step process of connecting a Facebook page with Mixpost.
Prerequisites
Before starting, make sure you have:
- Access to a Mixpost account.
- A valid Facebook account.
- Appropriate access to the Facebook page you want to connect.
- Access to the required business or page on Facebook.
- Permission to authorize third-party integrations.
Steps to Connect a Facebook Page with Mixpost
Step 1: Open Social Accounts
Log in to your Mixpost account.
From the Mixpost dashboard:
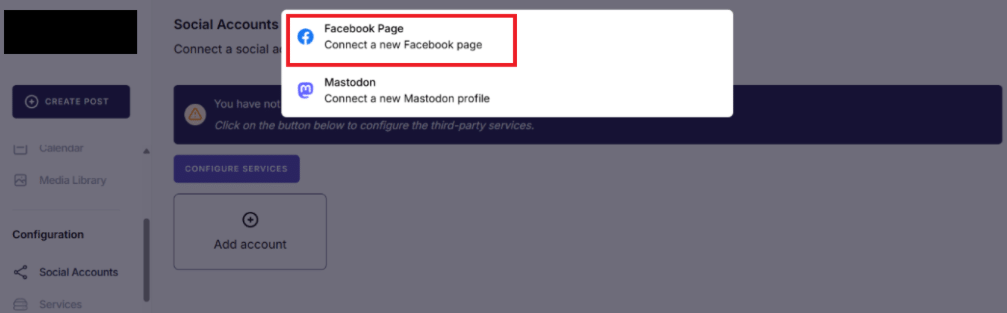
- Navigate to Social Accounts.
- Click Add Account.
- Select Facebook Page from the available social account options.
The integration screen provides options for connecting different social platforms.
Step 2: Continue with Facebook.
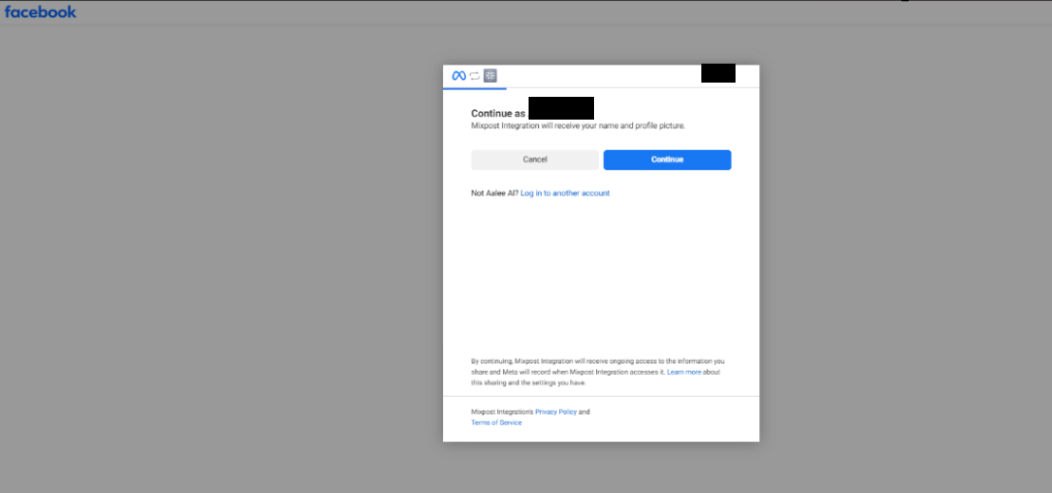
After selecting a Facebook page, you will be redirected to Facebook.
Facebook will display an authorization window asking you to continue with your Facebook account.
- Verify that you are using the correct Facebook account.
- Click Continue to proceed with the integration.
Step 3: Select the Pages
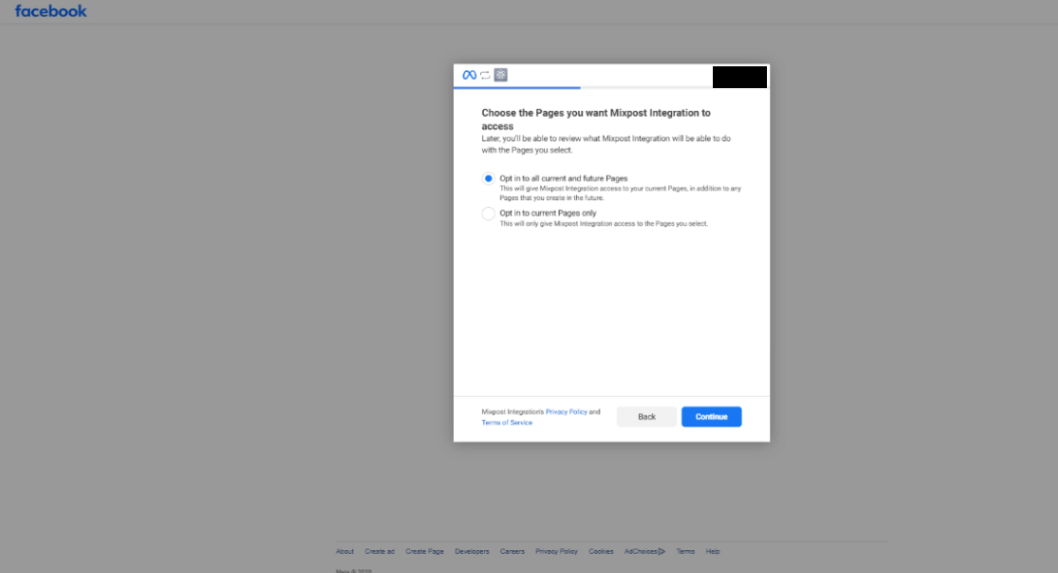
Facebook will ask you to choose the pages that the integration should be allowed to access.
Select the required page or pages and click Continue.
Only select the pages that you want to manage through the integration.
Step 4: Select the Business
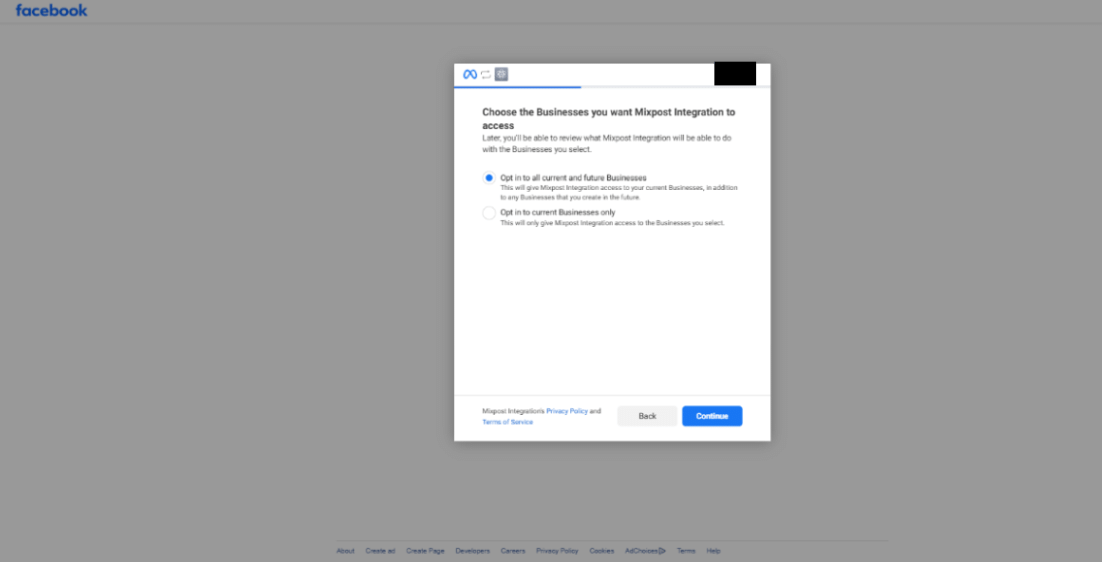
Facebook may ask you to select the business associated with the integration.
Choose the appropriate business and click Continue.
This allows the integration to access the required business resources.
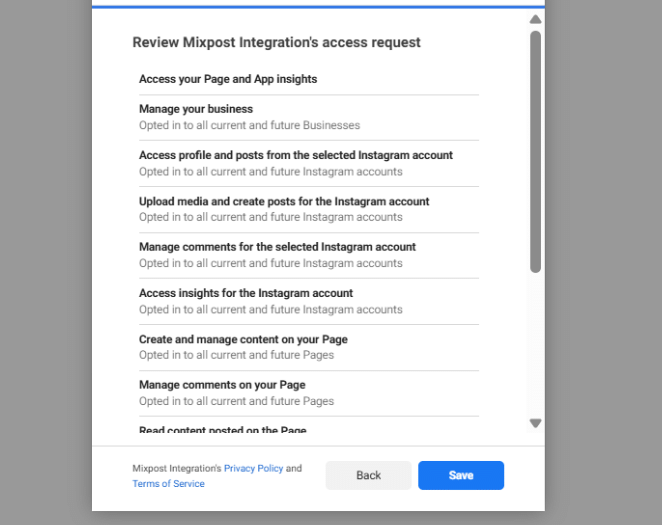
Step 5: Review the Requested Permissions
Facebook will display the permissions requested by the integration.
The permissions shown in the authorization screen include access related to:
- Page insights
- Business management
- Instagram accounts
- Instagram posts and media
- Comments
- Page content
- Creating and managing content
Review the permissions carefully.
If everything is correct, click Save to continue.
Step 6: Confirm the Connection
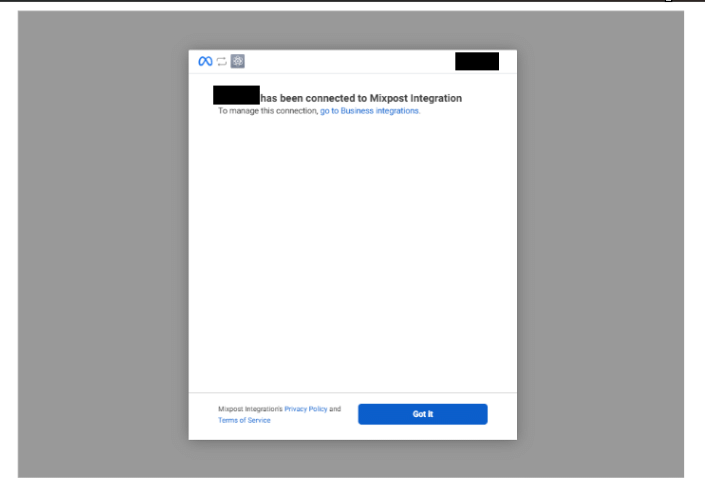
After the authorization is completed, Facebook will display a confirmation message indicating that the integration has been connected successfully.
Click Got it to close the confirmation window and return to the integration process.
Step 7: Choose the Social Entities
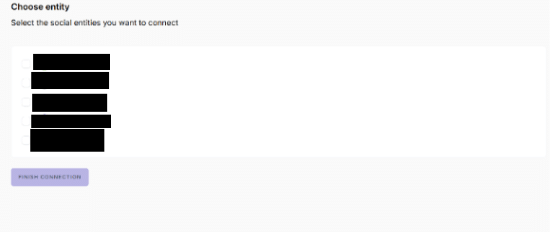
After completing the Facebook authorization, you will be presented with the available social entities.
Select the entities that you want to connect.
Once you have made your selections, click Finish Connection.
Step 8: Finish the Connection
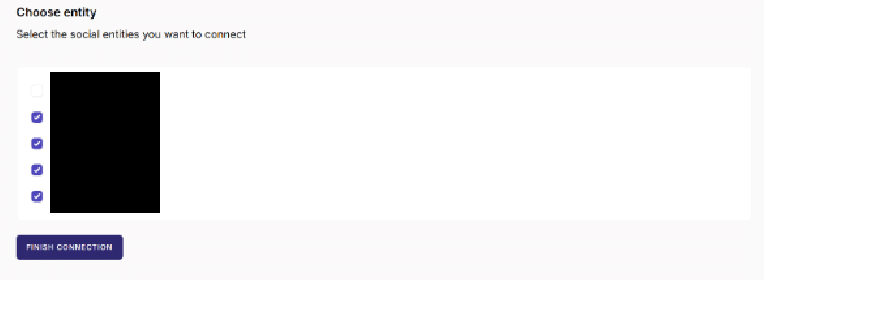
Review your selections and click Finish Connection.
The selected entities will now be connected to Mixpost.
Step 9: Verify the Connected Account
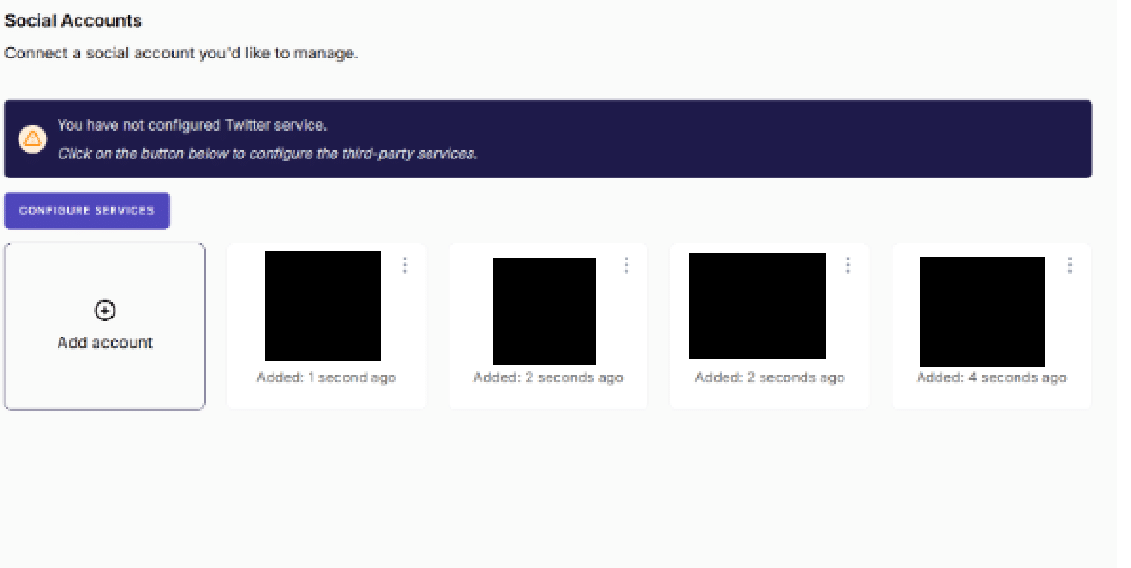
After completing the setup, return to the Social Accounts section in Mixpost.
The connected account should now appear in the list of social accounts.
You can use this section to view and manage your connected social media accounts.
Frequently Asked Questions
1. Can I connect a Facebook page to Mixpost?
Yes. You can connect a Facebook page through the Social Accounts → Add Account → Facebook Page option.
2. Do I need Facebook Page access?
Yes. You need the appropriate access to the Facebook Page that you want to connect.
3. Why does Facebook ask me to grant permissions?
Facebook requires authorisation before an external integration can access the selected pages, business resources, and supported copagentent.
Official Resources
Conclusion
Connecting a Facebook page with Mixpost involves a straightforward authorisation process. You can start by adding a Facebook page from the Social Accounts section, authorising the required permissions through Facebook, selecting the required pages and business, and completing the connection.
Once the setup is complete, the connected account will be available in the Social Accounts section for management.
Talk to our experts.
Need help with social media integrations, account setup, or managing your social media presence? Our experts are here to help you find the right solution for your business.