How to Create a Domain in Plesk
Introduction
Plesk is a popular web hosting control panel used to manage websites, domains, email accounts, and server resources. Creating a domain in Plesk allows you to host a website, configure email services, and manage DNS settings from a single interface.
Whether you’re setting up a new website or adding a domain for a client, Plesk makes the process straightforward and user-friendly.
Prerequisites
Before creating a domain in Plesk, ensure the following:
- Access to Plesk (admin or customer login)
- A registered domain name (e.g.,
example.com) - Domain DNS pointed to your server (nameservers or A record)
Step-by-Step: Create a Domain in Plesk
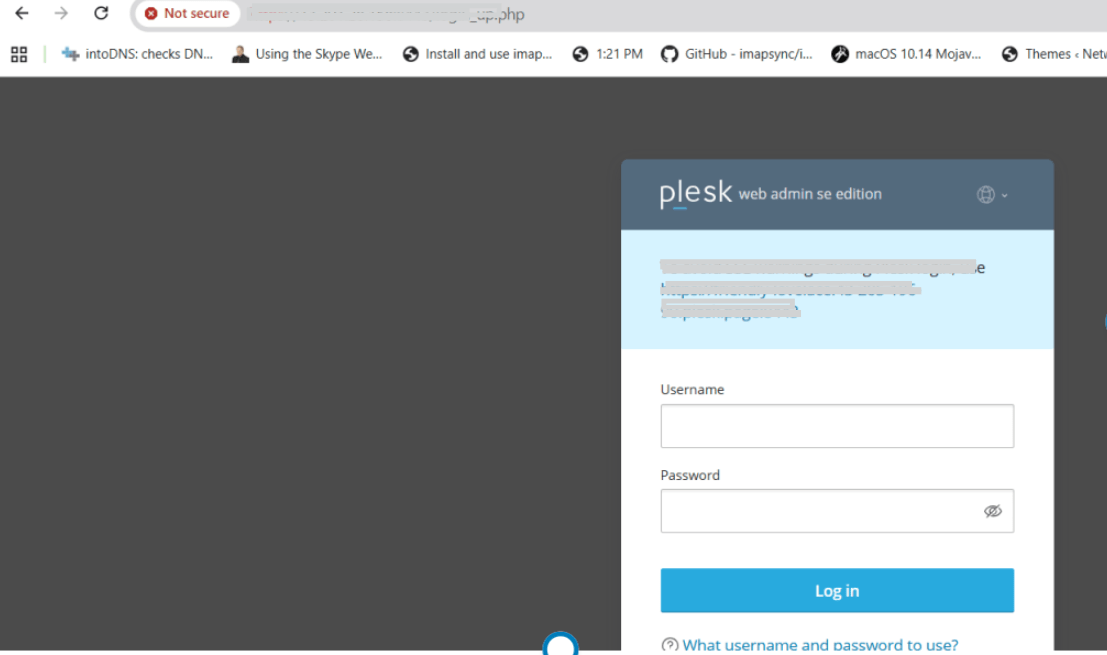
Step 1: Login to Plesk
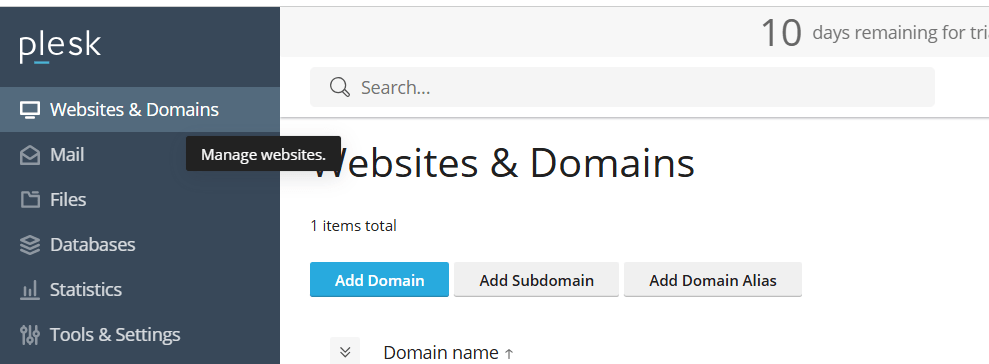
Step 2: Go to Websites & Domains
After login, click on “Websites & Domains” from the dashboard
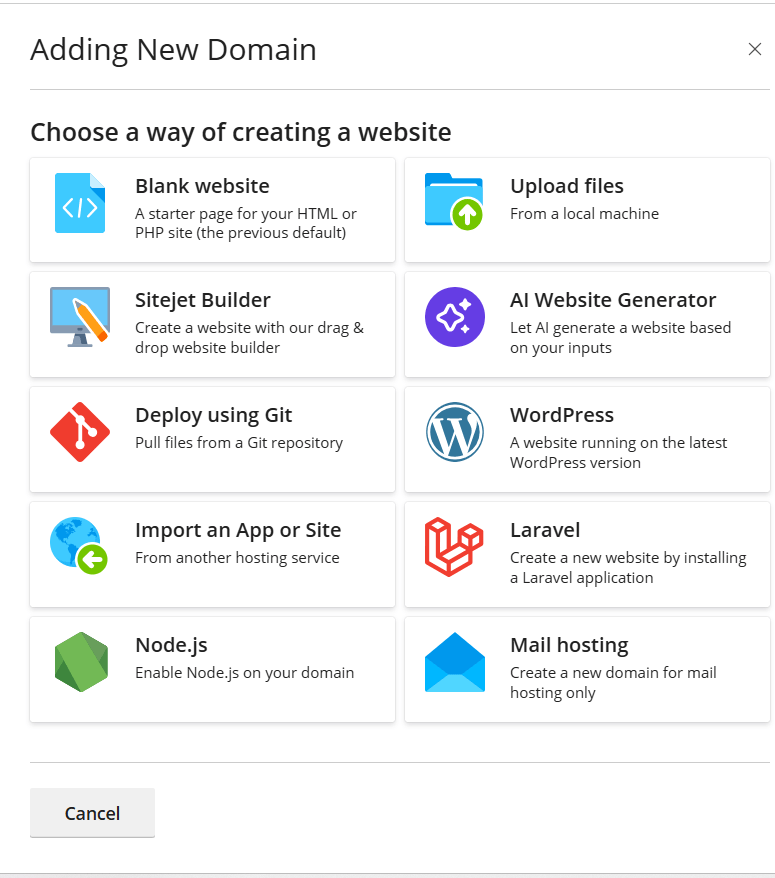
Step 3: Click “Add Domain”
Click on “Add Domain” button
Step 4: Enter Domain Details
Fill in the required fields:
- Domain Name (Example:
example.com) - Hosting Type
Choose one:
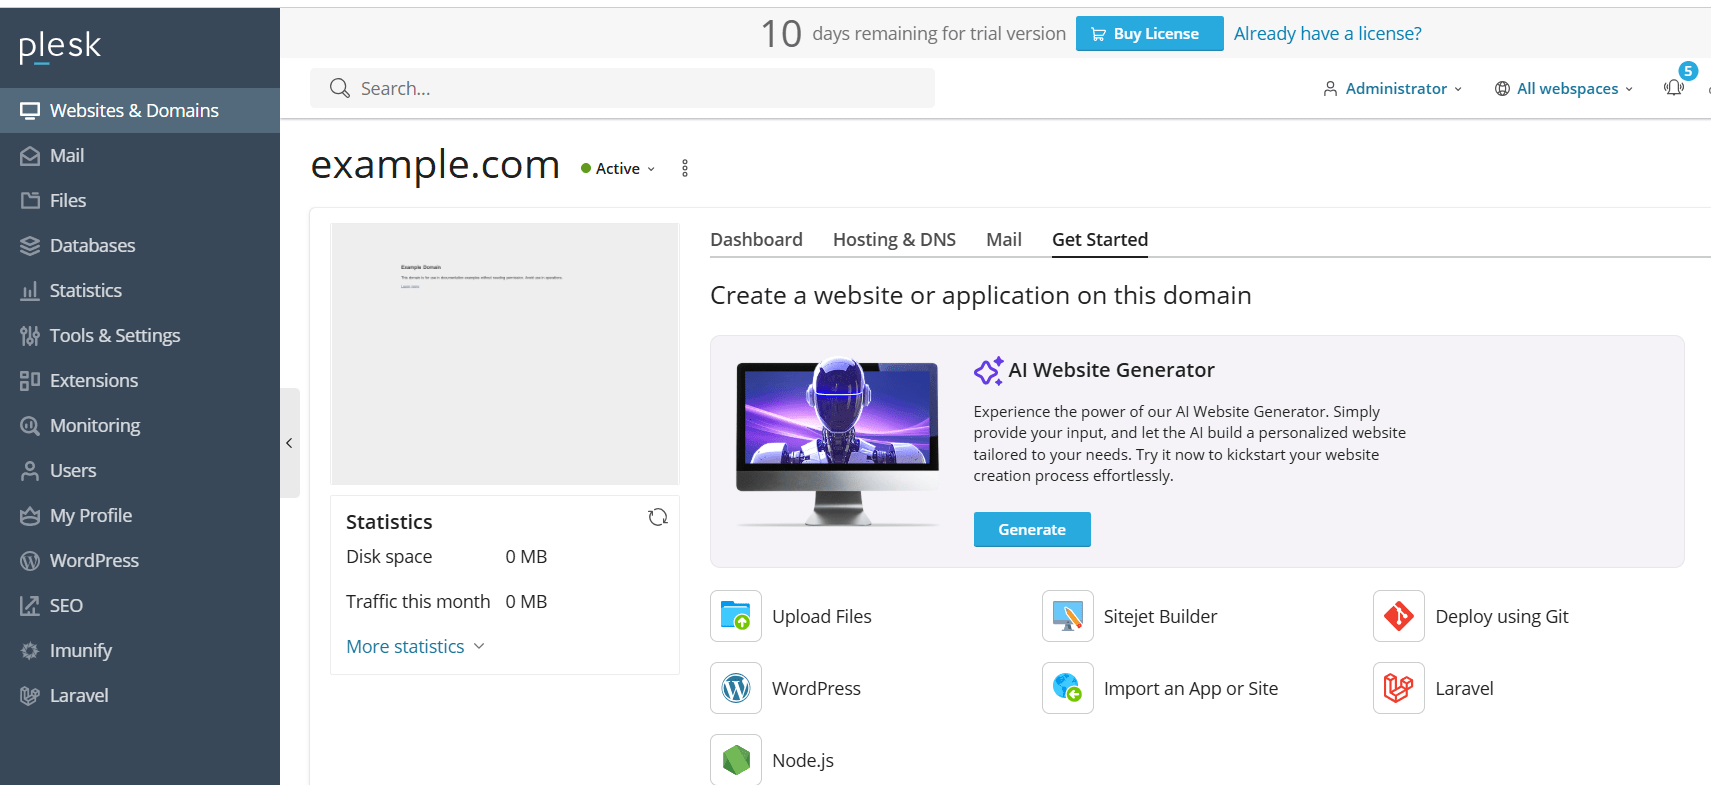
- Click the option to create a domain. Please find the attached snapshot.
- Document Root
Default: /httpdocs You can change if needed
Step 5: Adding the domain name
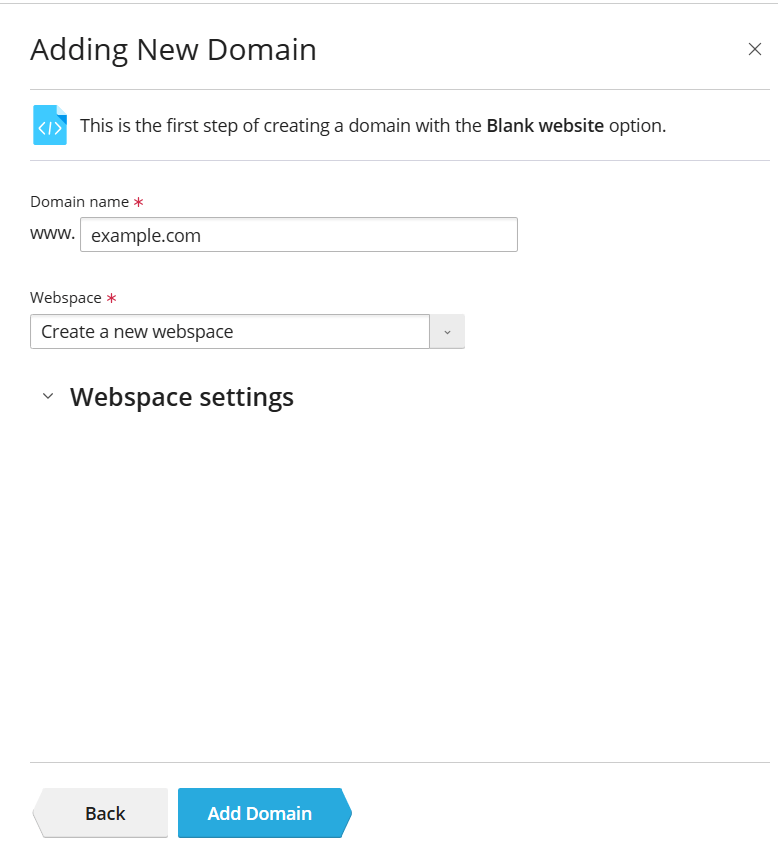
- Enter the domain name ( Example: example.com)
- Click ““Add Domain”
- The domain will be created successfully
Conclusion
Creating a domain in Plesk is a simple process that allows you to host websites, manage DNS, and configure services efficiently. By following the correct steps and ensuring proper DNS setup, your domain will be ready to use in no time.