Introduction
Managing SSL certificates manually for multiple domains can be time-consuming. In WHM, the AutoSSL feature simplifies this process by automatically installing and renewing SSL certificates for your domains.
Prerequisites
- Access to WHM
- Domains already added to your hosting server
- Proper DNS configuration pointing to your server
- Valid cPanel accounts under WHM
Step 1:
Log in to WHM
Access your WHM account using your credentials.
option (which is in the search bar placed on the left), search for the option Manage AutoSSL (which is under the SSL/TLS section), and press Enter.

Step 2:
The new interface of Manage AutoSSL will be opened.

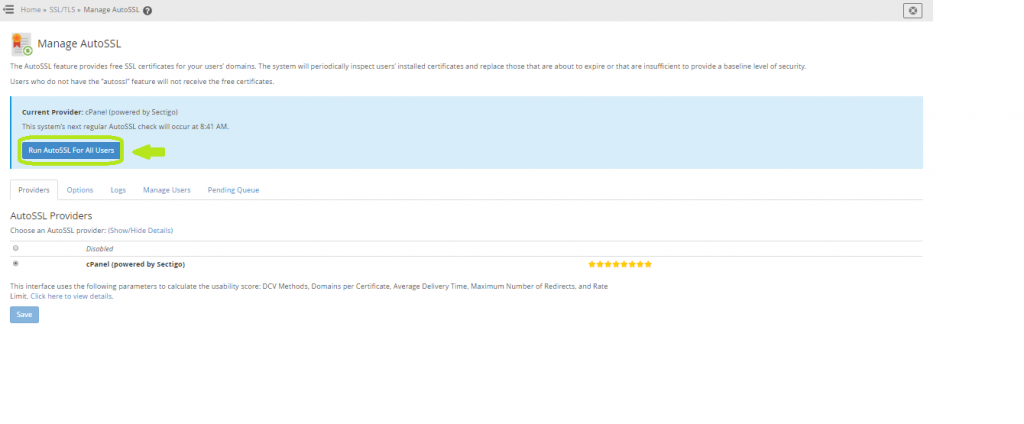
Here, you can see an option called “Providers.” Click on it. 2 options will be available
- Disabled (to disable AutoSSL)
- cPanel
You will have to enable AutoSSL first by choosing the cPanel AutoSSL Provider. So select the cPanel (Powered by XXXX) option and click on the Save button.
Step 3:
Navigate to the Manage Users tab
You will see a list of all cPanel users
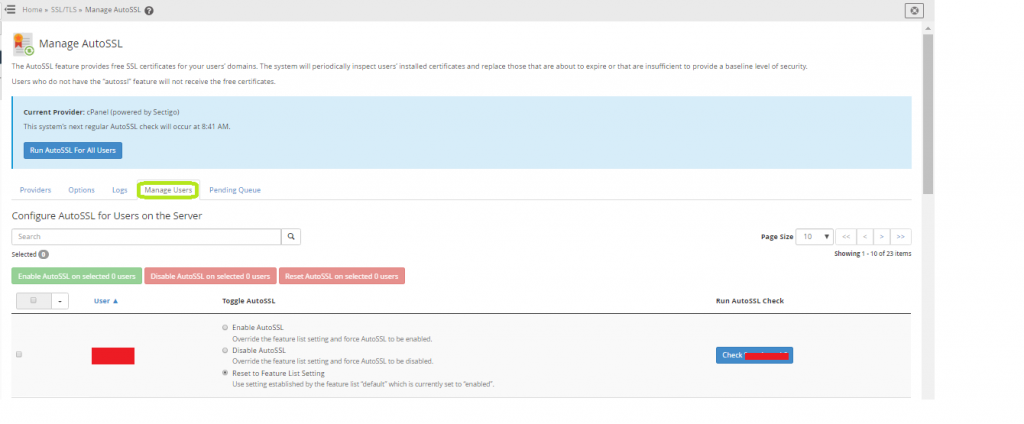
Here, all the user accounts you are managing will be displayed.
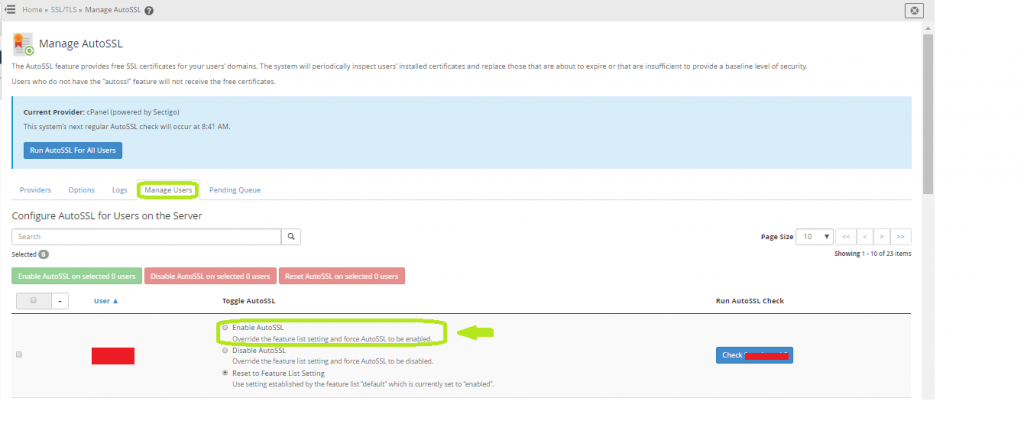
Step 4:
Enable AutoSSL for a Single User
- Search for the required username
- Under Toggle AutoSSL, select:
- Enable AutoSSL
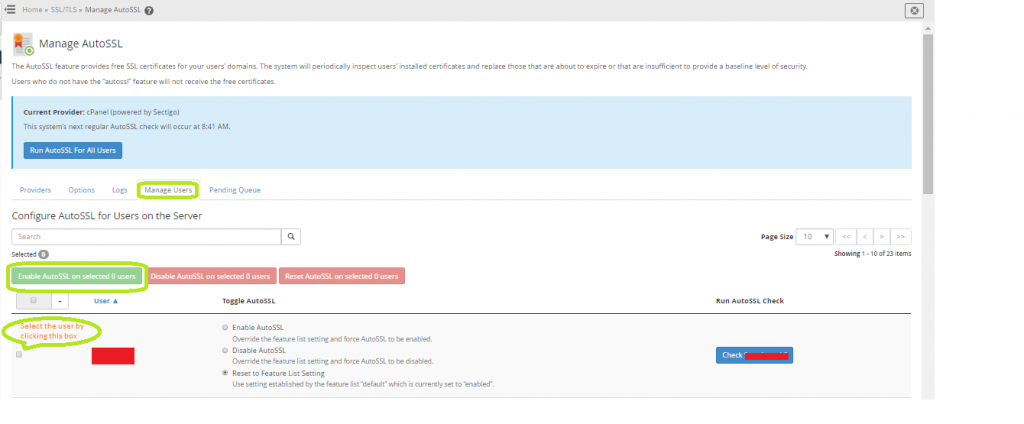
Step 5:
Enable AutoSSL for Multiple Users
- Select multiple users using checkboxes
- Click Enable AutoSSL on selected users
Step 6:
Enable AutoSSL for All Users
- Click Run AutoSSL for All Users
- This will install SSL certificates for all domains
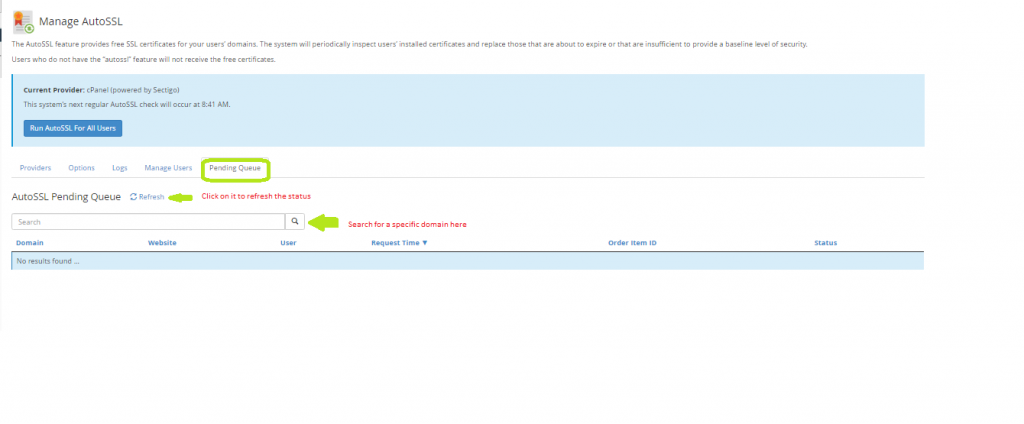
Step 7:
Monitor Installation Status
- Check the Pending Queue section
- Domains will be processed one by one
- Use the Refresh icon to update status
- Use the search to find the specific domain status
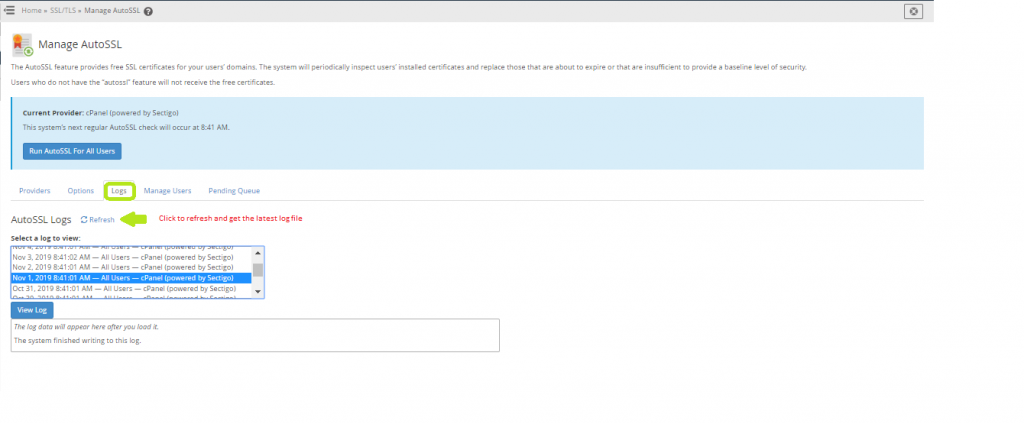
Step 8:
Check Logs
- Go to the Logs section
- Select a log and click View Log
- Review detailed SSL installation information
- Use Refresh to update logs
Conclusion
By enabling AutoSSL in WHM, SSL certificates are automatically installed and renewed for your domains. This reduces manual effort and ensures continuous HTTPS security across all hosted websites.