Introduction
Redirects in cPanel allow you to automatically send visitors from one URL to another. This is commonly used when a website moves to a new domain, a page is deleted, or you want to consolidate traffic to a single URL. Properly configured redirects help maintain SEO rankings and ensure users do not land on broken pages.
In cPanel, redirects can be created easily using the built-in Redirects tool without needing manual coding.
Prerequisites
Before setting up redirects in cPanel, ensure the following:
- You have valid login access to your cPanel account
- The domain or subdomain is already added in cPanel
- You know the source URL (old page/domain) and destination URL (new page/domain)
- Decide the redirect type:
- 301 (Permanent Redirect) – Best for SEO when the move is permanent
- 302 (Temporary Redirect) – Used for temporary changes\
IMPLEMENTATION
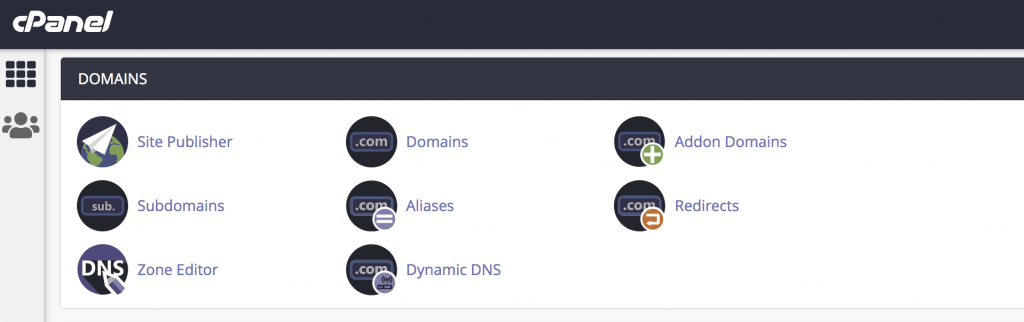
Step 01: Login to cPanel Account and click Redirects in the DOMAINS section of the cPanel home page.
Step 02: Select the redirection type whether temporary(302) or permanent (301) under the Type.

Step 03: Select the domain name and then type the web page that you want to redirect.
Step 04: Type the destination web page under the Redirects to. Keep the Redirect with or without www and click Add.
Thank you!
Conclusion
Configuring redirects in cPanel is a simple but powerful way to manage website traffic and maintain SEO performance. Whether you are migrating a website or restructuring URLs, using proper 301 or 302 redirects ensures users and search engines are correctly guided to the new destination without errors or broken links.