Introduction:
A DNS zone maintains all the DNS records of each and every domain. It contains all the records of a specific domain or all domains and their subdomains. It helps for administrative purposes and in DNS propagation. In a DNS zone file, each line holds one DNS record with TTL (Time to Live). It specifies how long the DNS records will be kept in the DNS server cache. The DNS zone file contains the mandatory record SOA (Start of Authority), which specifies the primary authoritative nameserver for the DNS zone. And also, other additional records like A records, NS records, MX records, and so on.
Prerequisites:
WHM root logins.
Implementation:
Step 1:
First, log in to the WHM panel.

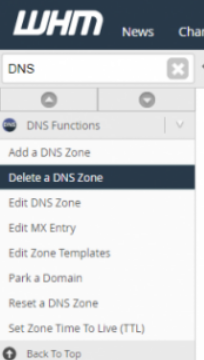
Step 2:
Navigate to DNS Functions and click on Delete a DNS Zone.
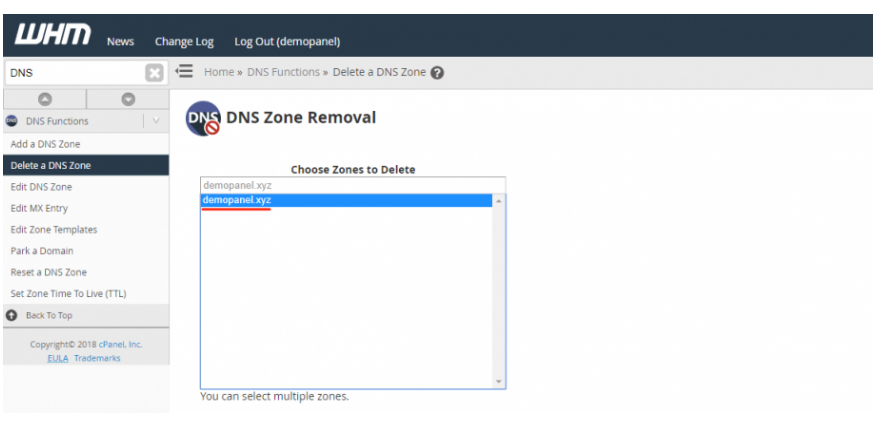
Step 3:
Select one of the domains to delete the DNS zone.
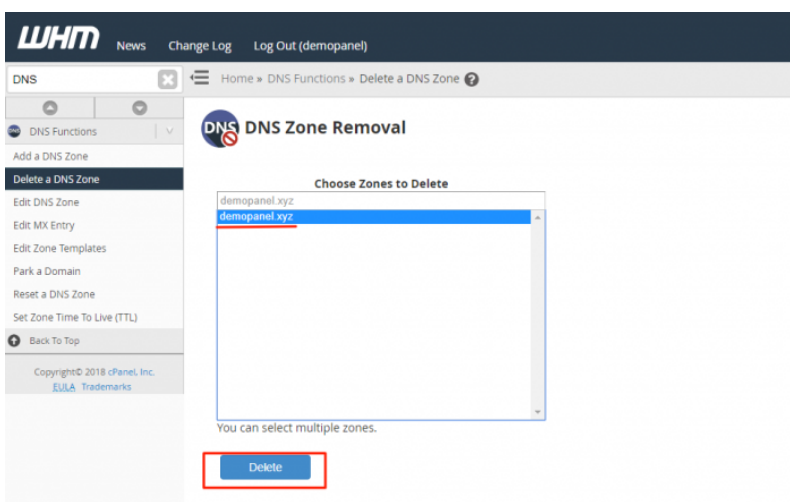
Step 4:
After selecting the domain. Finally, we have to click on the delete option.
Conclusion :
Deleting a DNS zone removes all DNS records associated with the selected domain from the server. This action should be performed with caution, as it may affect domain resolution, email delivery, and other services that depend on DNS records. Before deleting a DNS zone, ensure that it is no longer required or that a backup of the DNS records has been taken. Once the DNS zone is removed, the changes will take effect according to DNS propagation and cache expiration times.