Introduction
Nameservers are responsible for directing domain name requests to the correct hosting server by translating domain names into IP addresses. When setting up a new server or migrating websites, you may need to update the default nameservers configured in Web Host Manager (WHM). Changing the default nameservers ensures that newly created accounts use the correct DNS settings and simplifies domain management.
This guide explains how to change the default nameservers in WHM using the root account.
Prerequisites
Before you begin, ensure you have the following:
- Root access to the WHM server
- WHM login credentials
- Valid nameserver hostnames (for example,
ns1.example.comandns2.example.com) - The corresponding DNS records (A records or glue records) configured for the nameservers, if required by your domain registrar
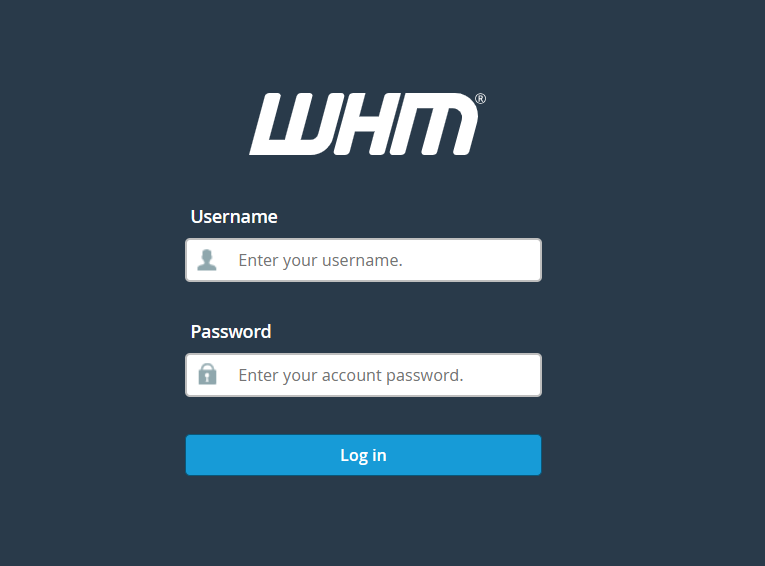
Step 1: Log in to WHM
- Open your web browser.
- Access your WHM login page (typically
https://your-server-ip:2087). - Log in using your root credentials.
Step 2: Open Basic WebHost Manager Setup
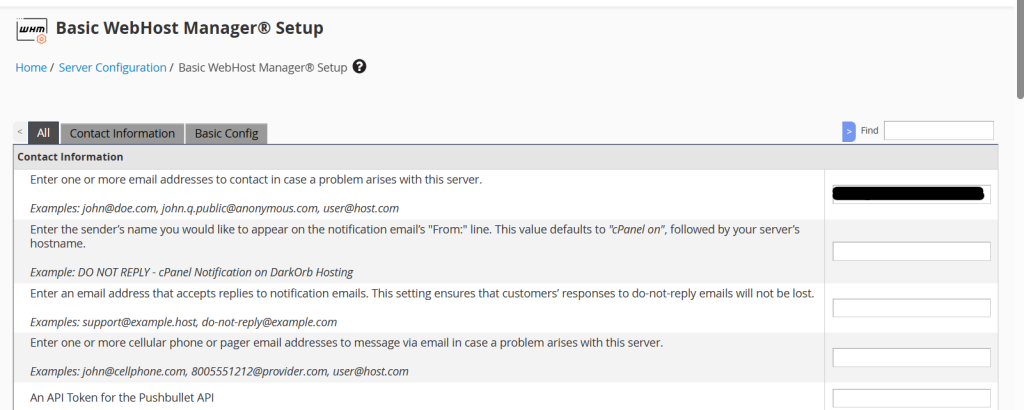
- In the left-hand search bar, type Basic.
- Click Basic WebHost Manager Setup from the search results.
Step 3: Update the Default Nameservers
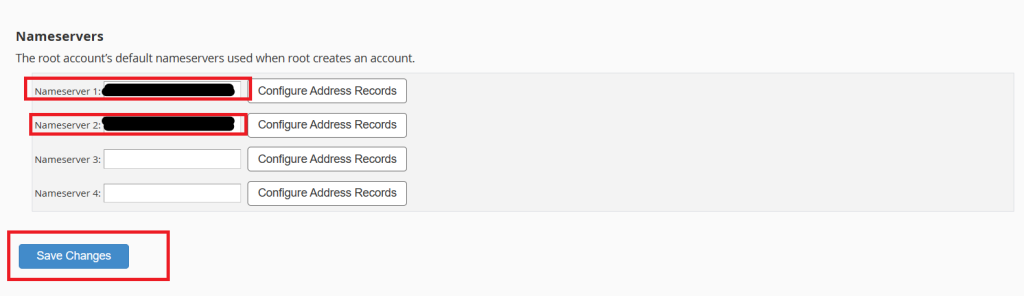
- Scroll down to the Nameservers section.
- Enter your preferred nameservers in the available fields.
Example:
ns1.example.com
ns2.example.com
- Click Save Changes.
The default nameservers for the server will be updated successfully.
Verification
To verify that the changes have been applied:
- Return to Basic WebHost Manager Setup.
- Confirm that the new nameservers are displayed under the Nameservers section.
- When creating a new hosting account, verify that the updated nameservers are automatically assigned.
Note: If these are new nameservers, ensure they are properly registered with your domain registrar and that the required DNS (glue) records are configured. DNS propagation may take up to 24–48 hours to complete globally.
Conclusion
Changing the default nameservers in WHM is a straightforward process that ensures newly created hosting accounts use the correct DNS configuration. By updating the nameservers through Basic WebHost Manager Setup, administrators can maintain consistent DNS settings across the server. After making the changes, it is recommended to verify the configuration and ensure the corresponding DNS records are correctly configured to avoid domain resolution issues.