Introduction
File Transfer Protocol (FTP) is a standard method for transferring files between a local computer and a web server. It enables administrators and users to upload, download, and manage website files efficiently.
WHM (Web Host Manager) allows server administrators to enable and configure FTP services, as well as choose the preferred FTP server software, such as Pure-FTPD or ProFTPD. This guide explains how to enable FTP access and configure FTP server settings through the WHM interface.
Prerequisites
Before you begin, ensure you have:
- Root or reseller access to the WHM interface.
- Sufficient privileges to modify service configurations.
- A supported FTP server package (Pure-FTPD or ProFTPD) installed on the server.
Procedure
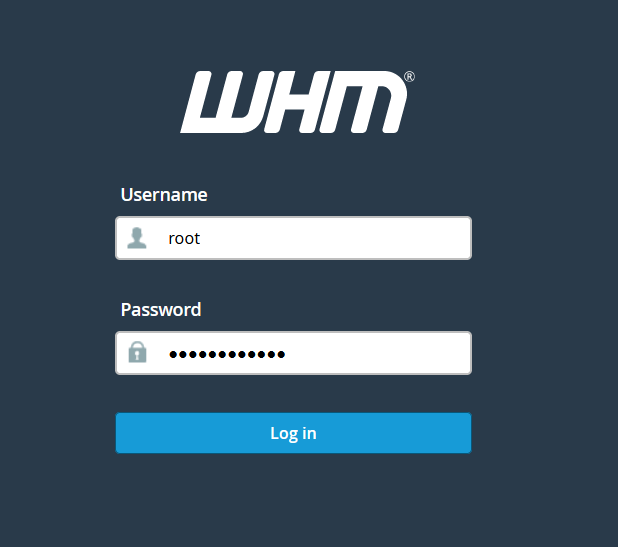
Step 1: Log in to WHM
Access the WHM interface using your administrator credentials.
Step 2: Navigate to FTP Server Selection
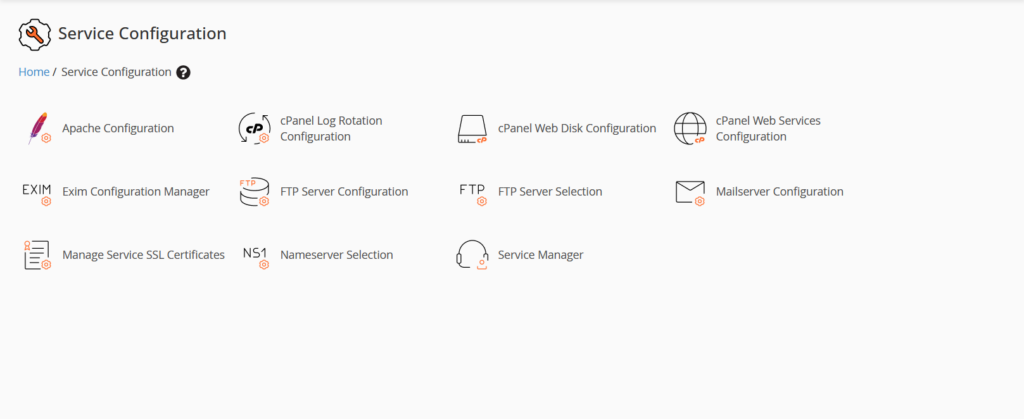
From the WHM dashboard, go to:
Home → Service Configuration → FTP Server Selection
Step 3: Select an FTP Server
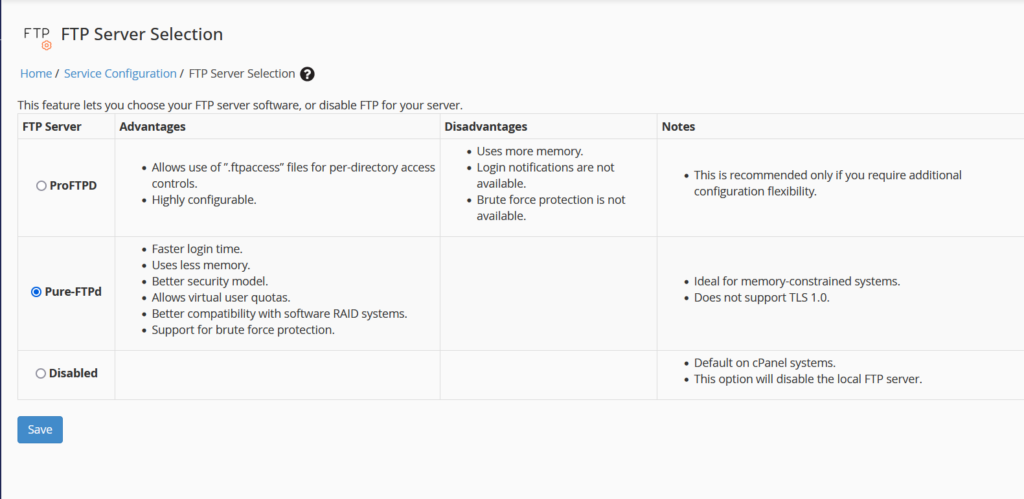
Choose the FTP server you want to use:
- Pure-FTPD
- ProFTPD
Select the option that best meets your hosting requirements.
Step 4: Save the Configuration
Click Save at the bottom of the page to apply the selected FTP server.
Step 5: Configure FTP Server Settings (Optional)
To modify additional FTP server settings, navigate to:
Home → Service Configuration → FTP Server Configuration
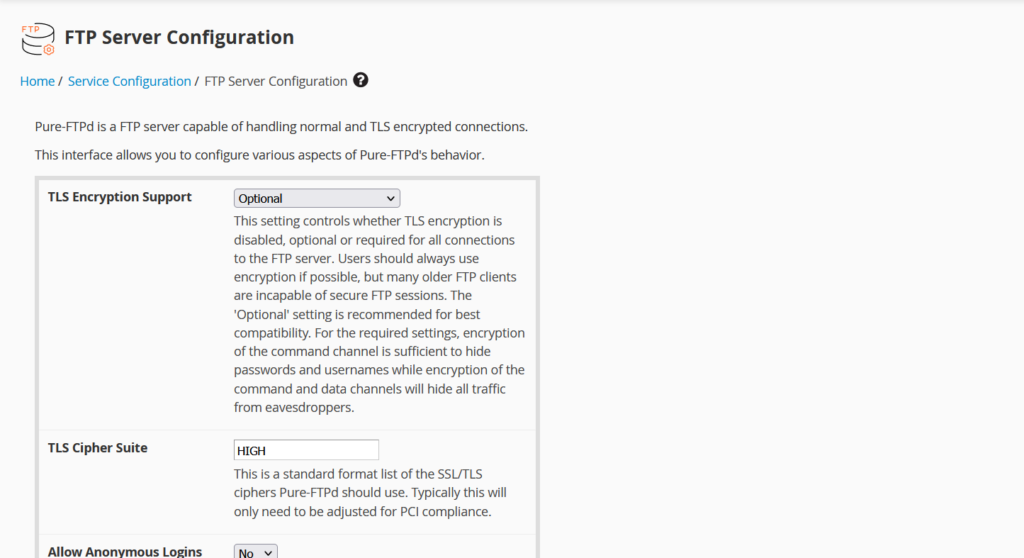
Update the required configuration options and click Save to apply the changes.
Conclusion
You have successfully enabled FTP access in WHM and selected your preferred FTP server. You can further customize FTP server settings from the FTP Server Configuration section to meet your security and operational requirements. Proper FTP configuration ensures reliable and efficient file transfers for managing hosted websites.