How To Set Up Apache Virtual Hosts on Ubuntu 16.04
How To Set Up Apache Virtual Hosts on Ubuntu 16.04
DATE: 25-04-2020
INTRODUCTION:
Virtual hosting is a method for hosting multiple domain names (with separate handling of each name) on a single server (or pool of servers).
STEP 1:Create the Directory Structure
The first step that we are going to take is to make a directory structure that will hold the site data.
sudo mkdir -p /var/www/example.com/public_html
STEP 2:Grant Permissions
Now we have the directory structure for our files, but they are owned by our root user. If we want our regular user to be able to modify files in our web directories, we can change the ownership by doing this,
sudo chown -R $www-data2:$www-data/var/www/example.com/public_html
We should also modify our permissions a little bit to ensure that read access is permitted to the general web directory and all of the files and folders it contains so that pages can be served correctly.
sudo chmod -R 755 /var/www/example.com
STEP 3:Create Demo Pages for Each Virtual Host
We can open up an index.html file in our editor by typing,
nano /var/www/example.com/public_html/index.html
In this file, create a simple HTML document that indicates the site it is connected to. The file looks like,
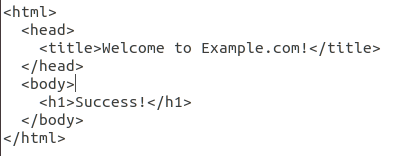
Save and close the file.
STEP4:Create New Virtual Host Files
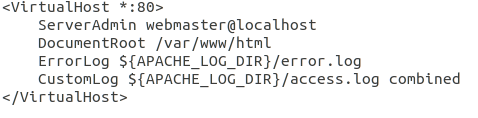
Apache comes with a default virtual host file called 000-default.conf. Start copying the file for our domain.
sudo cp /etc/apache2/sites-available/000-default.conf /etc/apache2/sites-available/example.com.conf
Open the new file in editor with root privileges,
sudo nano /etc/apache2/sites-available/example.com.conf
First, we need to change the ServerAdmin directive to an email that the site administrator can receive emails through.
ServerAdmin admin@example.com
After that we need to add servername and server alias name.
ServerName example.com
ServerAlias www.example.com
Then, we need to change the document root path as,
DocumentRoot /var/www/example.com/public_html
The file looks like,
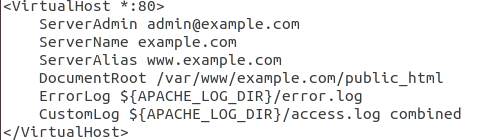
Save and close the file.
STEP 5:Enable the New Virtual Host Files
We need to enable our site using a2ensite by,
sudo a2ensite example.com.conf
Then, we need disable 000-default.conf file by,
sudo a2dissite 000-default.conf
We need to verify syntax before restarting apache,
apachectl -t
After that, we need to restart apache,
sudo systemctl restart apache2
or,
sudo service apache2 restart
STEP 7:Test your Results
We need to go to this page http://example.com.
The result page looks like,
Success!
You have successfully created virtual hosting.
Thank you.