How to upload cloud images in OpenStack via commandline
How to upload cloud images in OpenStack via commandline
Date posted : 12/04/2019
In this article we are going to explain about Openstack images management. Generally this cam be done via Horizon dashboard under Images section. But we will explain how to upload images via commandline.

Download an image from internet. We use debian image for example. Login to the server where the glance service is running, in our case it’s a allinone node.
cd /root
wget http://cdimage.debian.org/cdimage/openstack/current-9/debian-9-openstack-amd64.qcow2
Source your keystone admin credentials using below source command
[root@os ~]# source keystonerc_admin
[root@os ~(keystone_admin)]#
Go to the folder where your have place cloud image qcow2 file.
[root@os ~(keystone_admin)]# cd /root/
[root@os ~(keystone_admin)]#
To upload an image to glance
Syntax :
[root@os ~(keystone_admin)]# openstack image create –disk-format qcow2 –container-format bare –public –file {Name-Cloud-Image}.qcow2 <Name-of-Image>
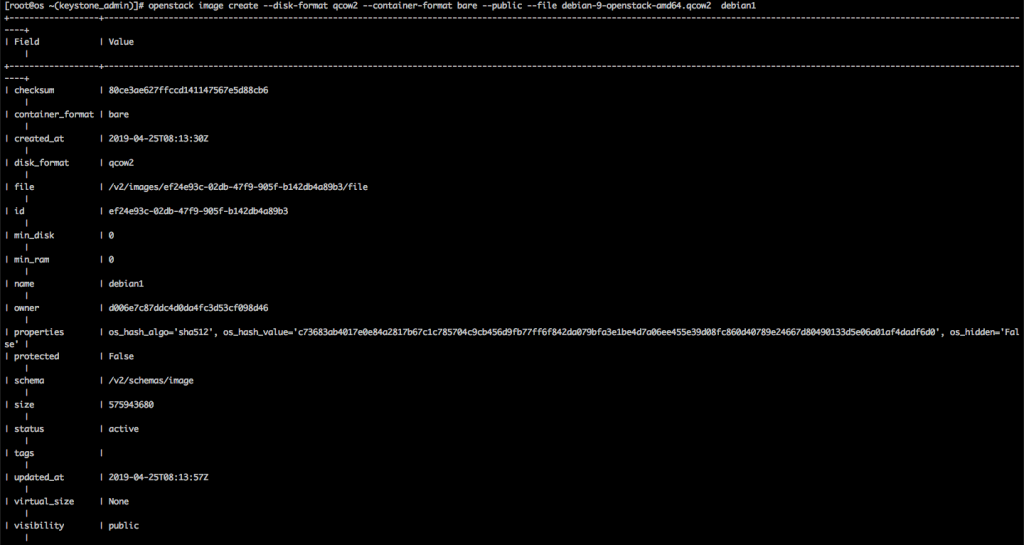
Example : Let’s assume I want to upload Debian9 qcow2 file.
[root@os ~(keystone_admin)]# openstack image create --disk-format qcow2 --container-format bare --public --file debian-9-openstack-amd64.qcow2 debian1

To view the uploaded images
[root@os ~(keystone_admin)]# openstack image list
+--------------------------------------+------------+--------+
| ID                                   | Name       | Status |
+--------------------------------------+------------+--------+
| eecc5097-4e5d-4c94-a45b-55086eac58ff | CentOS7    | active |
| 91269ac5-d934-400f-8e97-bc7a59b33245 | Ubuntu VDK | active |
| 2e55d18b-262d-4e7a-9d37-3af350a885f7 | cirros     | active |
| 6be91be3-d1c0-45b2-88d5-295718555bd8 | debian     | active |
| c3f0db79-d08d-4582-8bd1-e39308aef705 | debian9    | active |
+--------------------------------------+------------+--------+
Deleting a Cloud Image
Syntax :
# openstack image delete <Image-Name-or-Image-ID>
[root@os ~(keystone_admin)]# openstack image delete debian1
[root@os ~(keystone_admin)]#
Thanks for using pheonix solutions.
You find this tutorial helpful? Share with your friends to keep it alive.
