Implementing GitOps with Argo CD: Installation and Initial Deployment
Introduction
As a DevOps engineer, maintaining consistency across Kubernetes environments is a constant battle. Manual deployments, ad-hoc kubectl apply commands, and configuration drift often lead to operational headaches and production outages.
The solution is GitOps.
By adopting ArgoCD, we treat Git as the single source of truth for our cluster state. Any change committed to Git is automatically reflected in the cluster—resulting in deployments that are clean, transparent, and auditable.
In this guide, I will walk you through installing ArgoCD on Kubernetes and deploying your first application using both the CLI and the Web UI.
Prerequisites
Before we begin, ensure you have the following:
- A running Kubernetes Cluster (v1.16+)
- kubectl installed and configured to talk to your cluster
- argocd CLI installed on your Server
Install ArgoCD CLI
If you haven’t installed the CLI yet, run one of the following commands:
curl -sSL -o argocd-linux-amd64 https://github.com/argoproj/argocd/releases/latest/download/argocd-linux-amd64
sudo install -m 555 argocd-linux-amd64 /usr/local/bin/argocd
Installing ArgoCD
1. Create a Dedicated Namespace
I always prefer isolating system tools in their own namespaces.
kubectl create namespace argocd2. Install ArgoCD Core Components
Apply the official installation manifest to deploy ArgoCD.
kubectl apply -n argocd -f https://raw.githubusercontent.com/argoproj/argo-cd/stable/manifests/install.yaml3. Get the Initial ArgoCD Admin Password
The initial password is stored in a Kubernetes secret. Retrieve and decode it using the following command:
kubectl -n argocd get secret argocd-initial-admin-secret -o jsonpath="{.data.password}" | base64 --decode4. Access the ArgoCD Server
By default, the ArgoCD API server is not exposed externally. For local testing or simple access, use kubectl port-forward to access the CLI and UI.
kubectl port-forward svc/argocd-server -n argocd 8080:443Keep this terminal open. You can now access ArgoCD at https://localhost:8080.
5. Log in to ArgoCD Using the CLI
If you have the ArgoCD CLI installed, log in using the credentials retrieved above.
argocd login localhost:8080 --username admin --password <PASSWORD> --insecure(Note: Replace localhost:8080 with your specific IP/Port if using a LoadBalancer instead of port-forwarding)
Connecting Git to ArgoCD
6. Add the GitLab Repository
Connect your Git repository to ArgoCD so it can read your manifests.
argocd repo add https://git.pheonixsolutions.com/<group>/<repository>.git \
--username <GITLAB_USERNAME> \
--password <GITLAB_TOKEN>
7. Verify Repository Added
Confirm the repository was successfully added.
argocd repo listDeploying an Application via Web UI
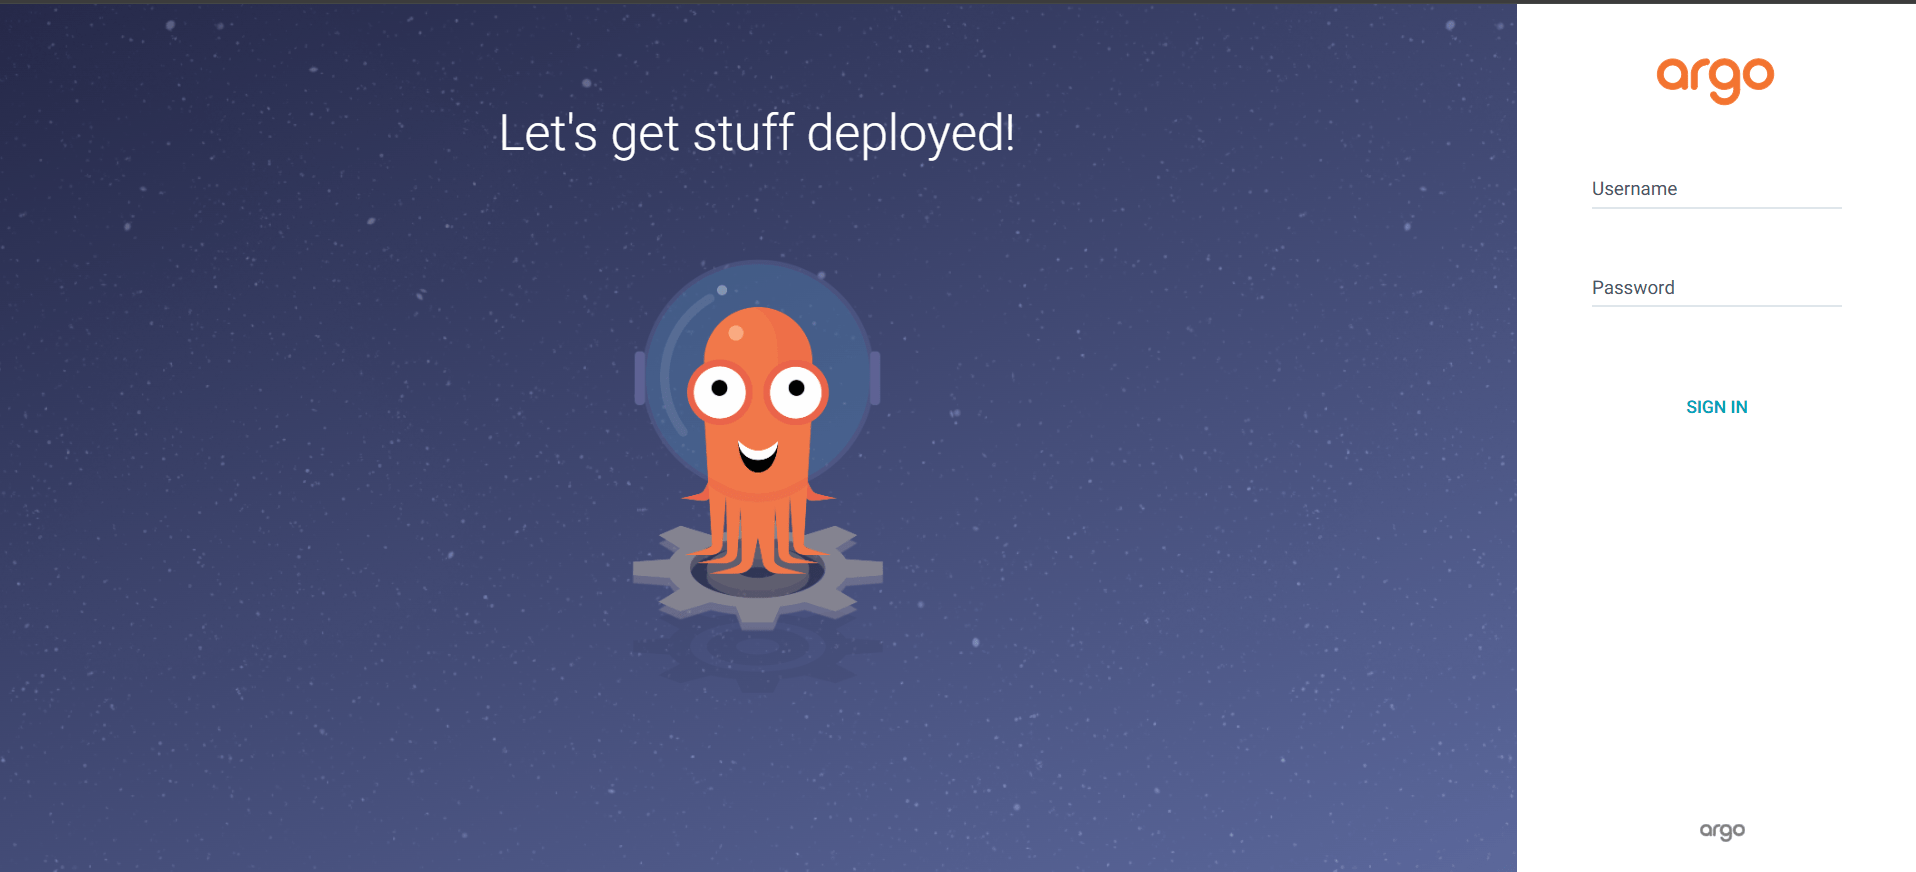
8. Log in to the ArgoCD Dashboard
Open your browser and navigate to the ArgoCD Server URL (e.g., https://localhost:8080 if using port-forwarding).
- Username:
admin - Password: Retrieved in Step 3
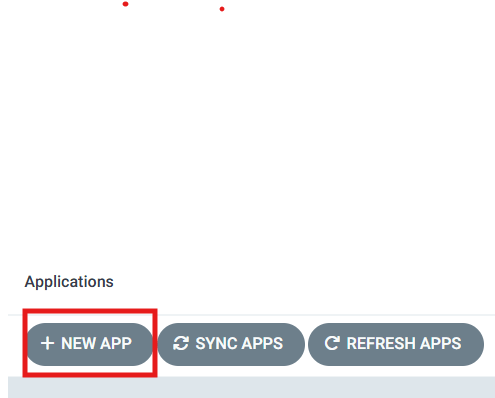
9. Create a New Application
Click the + NEW APP button in the top-left corner of the dashboard.
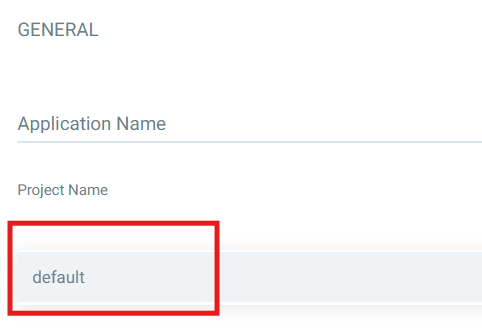
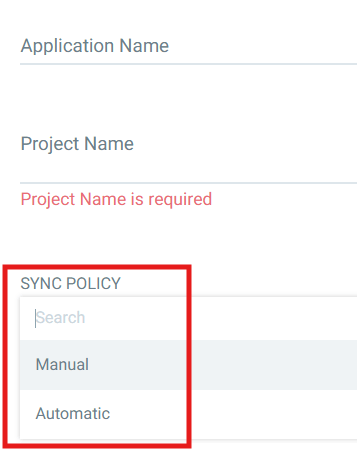
10. Configure Application Details
Fill in the metadata fields:
- Application Name: Your desired app name
- Project:
default - Sync Policy: Automatic (recommended for GitOps)

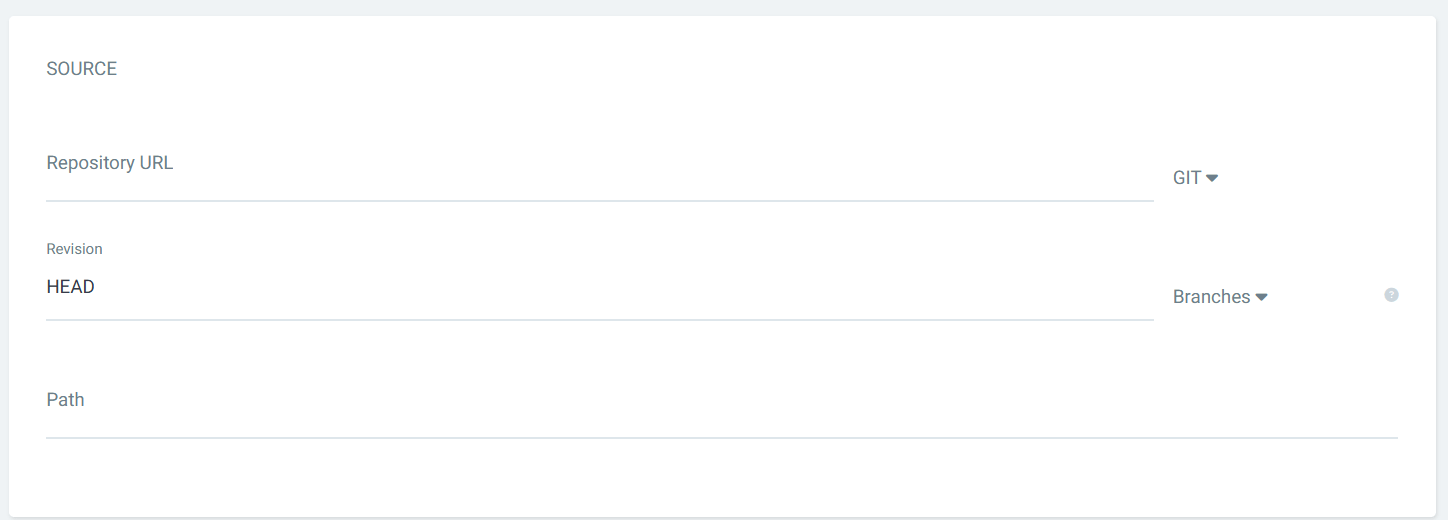
11. Configure Source Details
Tell ArgoCD where your manifests are:
- Repository URL: Your GitLab repository URL
- Revision: Branch name (e.g.,
mainordev) - Path: The folder path containing Kubernetes manifests or Helm chart
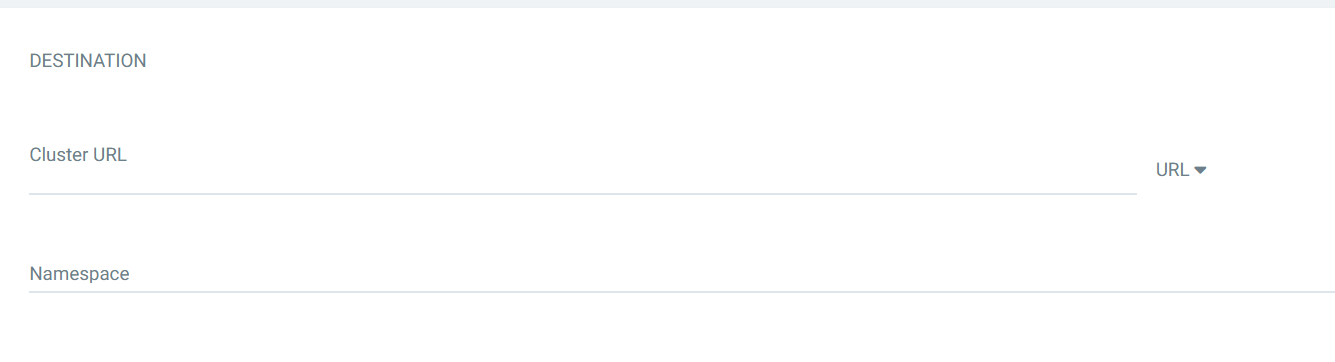
12. Configure Destination
Define where the app will run:
- Cluster URL: Select
in-cluster(or your target cluster) - Namespace: Specify the target namespace where you want the app deployed
13. Create the Application
Click Create at the top of the pane.

ArgoCD will now:
- Pull manifests from GitLab
- Apply them to the Kubernetes cluster
- Automatically sync changes when new Git commits are made
Conclusion
You have successfully:
- Installed ArgoCD
- Logged in using both CLI and Web UI
- Added a GitLab repository
- Created and deployed an application
- Enabled automatic synchronization
ArgoCD will continuously monitor your Git repository, and any new Git commit will automatically update your Kubernetes deployment.