Integrating modern authentication to React application
Authentication is essential for all modern web applications. Instead of creating and integrating authentication to protect our application we can choose one from wide range of IAM platforms available.
Clerk is one of the modern authentication/user management platform that provides:
- Sign In/Sign Up Forms
- Social Login
- User Profile & Roles Management
- JWT authentication
To configure an account in Clerk platform, follow the steps below in the Clerk platform:
- Sign Up to Clerk account and create any application. We can create separate instances for development and production of the same application.
- Add organization to the created application so that users created under the application can be mapped to the organization.
- Under Configuration, we can setup Roles & Permissions, API keys, Account portal, webhooks, etc.
- Copy the frontend publishable key, backend secret key, JWT key, JWT url, issuer and Webhook API key.
The steps to integrate Clerk into React application:
- Create a React application with Node, Express for the backend.
- Install clerk using
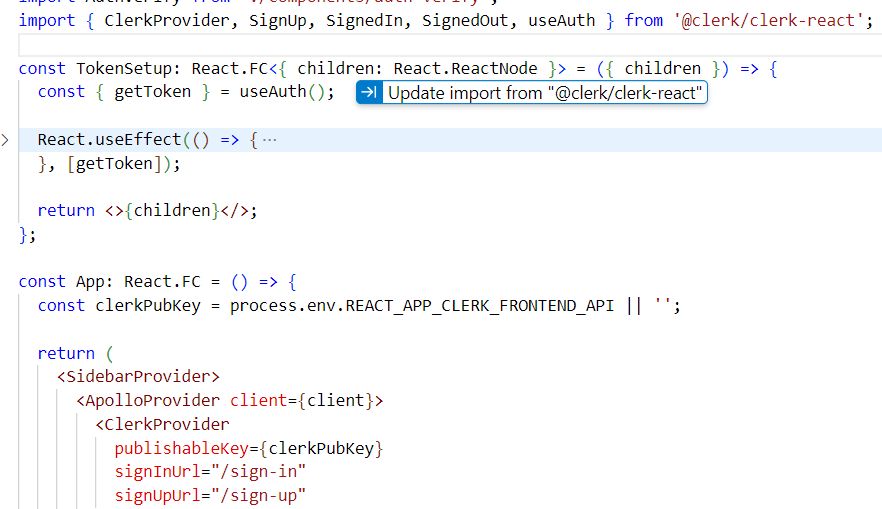
npm install @clerk/clerk-react - Setup Clerk by wrapping the application inside Clerk Provider as shown below.
- Configure the Clerk keys to the application’s environment variables file.
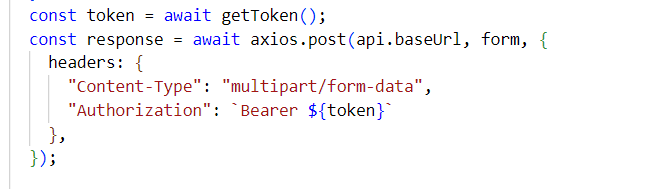
- We can get jwt token signed by clerk using useAuth as shown below and this token is passed in headers for the api calls.
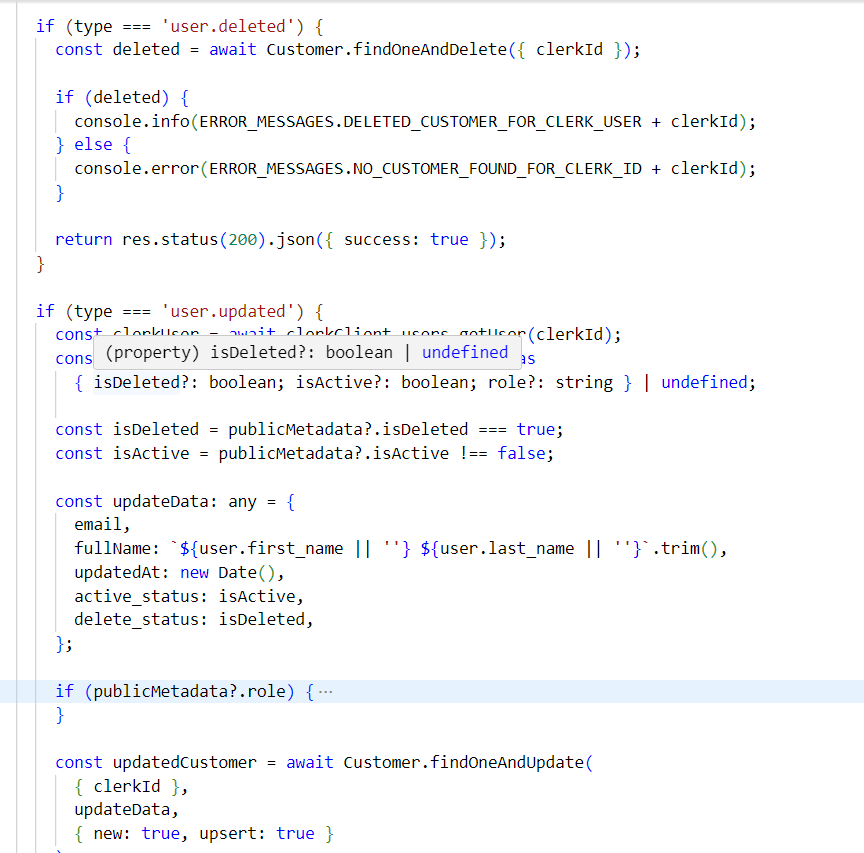
- We can also add webhooks to our application to integrate the events that occur in clerk such as user creation, update or delete so that the changes will be synced to our application UI and database.

In this way, any modern authentication system can be integrated to React application for providing better user management and security.