How do I whitelist a domain in Spam Assassin on cPanel
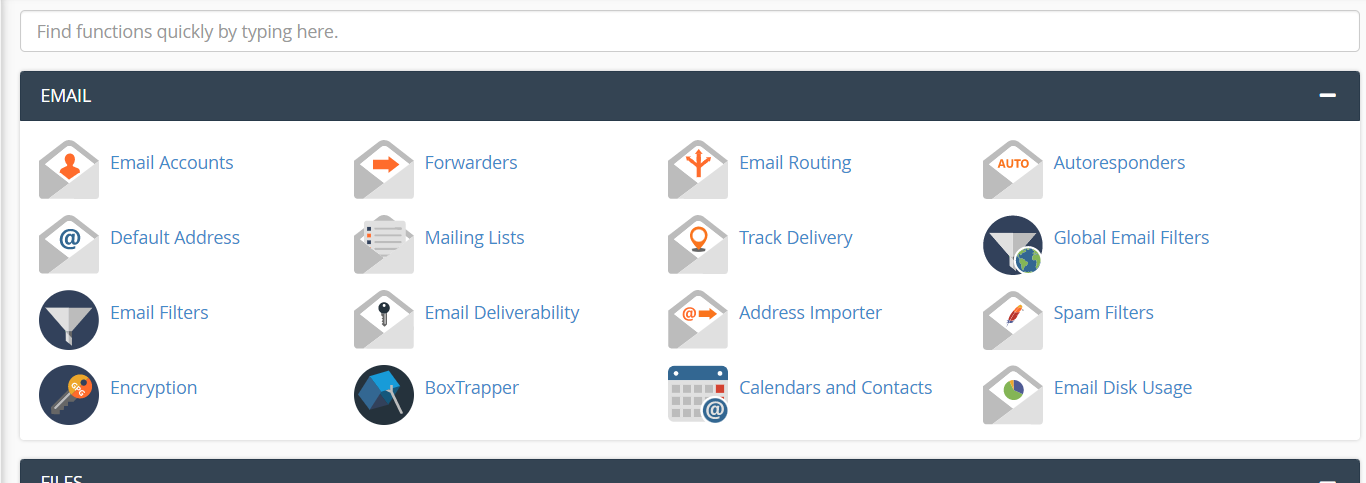
Step 1: Login to your cPanel account and find Spam Filters.
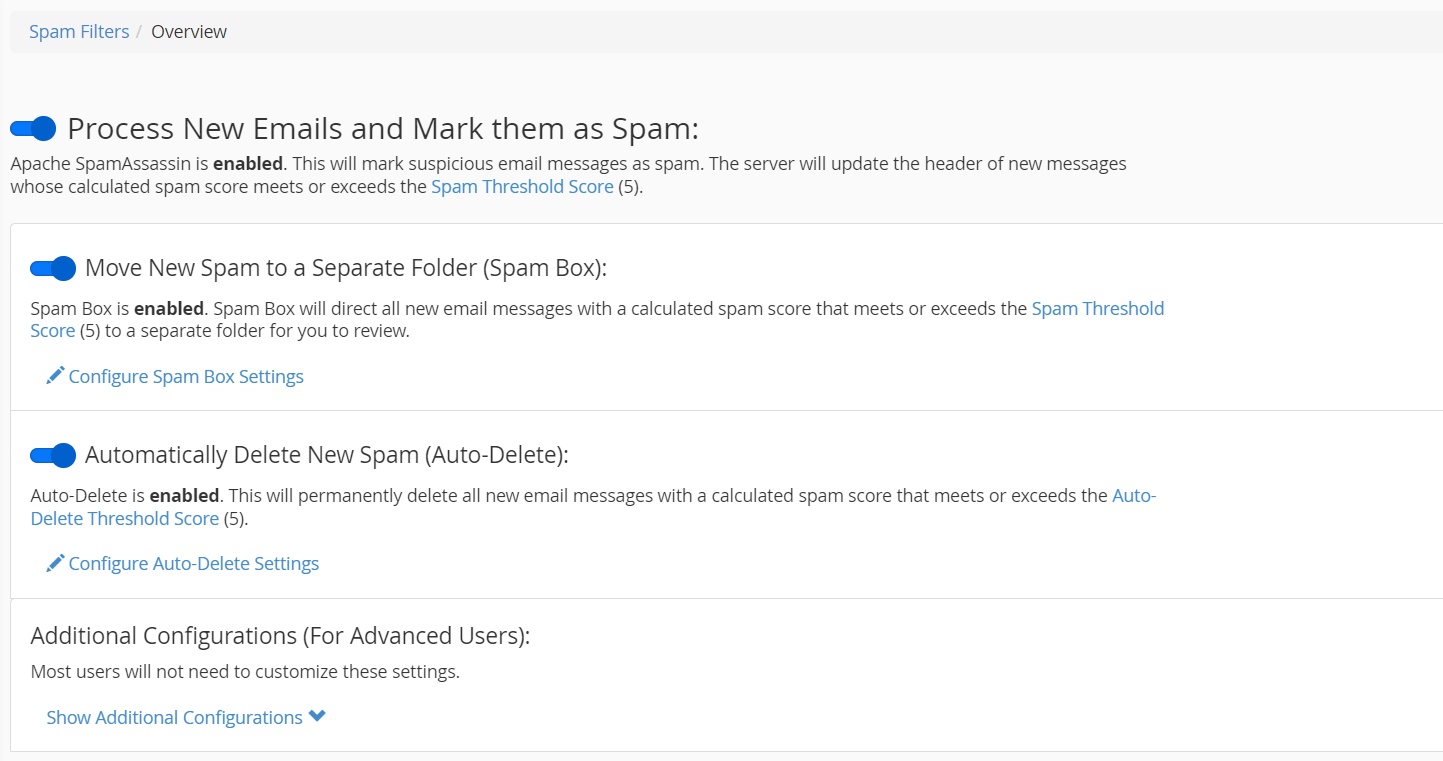
Step 2:Click on “Show Additional Configurations” at the bottom.
Step 3:Next, click “Edit Spam Whitelist settings”.

Step 4:Click “Add A New “whitelist_from” Item”.
If SpamAssassin often blocks certain email senders and marks its emails as spam (incorrectly), it is possible to add the sender to the whitelist via Edit Spam Whitelist Settings.
To whitelist a specific sender, just enter it into the whitelist_from field:

Step 5:Add the domain you wish to use.
It is possible to add some email addresses or domains to the whitelist using the Whitelist (Emails Always Allowed)
Step 6:Finally, click “Update Whitelist (whitelist_form)” to save the entry.