How to create a project and overflow menu on your application in android studio
How to create a project and overflow menu on your application in android studio
Date posted: 22/03/2019
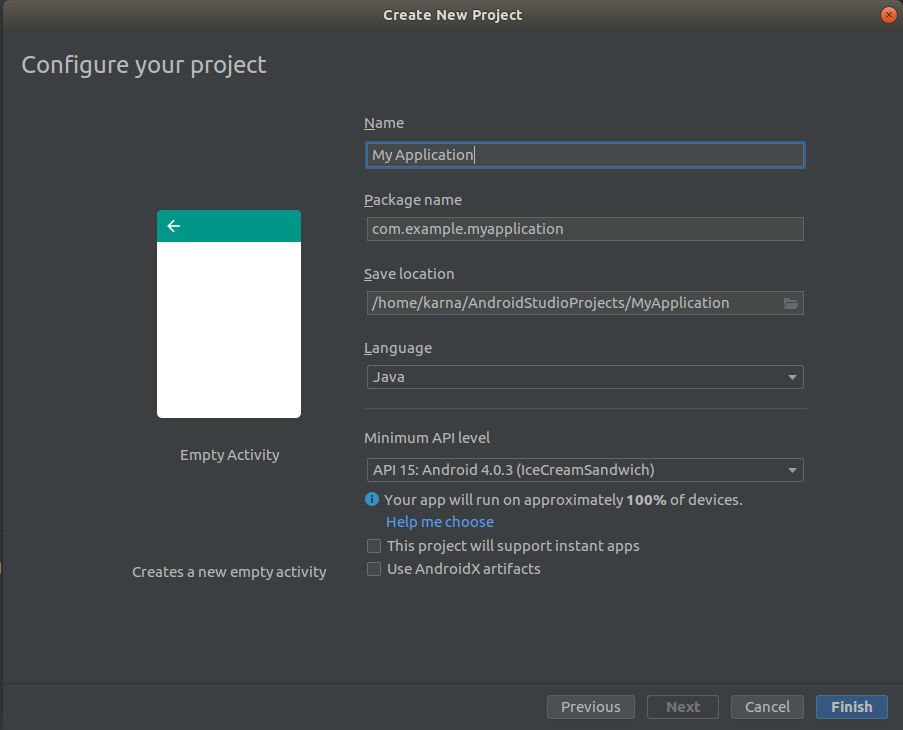
Step 1 : Create a new project in android studio
Open android studio application. Then go to File>new>new project.Fill the required details on the appropriate place.
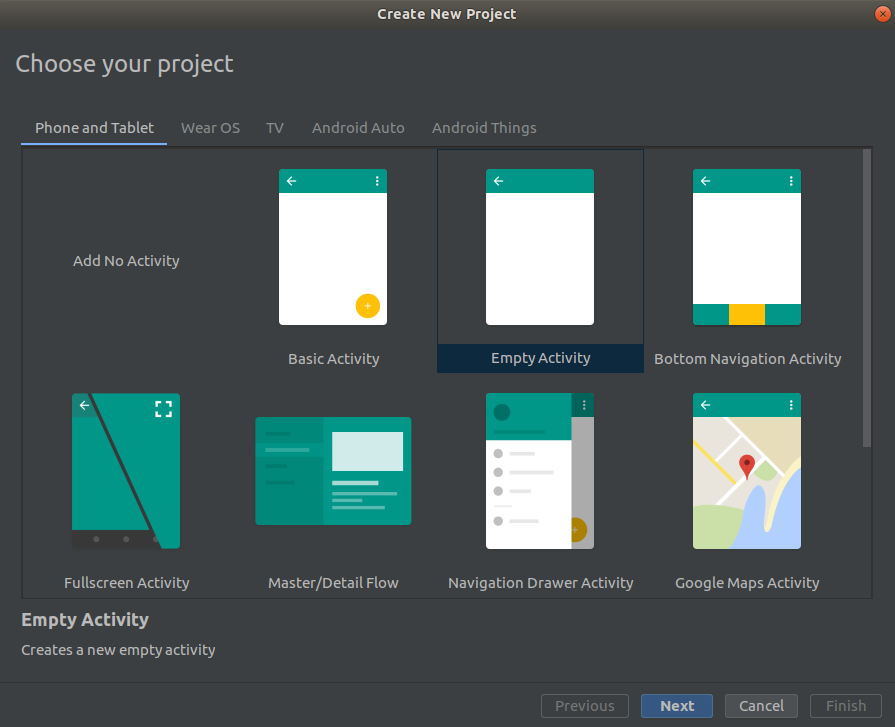
Step 2 : Select a Device And Activity
Select the device you want the program to run on.
This screen suggests you add any activity at first. If you don’t want to add any activity at starting, you can select Add no activity option. If you have selected Phone in option in the last screen then it will display the only phone related suggestions.Select any one activity depends on your projects requirements.
Step 3 : Configure the project
Give name for the project, Package name,Location.And Choose either java or kotlin.
And also choose the Minimum API level for your selected device.
When you select Minimum API level, Android studio will give you some active android devices percentage that will support your android application.
At last End the process by Click on Finish.
Step 4 : Create Overflow Feature
Menu Button Creation
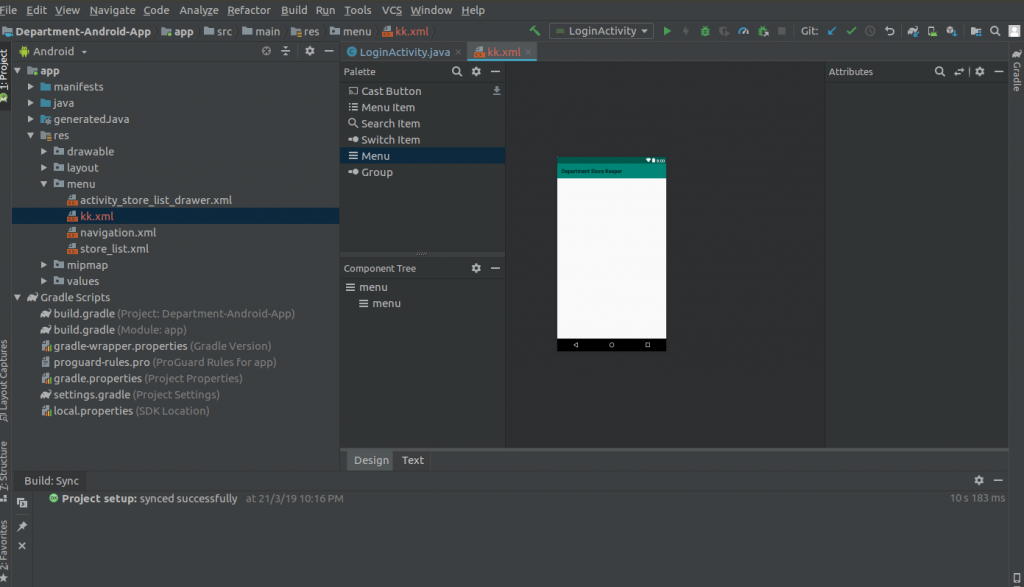
Place the mouse on res file and right click and then Select New>Android Resource File.
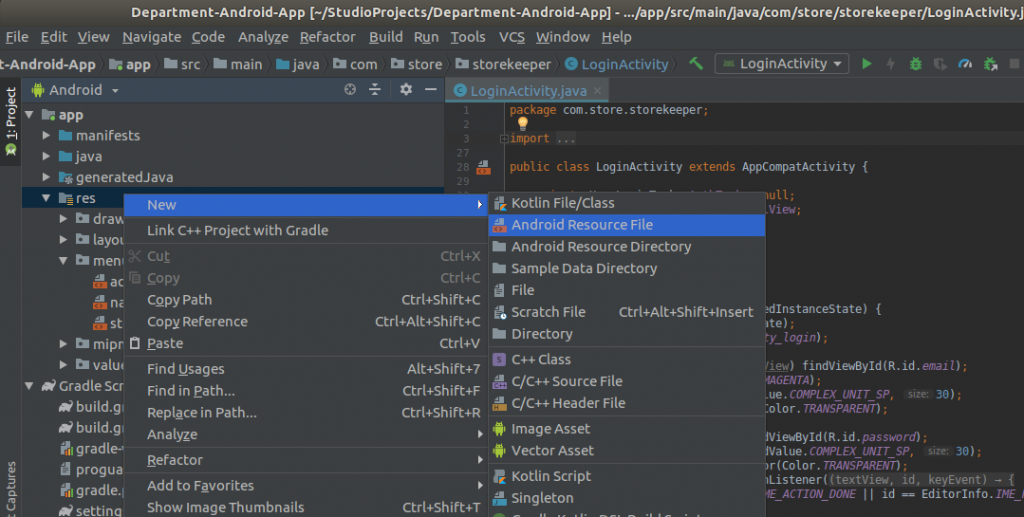
Set Resource type as Menu. Then give a name for the file and Click OK.
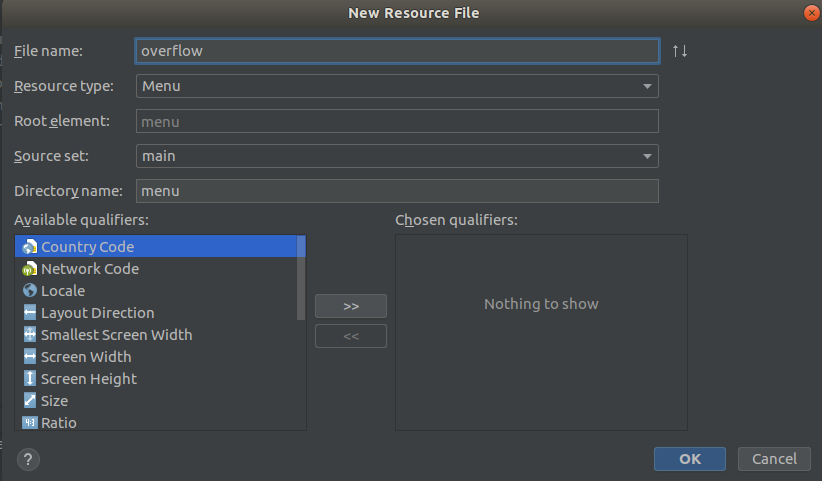
Here many different feature are available. You have to have a separate layout file for overflow menu.
Thanks for using pheonix solutions.
You find this tutorial helpful? Share with your friends to keep it alive.

