How to Create First project in Android Studio.
How to Create First project in Android Studio.
Date : 15/03/2019
Introduction :
Login Activity is a option which is used to display login page. Here we are going to create first project on Login page.
Steps : To create a Login page(login activity) or any first project.
1). Open Android Studio application, then click Start a new Android Studio project.

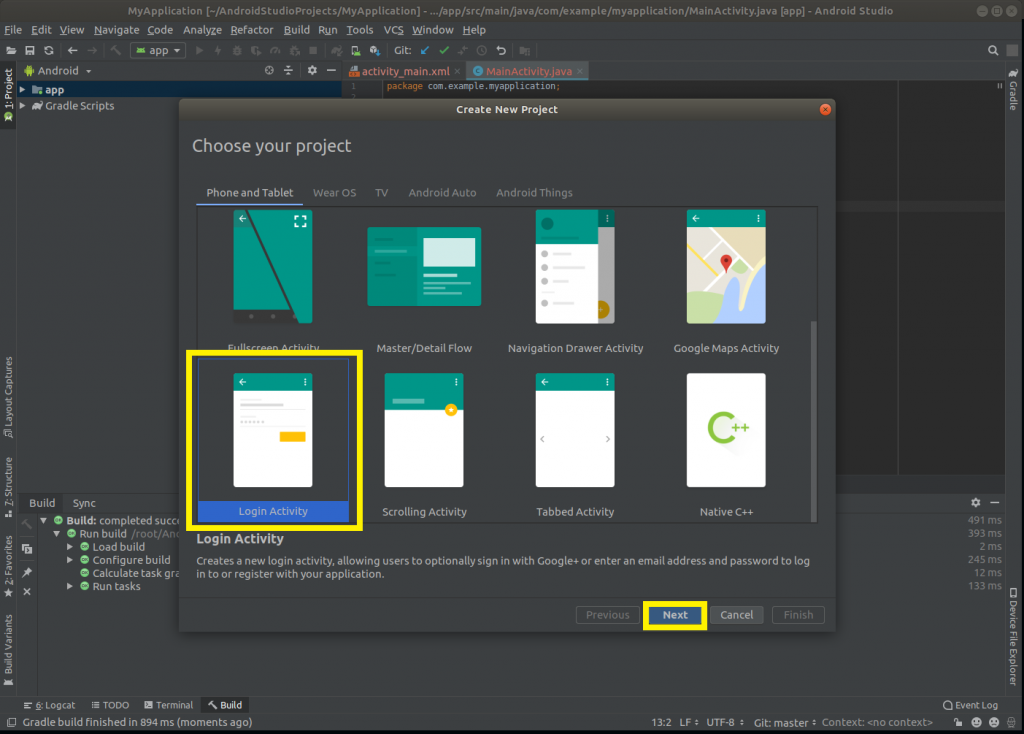
2). Then Choose your project as you want. In here selected Login Activity and click Next button.
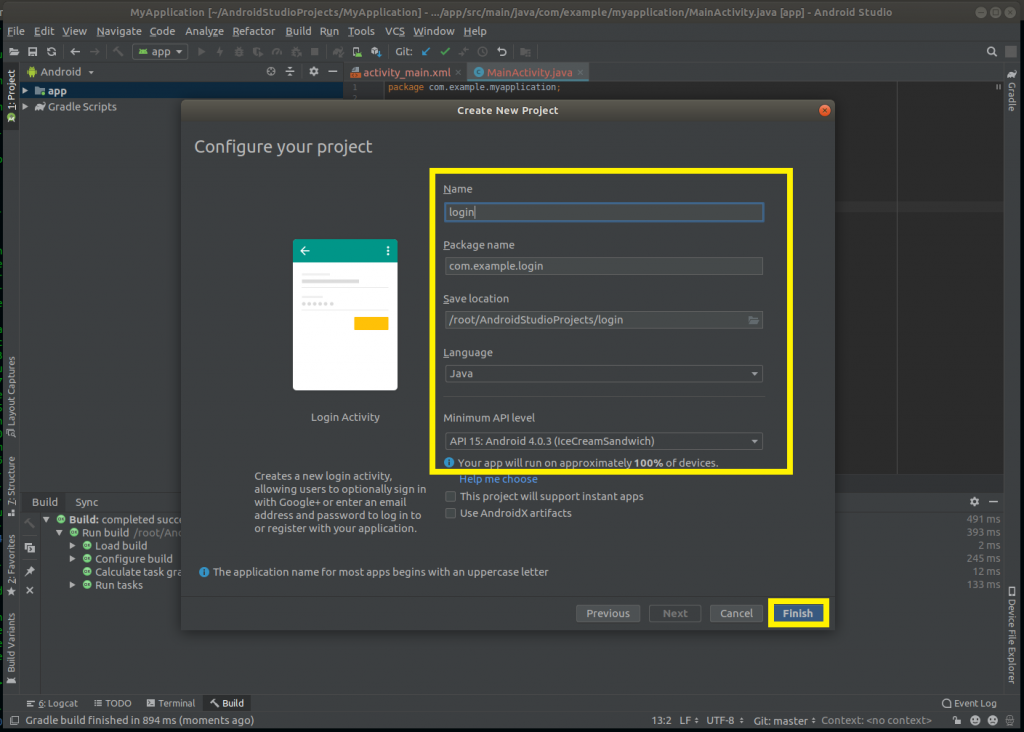
3). Then enter the name, select the location, language and minimum API level and click the Finish button
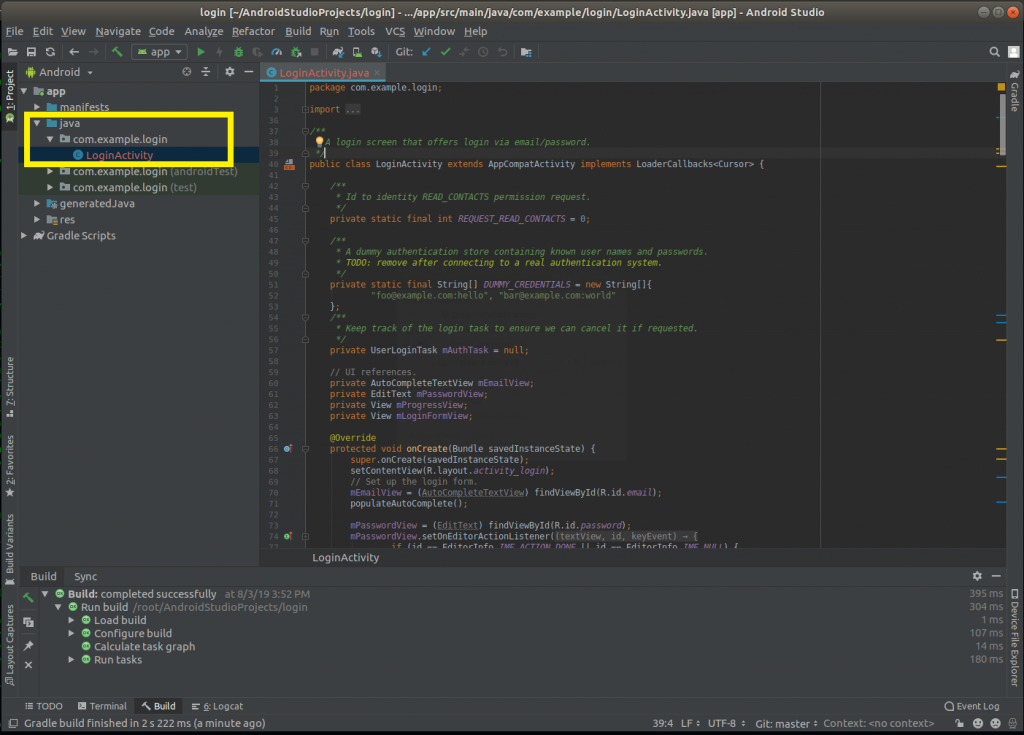
4). After few minute it will open LoginActivity.java, it is the entry point for the app.
5). Then click layout>activity_login.xml and open it. It is the layout for the activity’s UI. Here you can edit page by clicking Design button and to view text for design clicking Text button .
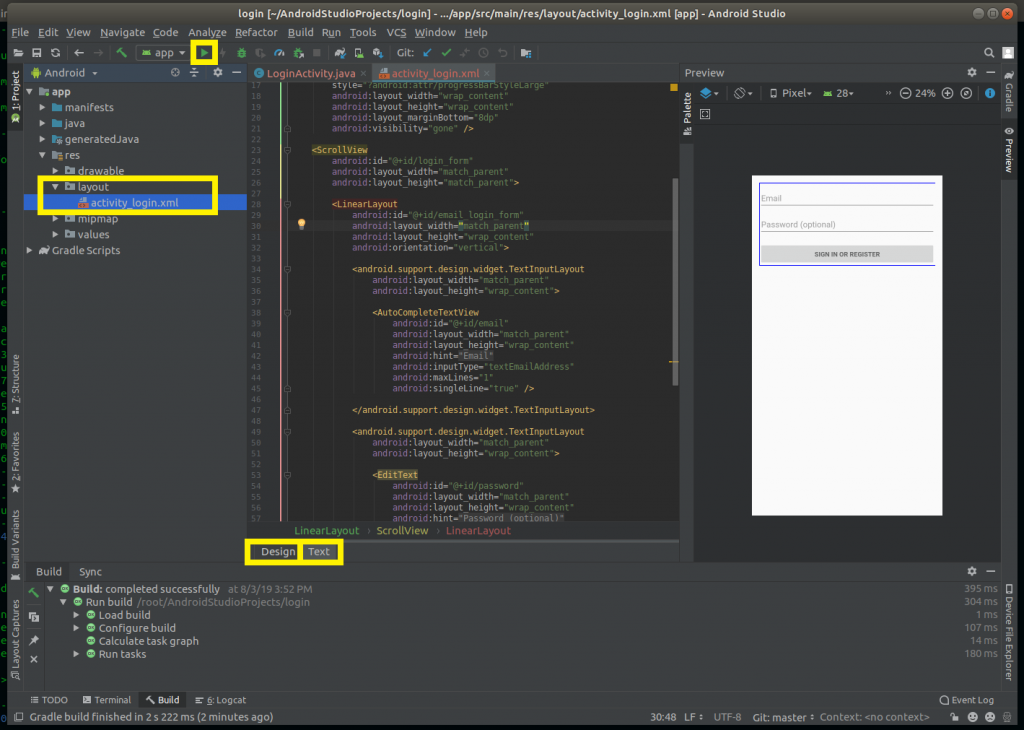
Then to run the project click the Play button.
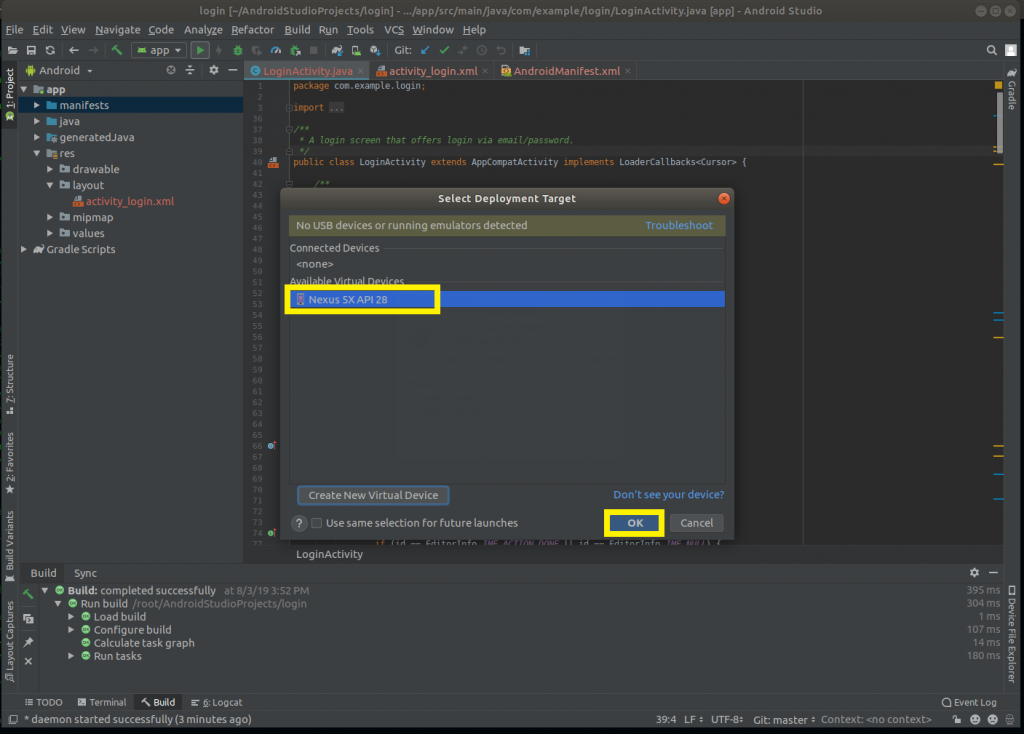
6). After that a new window will open Select the Devices and click ok button.
If you don’t have Any Virtual Device then click this link https://blog.pheonixsolutions.com/how-to-run-the-android-studio-projectapp-on-emulator/
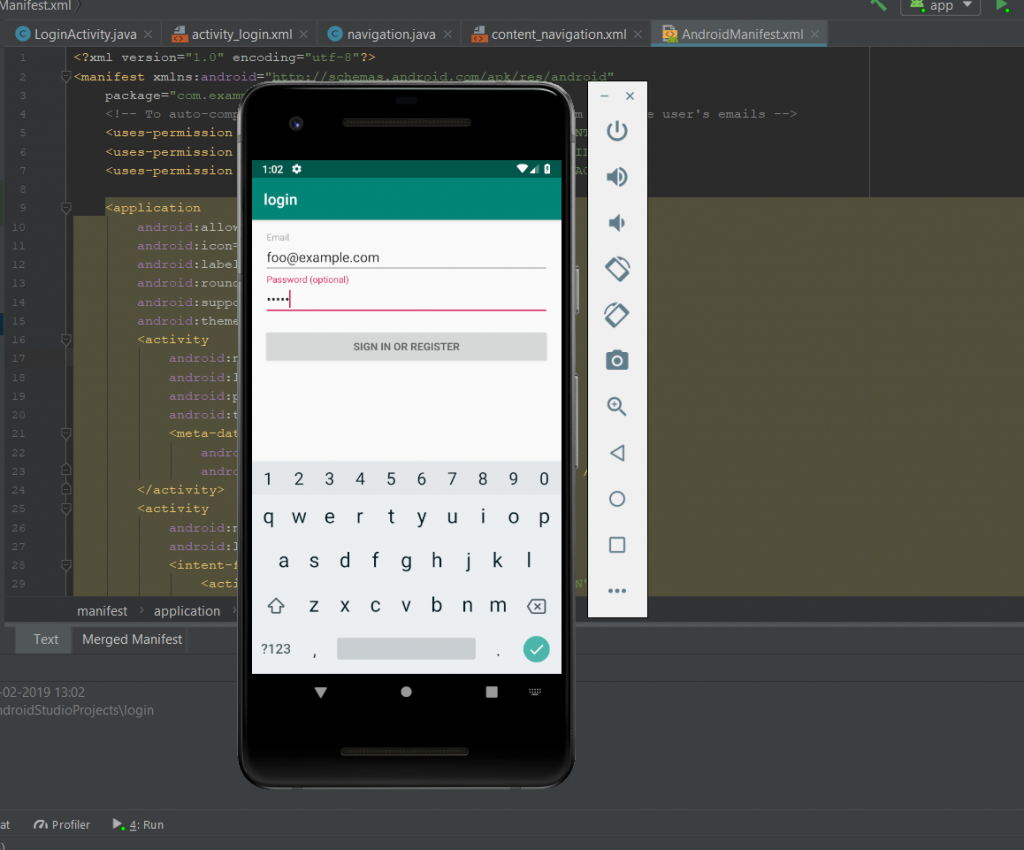
7). Finally you will see your project on Emulator.
Thanks for using pheonix solutions.
You find this tutorial helpful? Share with your friends to keep it alive.
1 thought on “How to Create First project in Android Studio.”