How to install Android Studio
How to install Android Studio
Date posted: 07/03/2019
Step 1 : Prerequisites to install android studio
Windows
- Minimum 3 GB RAM
- Microsoft Windows 7/8/10 (32-bit or 64-bit)
- Available Disk Space – 4 GB
- Resolution – 1280 * 800
Mac
- 1280 x 800 minimum screen resolution
- 2 GB of available disk space minimum, 4 GB recommended
- 3 GB RAM minimum, 8 GB RAM recommended
Step 2 : Click the link and Download Android Studio Application for windows (32 bit or 64 bit)
https://developer.android.com/studio
Step 3 : Follow the installation process
Double click .exe file of android studio on your system or Extract .zip file If You downloaded zip file and then click .exe file on your unpacked zip file.
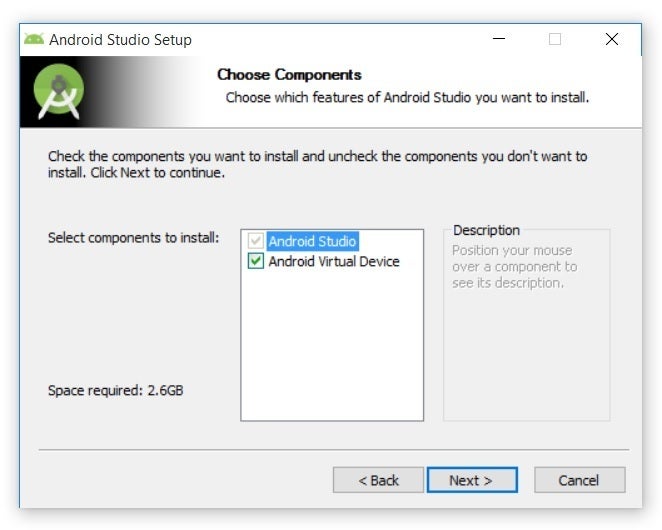
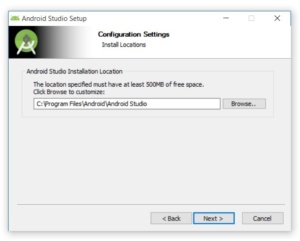
Click Next without changes.
Setup desired location in your system.
Keep the default and Click Install. And it will show installing process.
Then click on Next for completion of installation process.
Running Android Studio
Automatically the will start to run.And Click On do not import settings.
You can observe Finding Available SDK Components message box. After that choose next option.
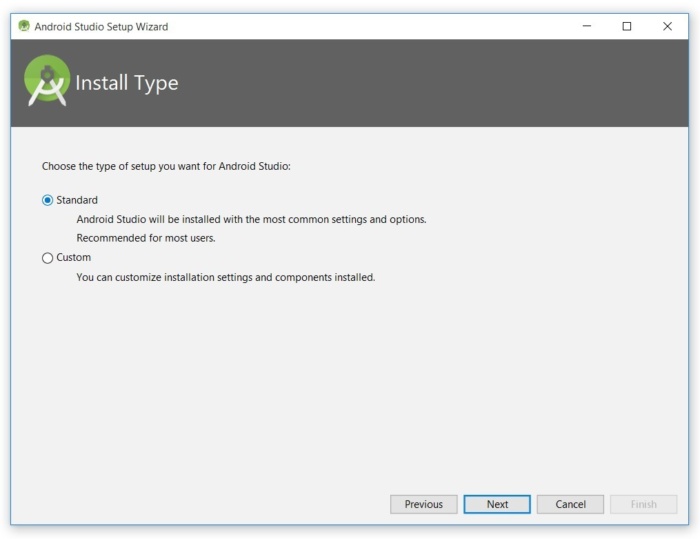
You can see available device to run Android application run on.Click on Next.
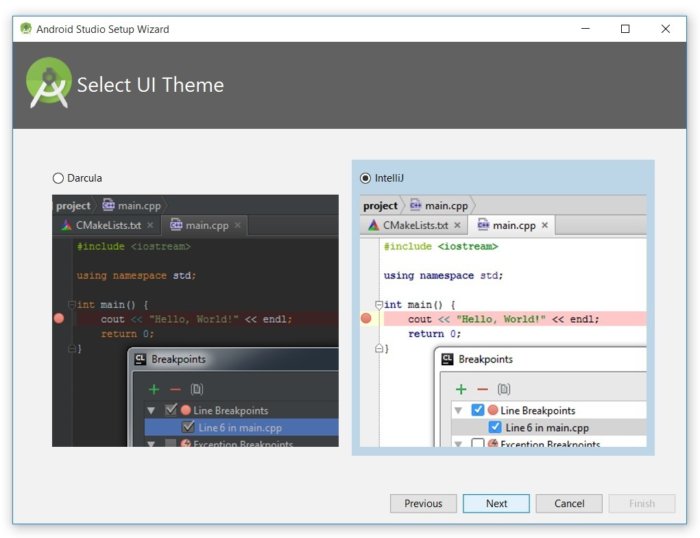
Select any one theme and click on Next.
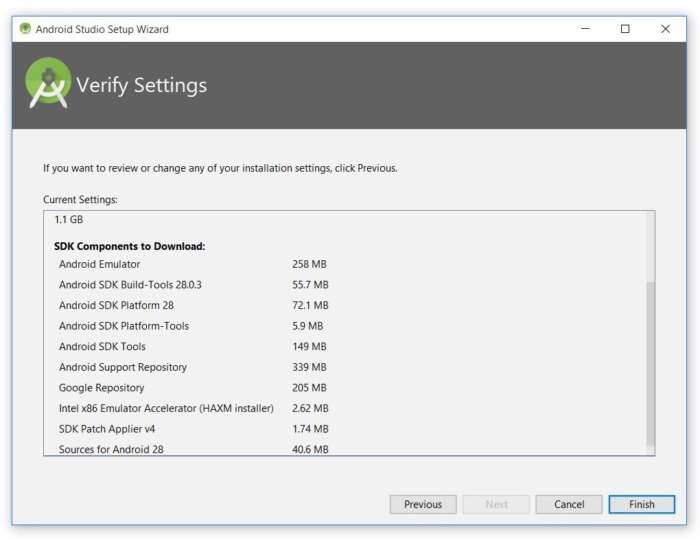
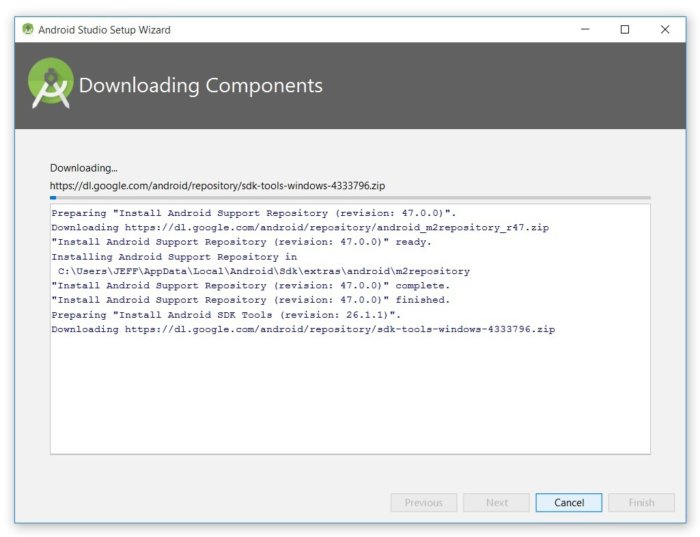
Click on Finish as you will be asked for essential software to be installed
to run a android application.
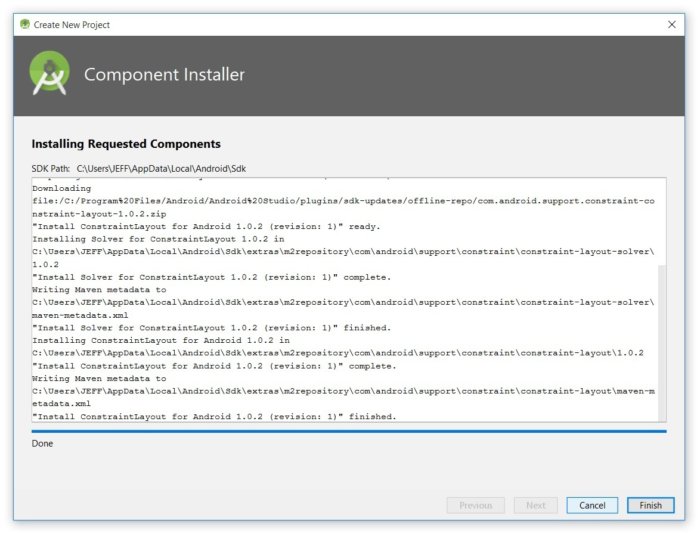
You can observe the downloading process as shown below. Do not click cancel if you want to move to next step on creating a project.
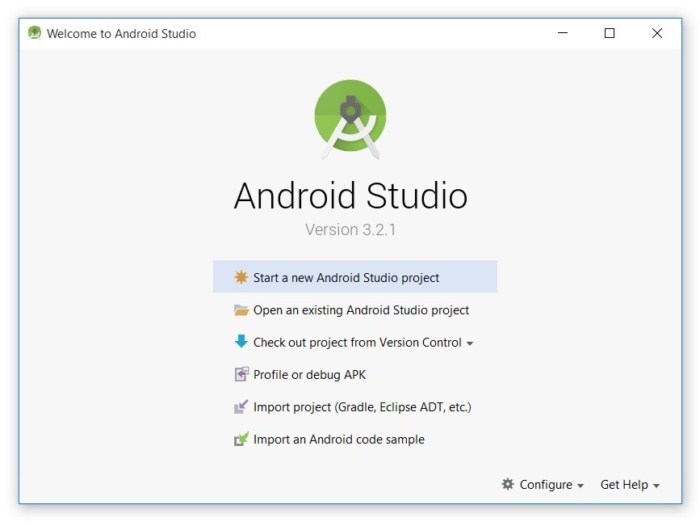
Create a new Project by clicking on Start a new Android studio project. You open existing source code on your system.
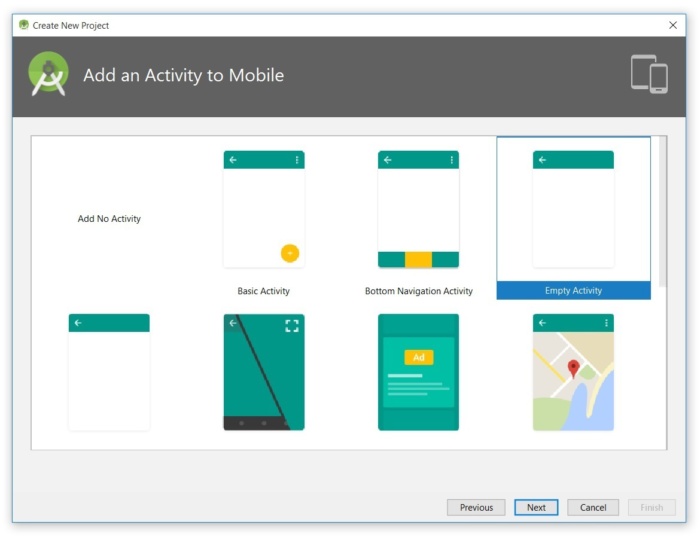
Click on Empty Activity and Click next.
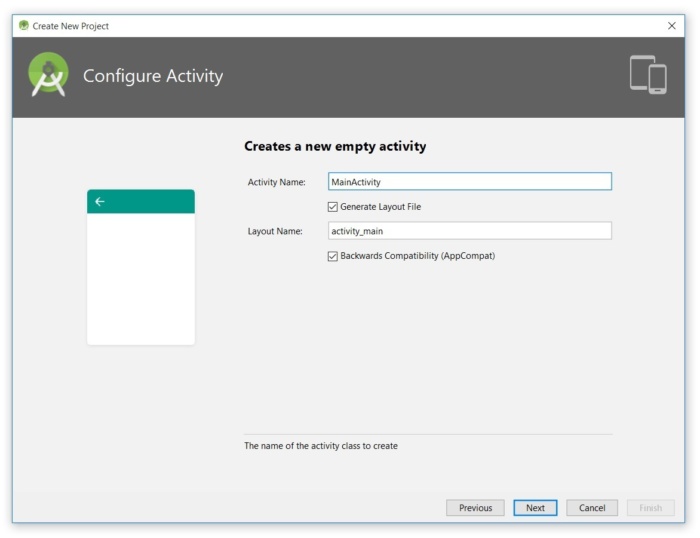
Name activity and with click on layout file if you want to design your application.
Proceed by clicking on finish option.
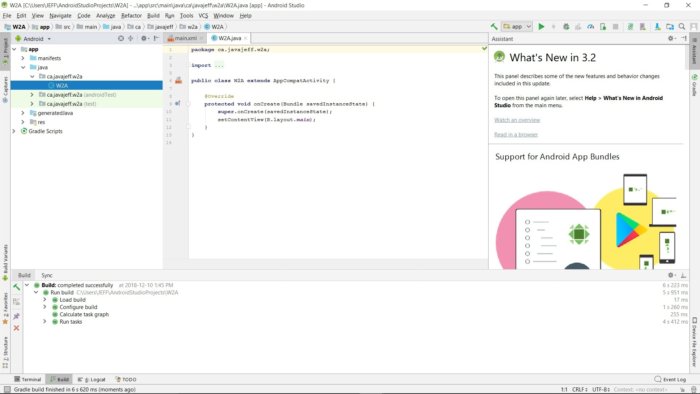
Eventually you have your new project with empty activity.
Thanks for using pheonix solutions.
You find this tutorial helpful? Share with your friends to keep it alive.


