How To Install the Apache Web Server on Ubuntu 18.04
How To Install the Apache Web Server on Ubuntu 18.04
Date-31-05-2020
STEP 1:
Update and Upgrade the apt tool to ensure we are working with the latest.
sudo apt update
STEP 2:
Install Apache and select Y when prompted.
sudo apt install apache2
STEP 3:
Before testing Apache, it’s necessary to modify the firewall settings to allow outside access to the default web ports. Assuming that you followed the instructions in the prerequisites, you should have a UFW firewall configured to restrict access to your server.
During installation, Apache registers itself with UFW to provide a few application profiles that can be used to enable or disable access to Apache through the firewall.
List the ufw application profiles by typing:
sudo ufw app list
As you can see, there are three profiles available for Apache:
- Apache: This profile opens only port 80 (normal, unencrypted web traffic)
- Apache Full: This profile opens both port 80 (normal, unencrypted web traffic) and port 443 (TLS/SSL encrypted traffic)
- Apache Secure: This profile opens only port 443 (TLS/SSL encrypted traffic)
It is recommended that you enable the most restrictive profile that will still allow the traffic you’ve configured. Since we haven’t configured SSL for our server yet in this guide, we will only need to allow traffic on port 80,
sudo ufw allow ‘Apache’
STEP 3:
Then check status of apache by,
sudo systemctl status apache2
STEP 4:
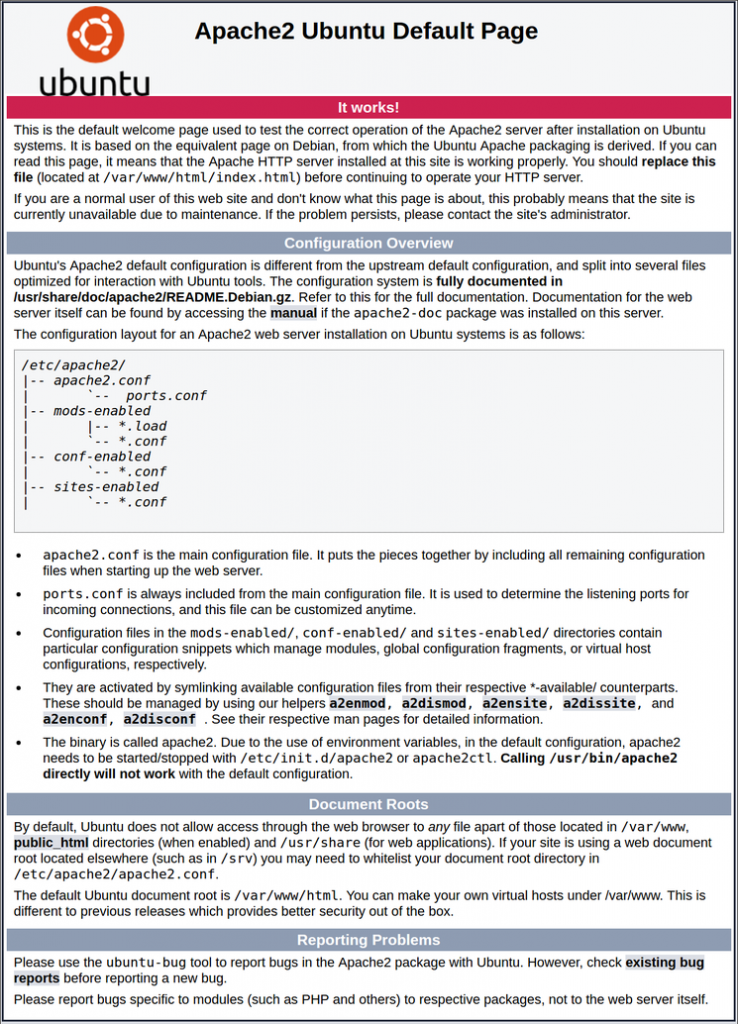
http://server ip
You will see the apache default page, it shows that the apache installed successfully.
Thank you.