How to launch a new AWS instance via CLI?
Introduction:
Amazon Web Services (AWS) provides a comprehensive set of cloud computing services that allow users to launch and manage virtual servers, known as instances, through the AWS Management Console, AWS CLI, and other tools. Using the AWS Command Line Interface (CLI) is a powerful way to automate the management of AWS resources.
Prerequisites:
- AWS CLI is installed and configured with your AWS credentials.
- Basic understanding of AWS EC2 and related terminology.
Step1:
Ensure AWS CLI is configured with the necessary credentials and default region. If not already done, we can configure it with the below command.
| aws configure |

Step2:
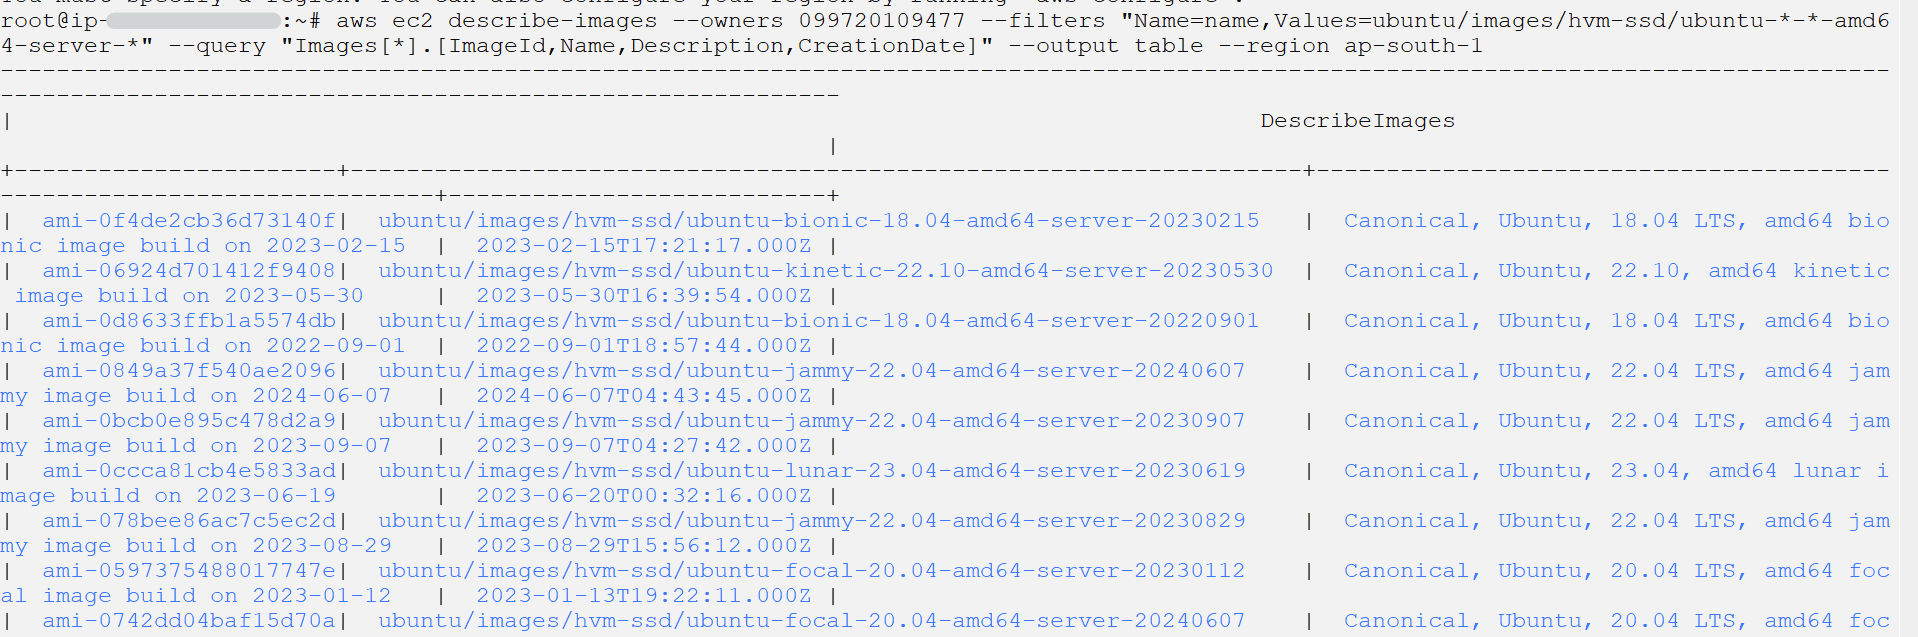
Use the following command to list available AMIs. For example, to list Ubuntu AMIs
| aws ec2 describe-images –owners 099720109477 –filters “Name=name,Values=ubuntu/images/hvm-ssd/ubuntu-*-*-amd64-server-*” –query “Images[*].[ImageId,Name,Description,CreationDate]” –output table –region ap-south-1 |
Step3:
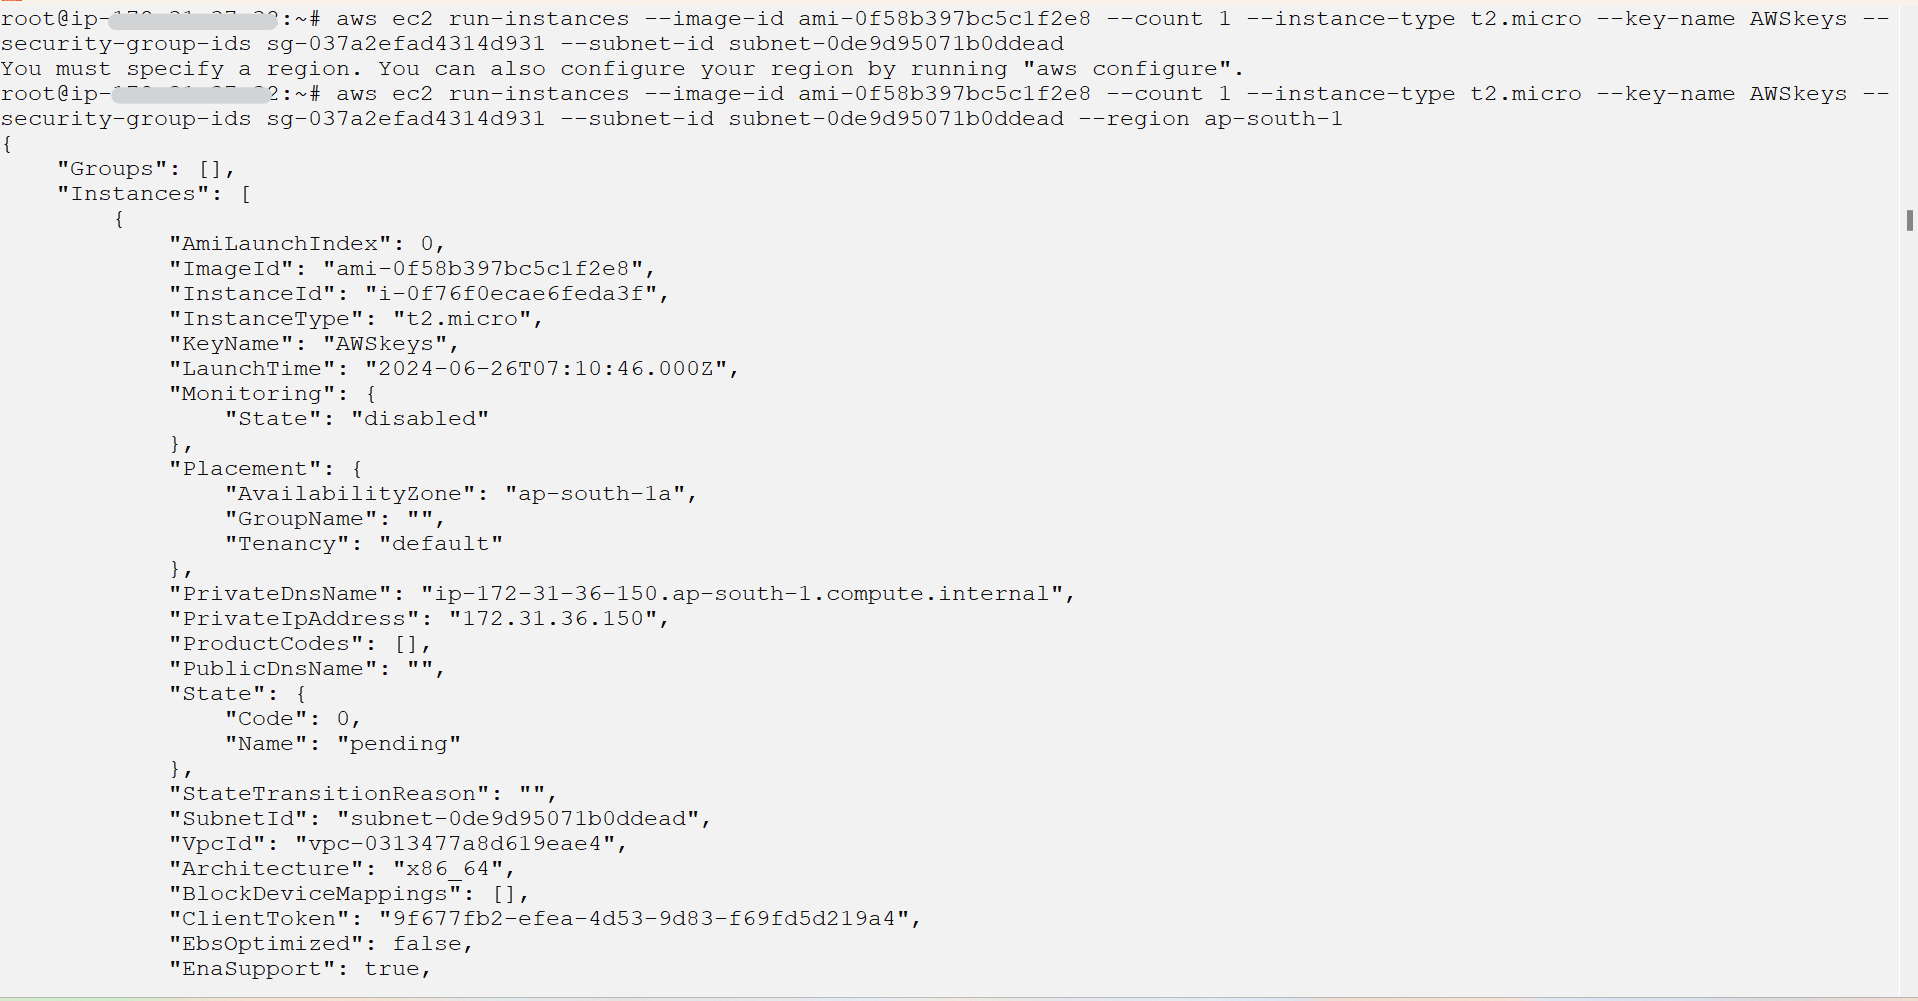
Use the “run-instances” command to launch a new instance. Replace <ami-id> with the chosen AMI ID and specify the instance type and other parameters as needed.
| aws ec2 run-instances –image-id <ami-id> –count 1 –instance-type t2.micro –key-name <key-pair-name> –security-group-ids <security-group-id> –subnet-id <subnet-id> –region ap-south-1 |

Step 4:
Tag your instance to easily identify it later:
| aws ec2 create-tags <instance-id> –resources –tags Key=Name,Value=MyInstance |


Conclusion:
Using the AWS CLI to manage EC2 instances offers a powerful and flexible way to automate cloud infrastructure tasks. Following this guide, we have learned how to launch a new EC2 instance using the AWS CLI.