How to setup WordPress with Redis Caching in CentOS 7.6
How to setup WordPress with Redis Caching CentOS 7.6
Date posted : 03/05/2019
In this post, we will explain, how to setup WordPress with Redis Caching with simple steps.

1. Install Redis on a CentOS server
yum install redis
Start and enable Redis on system boot:
systemctl start redis.service
systemctl enable redis.service
2. Install Redis PHP extension
yum install php-pecl-redis
Install Redis Caching Plugin in WordPress
WordPress Dashboard >> Go to Plugins > Add new
Search for Redis and install the Redis Object Cache
Go to Plugins again and enable the Redis Object Cache
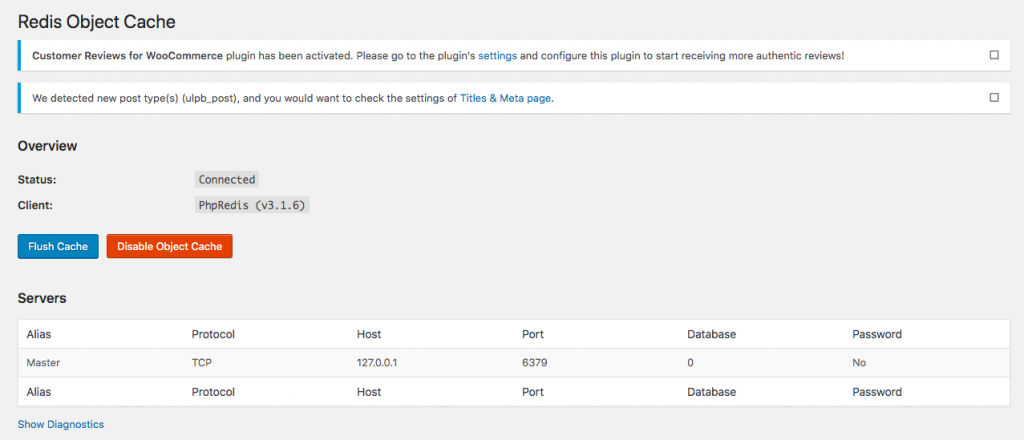
Go to Settings > Redis and click on Enable Object Cache
The default configuration should work out of the box since the default Redis listening address is 127.0.0.1 and the default listening port is 6379.
Thanks for using pheonix solutions.
You find this tutorial helpful? Share with your friends to keep it alive.