
Introduction
This guide explains how to install an SSL certificate for VestaCP, replacing the self-signed certificate VestaCP uses by default on port 8083 with a real, browser-trusted certificate.
VestaCP is an open-source control panel that, out of the box, secures its admin interface with a self-signed certificate — which works for encryption, but triggers a browser security warning since it isn’t signed by a trusted certificate authority. Replacing it with a proper SSL certificate removes that warning and gives you the padlock/secure icon browsers show for trusted connections.
Implementation
I. Prerequisites
Before you install an SSL certificate for VestaCP, make sure you have:
- Access to the VestaCP panel
- SSH access to the server
- Your SSL certificate and its matching private key (this guide assumes you already have both — this guide doesn’t cover certificate issuance itself, whether from a paid CA or Let’s Encrypt)
II. How VestaCP Uses These Files
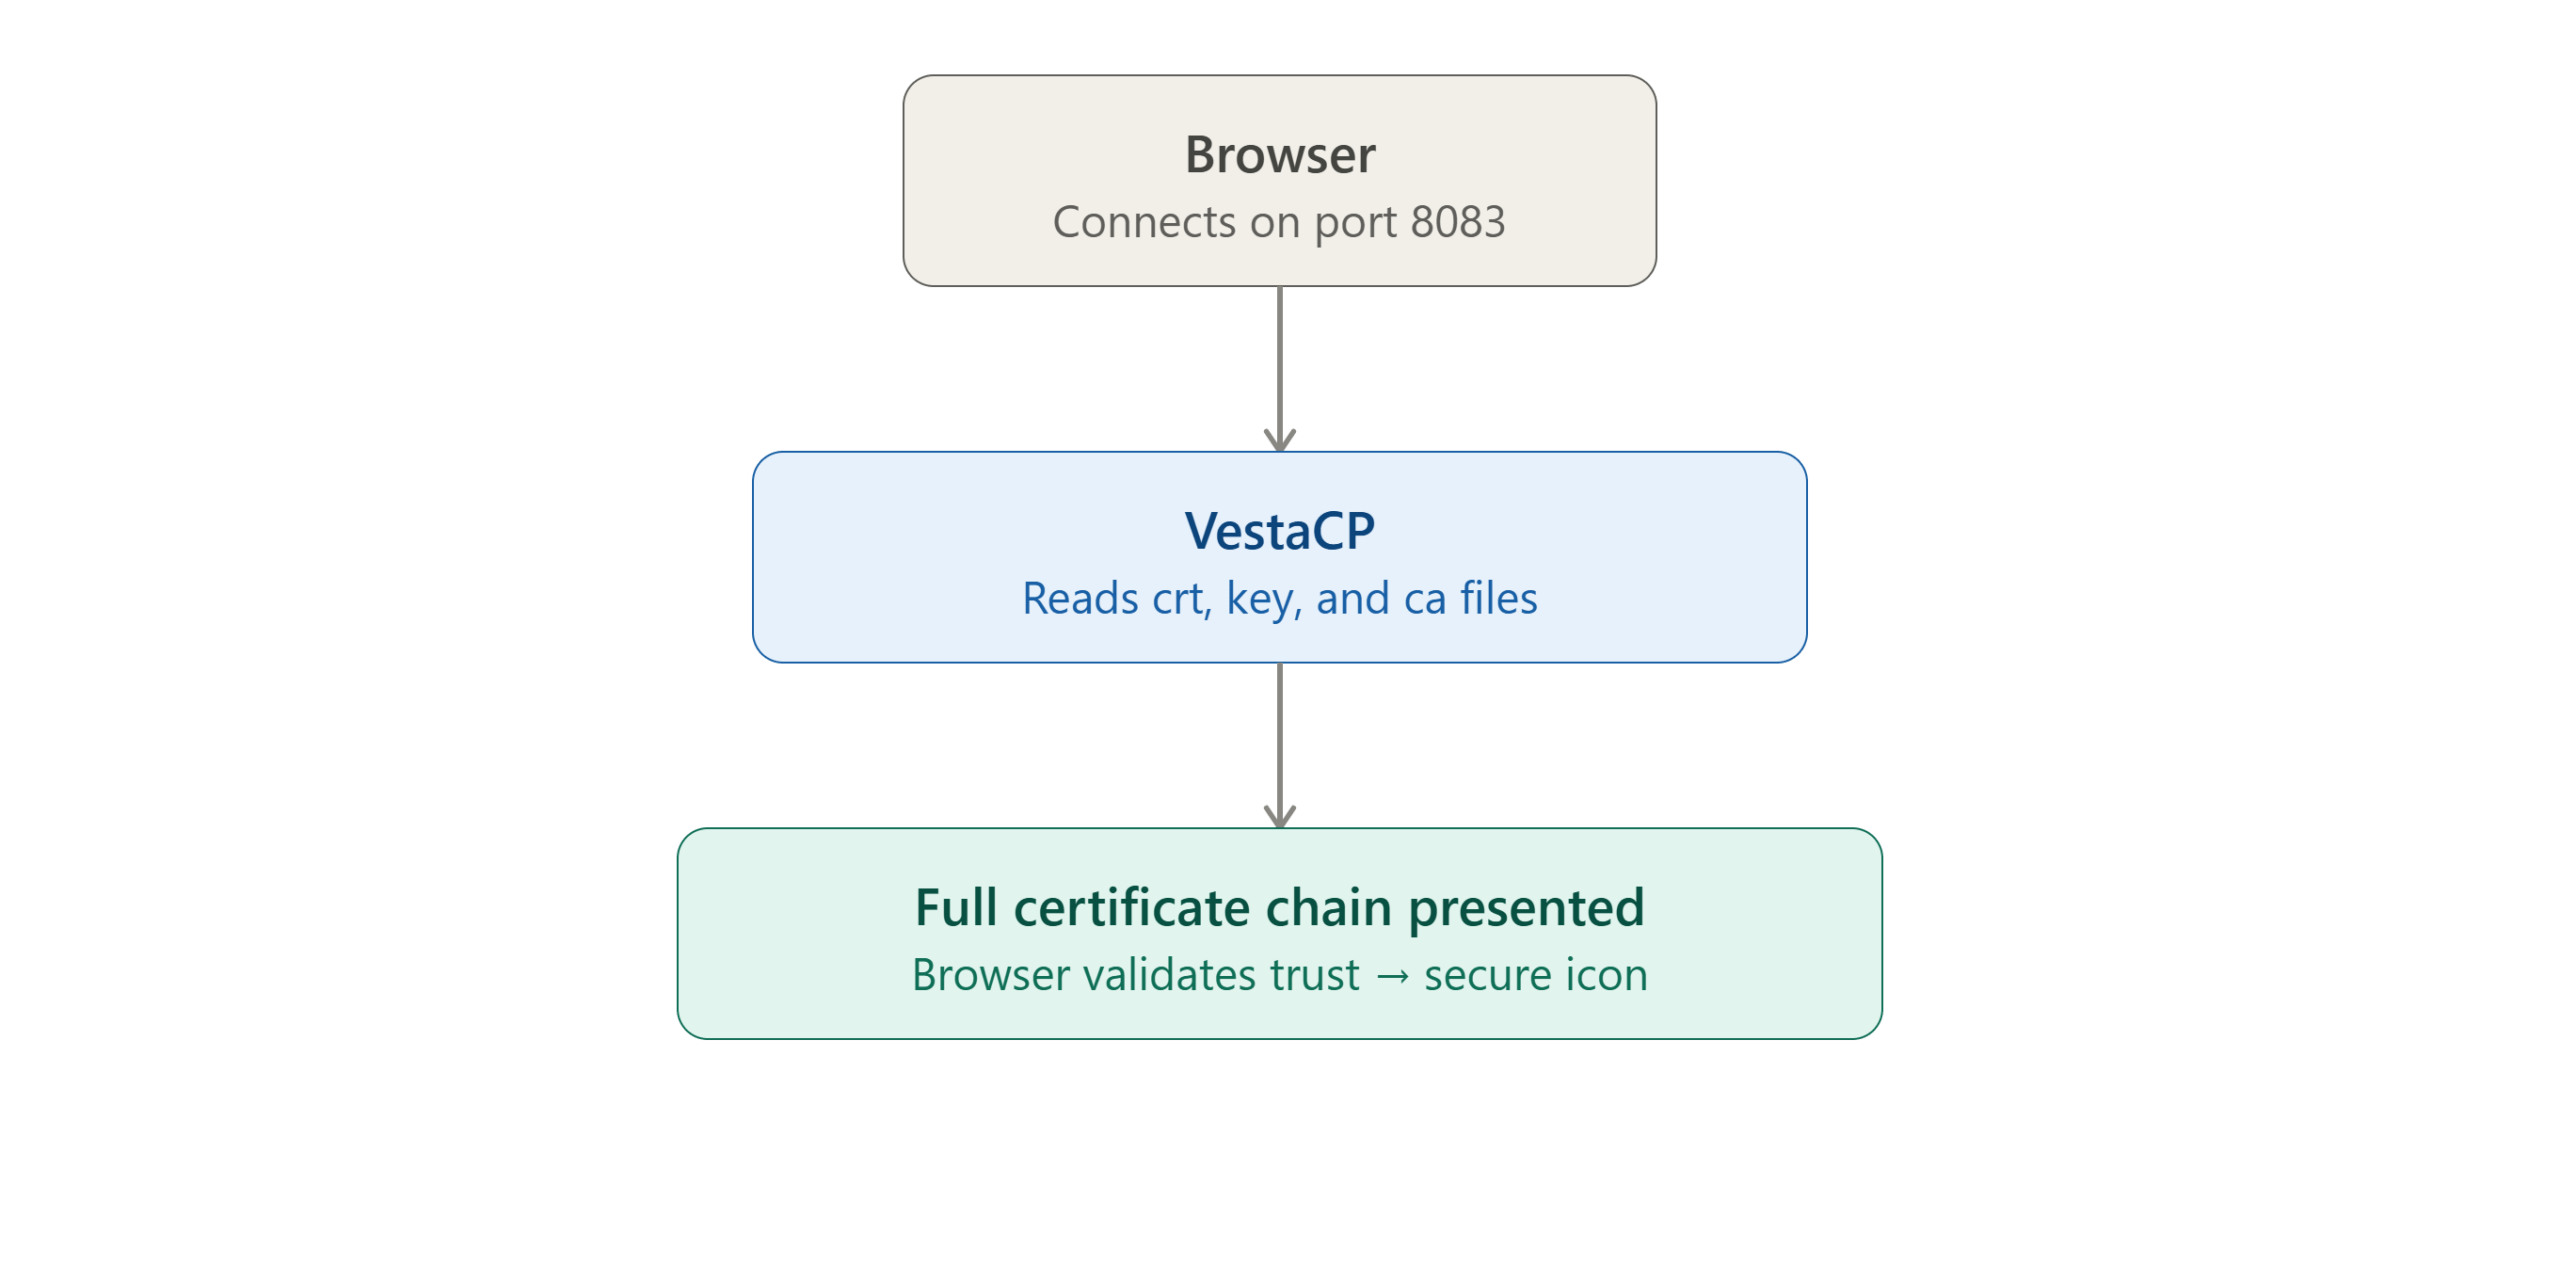
VestaCP reads its SSL configuration from three specific files on every restart:
certificate.crt— the SSL certificate itselfcertificate.key— the private key matching that certificatecertificate.ca— the intermediate/CA bundle, needed to complete the trust chain (this file is optional depending on your certificate authority, but commonly required — more on this in Step V)
III. Back Up the Existing Self-Signed Certificate
Move the current self-signed certificate and key aside rather than deleting them outright, so you have a fallback if anything goes wrong:
mv /usr/local/vesta/ssl/certificate.crt /usr/local/vesta/ssl/certificate.crt_old
mv /usr/local/vesta/ssl/certificate.key /usr/local/vesta/ssl/certificate.key_old
IV. Add Your SSL Certificate and Private Key
Create the new certificate file and paste in your certificate content:
vi /usr/local/vesta/ssl/certificate.crt
Create the new key file and paste in your private key content:
vi /usr/local/vesta/ssl/certificate.key
Security note: Never share your private key file or paste it into any tool or service you don’t fully trust — anyone with access to it can impersonate your server’s identity for any client that trusts the certificate.
V. Add the CA Bundle (Commonly Missed Step)
This is the step a lot of quick-reference guides skip, and it’s a common cause of “certificate not fully trusted” warnings even after installing a real certificate. Most certificates issued by a commercial CA (and some free ones) require an intermediate certificate bundle to complete the trust chain — without it, some browsers and most command-line tools (like curl) will flag the connection as untrusted, even though the certificate itself is valid.
If your CA provided a bundle file (commonly named something like ca-bundle.crt or intermediate.crt), add it as:
vi /usr/local/vesta/ssl/certificate.ca
Paste the CA bundle content provided by your certificate authority.
If you’re using a free certificate from Let’s Encrypt, this is typically the
chain.pemorfullchain.pemcontent depending on how it was issued — check your certificate provider’s documentation for the exact filename if you’re unsure which file serves this role.
VI. Set Correct File Permissions
The private key in particular should be tightly restricted, since it’s the file that actually protects your certificate’s security:
chmod 600 /usr/local/vesta/ssl/certificate.key
chown root:root /usr/local/vesta/ssl/certificate.key
VII. Verify the Certificate and Key Actually Match
Before restarting VestaCP, it’s worth confirming the certificate and private key are actually a matching pair — a mismatch here (for example, from pasting the wrong key) will cause VestaCP to fail to start correctly or serve an unusable certificate.
openssl x509 -noout -modulus -in /usr/local/vesta/ssl/certificate.crt | openssl md5
openssl rsa -noout -modulus -in /usr/local/vesta/ssl/certificate.key | openssl md5
If both commands output the same hash, the certificate and key match correctly.
VIII. Restart VestaCP
Apply the new certificate by restarting the service:
service vesta restart
IX. Verify in the Browser
Open the VestaCP panel using your domain:
https://domain.tld:8083
You should see the secure padlock icon in the browser’s address bar, confirming the new certificate is active and trusted.
X. Troubleshooting Common Issues
Browser still shows a security warning after restarting: This is most often the missing CA bundle from Step V. Confirm certificate.ca exists and contains your CA’s intermediate certificate.
VestaCP fails to restart after adding the new certificate: Re-check Step VII — a mismatched certificate/key pair is the most common cause. Also confirm there’s no extra whitespace or missing -----BEGIN CERTIFICATE----- / -----END CERTIFICATE----- markers from a copy-paste error.
“Permission denied” errors on restart: Double check the permissions and ownership set in Step VI — VestaCP needs to be able to read the key file as the user the service runs under.
XI. Conclusion
Installing a real SSL certificate for VestaCP comes down to replacing three files — the certificate, the private key, and (commonly overlooked) the CA bundle — verifying the certificate and key actually match before restarting, and setting correct permissions on the private key. With those in place, VestaCP’s admin panel serves a fully trusted, browser-validated HTTPS connection instead of the default self-signed warning.
Frequently Asked Questions
Do I always need a CA bundle file? It depends on your certificate authority — some certificates are issued with the intermediate chain already bundled into the main certificate file, while others require it separately. If browsers still show a trust warning after installing your certificate and key, a missing CA bundle is the most likely cause.
Can I use a free Let’s Encrypt certificate for this instead of a paid one? Yes — the same three files (certificate, key, and CA bundle) apply regardless of which certificate authority issued them; you’d just source the equivalent files from your Let’s Encrypt client’s output instead of a paid CA’s delivery portal.
What happens to my old self-signed certificate after this? It’s preserved under the _old filenames from Step III and no longer in active use — you can safely delete those backup files later once you’ve confirmed the new certificate is working correctly.
Talk to Our Technology Experts
Managing SSL certificates or hardening your control panel setup? Our team can help with server security, SSL/TLS configuration, control panel administration, and ongoing infrastructure support.
Connect with our technology experts.