Integration of SonarQube in Jenkins
Please find the below steps for integrating sonarqube with Jenkins.
- Login into Jenkins and install SonarQube scanner plugin
Go to Manage Jenkins –> Manage Plugins > Available –> SonarQube scanner - And also add credentials plugins to store your credentials in Jenkins
- Configure SonarQube home path.
a) Go to Manage Jenkins –> Global Tool Configuration –> SonarQube ScannerName : sonar_scanner
b) SONAR_RUNNER_HOME : /opt/sonarqube (Your directory path of SonarQube)

4. Now, Configure SonarQube server in Jenkins. For integration, you need SonarQube Server authentication token in Jenkins
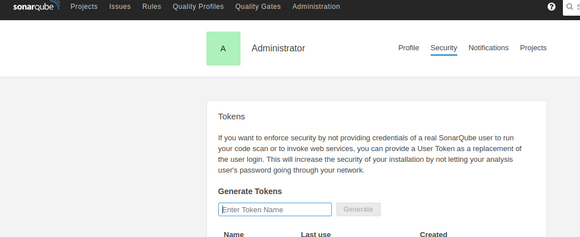
a) Log in into your SonarQube Server and find following under user bar
Go to My Account –> Security –> Generate Token
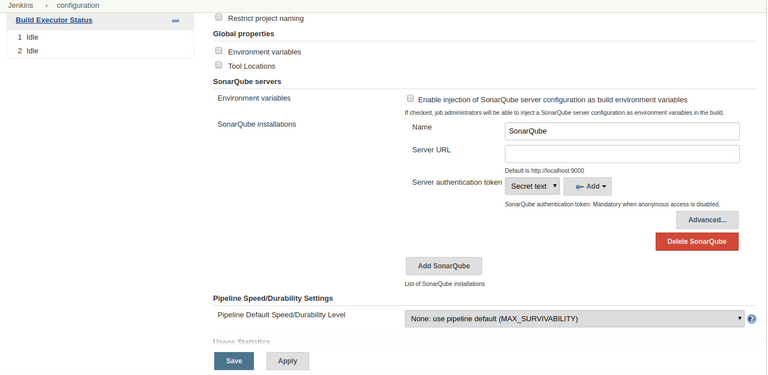
5. Go to Manage Jenkins –> Configure Systems –> SonarQube Servers
Name : SonarQube
Server URL : Not Required is same as default
Server authentication token :
a) Add server authentication token as following
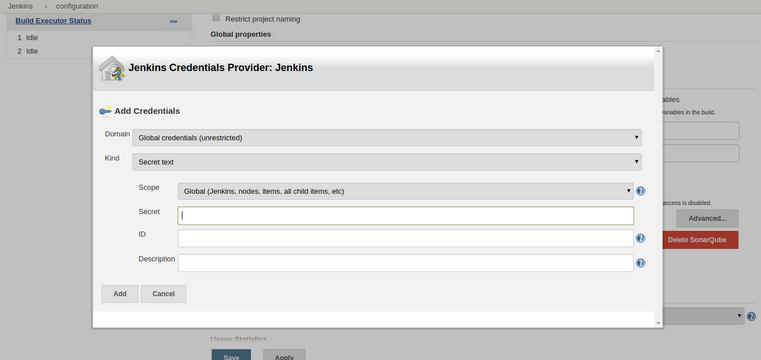
b) Select it as a server authentication token
6. Save it. Create a job in jenkins and under “Build” select “execute sonarqube scanner” option and paste the following line.
sonar.projectKey=<Projectkey>
sonar.projectName=<Projectname>
sonar.sources=.
sonar.sourceEncoding=UTF-8
sonar.host.url=https://yourdomainname.com or ipaddress:portnumber/
sonar.login=sonarqubetoken
7. Now, your SonarQube integration is completed with Jenkins. Run the job to test SonarQube and to generate a report of your project.
8. Goto Sonarqube and check under projects, you can see all the data related to your project.