
Date Posted: March 28, 2019
Last Updated: October 21, 2026
Introduction
CodeIgniter is a PHP framework used to develop dynamic web applications. It provides libraries and helpers that simplify common development tasks, including form handling, input validation, session management, and database operations.
Form validation is an important part of web application development. It ensures that users provide the required information before the application processes or stores their data. Without proper validation, incomplete or invalid information may be submitted to the database.
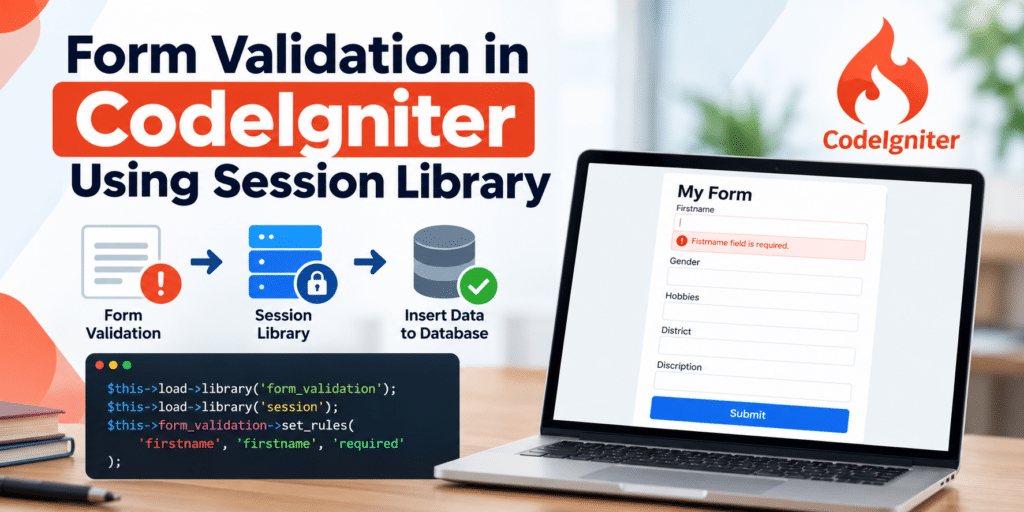
In this tutorial, we will implement form validation using the Form Validation Library and Session Library in CodeIgniter. We will create a form, validate the submitted fields, preserve the entered values when validation fails, and insert the data into a MySQL database when validation succeeds.
The example uses a database named client and a table named form. The implementation consists of four main steps involving views, a controller, and a model.
Prerequisites
Before starting, ensure that you have:
- PHP installed and configured on your development environment.
- A CodeIgniter application.
- MySQL or a compatible database server.
- A database named client and a table named form.
- Basic knowledge of PHP, CodeIgniter MVC architecture, and SQL.
- The CodeIgniter Form Helper, Form Validation Library, Session Library, and Database Library configured as required by your application.
Steps to Implement Form Validation
Step 1: Create the Default Form View
First, create a view file named myform.php in the application/views directory.
This view contains the form fields used to collect the user’s information. The example includes first name, gender, hobbies, district, and description.
The form uses the CodeIgniter form helper to submit the data to the Form controller’s index1 method.
File location: application/views/myform.php
<html>
   <head>
      <title>My Form</title>
   </head>
   <body>
      <!-- <form action = ""> -->
      <?php echo form_open('Form/index1'); ?>
      <h5>firstname</h5>
      <input type = "text" name = "firstname" value="">
      <h5>gender</h5>
      <input type = "text" name = "gender" value="">
      <h5>hobbies</h5>
      <input type = "text" name = "hobbies" value="">
      <h5>district</h5>
      <input type = "text" name = "district" value="">
      <h5>discription</h5>
      <input type = "text" name = "discription" value="">
      <div></div>
      <?php
         echo form_close();
      ?>
   </body>
</html>
The above code creates a simple HTML form for collecting user information.
The form_open() function generates the opening form tag and sets the submission destination to Form/index1. The form_close() function generates the closing form tag.
The form fields use their respective name attributes to identify the values submitted to the controller.
Step 2: Create the Controller and Validate the Data
Next, create a controller named Form.php inside the application/controllers directory.
The controller loads the required helpers and libraries, displays the default form, and validates the submitted data. If validation fails, the entered values are stored in the session, and the application loads another view. If validation succeeds, the controller passes the data to the model for insertion into the database.
File location: application/controllers/Form.php
<?php
   class Form extends CI_Controller {

      public function index() {

         #Used to load the form library
         $this->load->helper(array('form', 'url'));

         #Used to load the session library
         $this->load->library("session");

         #Used to load the view library
         $this->load->view('myform');

      }

      public function index1()
      {
         $this->load->library("session");

         #used to load the form validation library
         #the form validation library used to load the set_rules functions
         $this->load->library('form_validation');

         #the following functions check wheather entered details are write or wrong
         $this->form_validation->set_rules('firstname', 'firstname', 'required');
         $this->form_validation->set_rules('gender', 'gender', 'required');
         $this->form_validation->set_rules('hobbies', 'hobbies', 'required');
         $this->form_validation->set_rules('district', 'district', 'required');
         $this->form_validation->set_rules('discription', 'discription', 'required');

         #the above validation is fail it enter into the following if condition
         if ($this->form_validation->run() == FALSE)
         {
              $postData = array(
                  'firstname' => $this->input->post('firstname'),
                  'gender' => $this->input->post('gender'),
                  'hobbies' => $this->input->post('hobbies'),
                  'district' => $this->input->post('district'),
                  'discription' => $this->input->post('discription')
              );

              echo json_encode($this->form_validation->error_array());
              $this->session->set_userdata($postData);
              $this->load->view('myform1');
         }

         #the validation part is pass the else part is executed
         else
         {
             $this->load->model('Insert_model');

             $postData = array(
                 'firstname' => $this->input->post('firstname'),
                 'gender' => $this->input->post('gender'),
                 'hobbies' => $this->input->post('hobbies'),
                 'district' => $this->input->post('district'),
                 'discription' => $this->input->post('discription')
             );

             print_r($insert = $this->Insert_model->insert($postData));
             echo "Data inserted successfully";
         }
      }
   }
?>
The above code validates the submitted form data.
The important components are:
- Form Helper: Provides functions for creating HTML forms.
- Session Library: Stores submitted values so they can be retrieved when the form is displayed again.
- Form Validation Library: Uses the set_rules() function to define validation requirements.
- Input Library: Retrieves submitted values from the request.
- Model: Receives the validated data and inserts it into the database.
Each field has the required validation rule. If any field is empty, validation fails and the application loads myform1.php with the submitted values stored in the session.
If all fields pass validation, the controller loads Insert_model and passes the collected data to its insert() method.
Step 3: Create the View for Invalid Form Submissions
When the submitted form does not pass validation, the application needs to display the form again while retaining the user’s previously entered information.
Create another view named myform1.php inside the application/views directory.
This view retrieves the submitted values from the session and uses them to populate the form fields. This helps users correct missing information without having to enter all their details again.
File location: application/views/myform1.php
<html>
   <head>
      <title>My Form</title>
   </head>
   <body>
      <!-- <form action = ""> -->
      <?php echo form_open('Form/index1'); ?>
      <h5>firstname</h5>
      <input type = "text" name = "firstname" value="<?php echo $this->session->userdata('firstname'); ?>">
      <h5>gender</h5>
      <input type = "text" name = "gender" value="<?php echo $this->session->userdata('gender'); ?>">
      <h5>hobbies</h5>
      <input type = "text" name = "hobbies" value="<?php echo $this->session->userdata('hobbies'); ?>">
      <h5>district</h5>
      <input type = "text" name = "district" value="<?php echo $this->session->userdata('district'); ?>">
      <h5>discription</h5>
      <input type = "text" name = "discription" value="<?php echo $this->session->userdata('discription'); ?>">
      <div></div>
      <?php
         echo form_close();
      ?>
   </body>
</html>
The above code creates a second form view containing the previously entered data.
The session->userdata() method retrieves the values stored in the session. These values are placed into the corresponding input fields so the user can correct the missing information.
The original controller also outputs the validation error array in JSON format. To display those errors directly beside the relevant fields, the view would need additional code to render the error messages.
Step 4: Create the Model to Insert Data into the Database
After the form passes validation, the controller loads the model responsible for database insertion.
Create a model named Insert_model.php inside the application/models directory.
File location: application/models/Insert_model.php
<?php
class Insert_model extends CI_Model
{
    public function insert($data = array())
    {
        #here form is our table name
        $insert = $this->db->insert('form', $data);
    }
}
The above code connects the form submission to the database insertion operation.
The insert() method receives the validated form data as an array and passes it to CodeIgniter’s database insert method. The table name used in this example is form.
Before running the application, ensure that the database connection is configured correctly and that the form table contains the columns firstname, gender, hobbies, district, and description.
Conclusion
Form validation using the Session Library in CodeIgniter helps manage user input and retain submitted values when validation fails.
In this tutorial, we created a default form, validated its fields through a controller, stored submitted values in the session, displayed a second form for invalid submissions, and inserted valid data into a MySQL database through a model.
The process continues until all required fields pass validation. Once validation succeeds, the data is passed to the model for insertion into the database.
This approach demonstrates how CodeIgniter’s Form Helper, Form Validation Library, Session Library, and Model components can work together to manage form submissions.
Frequently Asked Questions
1. What is the purpose of the Form Validation Library in CodeIgniter?
The Form Validation Library checks submitted form data against defined rules, such as required fields. It allows the application to reject incomplete submissions before processing the data.
2. Why is the Session Library used in form validation?
The Session Library stores submitted values so they can be retrieved and displayed again when validation fails. This prevents users from having to re-enter all their information.
3. How is validated data inserted into the MySQL database?
After validation succeeds, the controller passes the submitted data to the Insert_model model. The model uses CodeIgniter’s database insert method to insert the values into the form table.
Related Links
– Insert Data into Database Using CodeIgniter
Talk to Our Experts
Need help with CodeIgniter development, PHP application development, or database integration? Our experts can help you implement reliable form validation and database workflows for your business.
Get in touch with us: Contact our team
Very useful