How to install and configure NSClient to monitor the Windows server on Nagios
Introduction
NSClient++ is a monitoring agent/daemon for Windows systems that works with Nagios. This service allows Nagios to gather the performance metrics
Prerequisites
- Credentials of Windows server
- Nagios Host IP address
- SSH (sudo) access of Nagios host
Implementation
Step 1: Download NSClient from the below link on the Windows server
https://sourceforge.net/projects/nscplus/
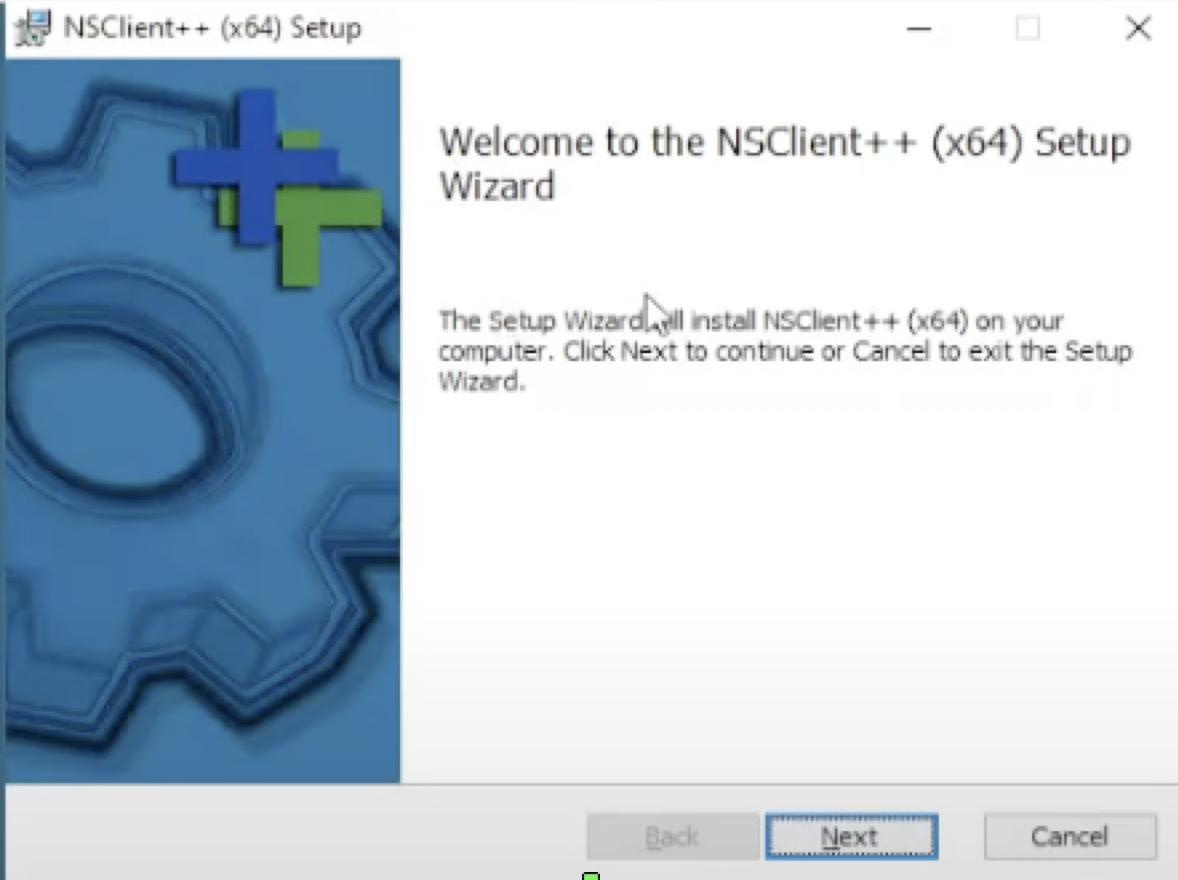
Step 2: Start the installation process. Click on next
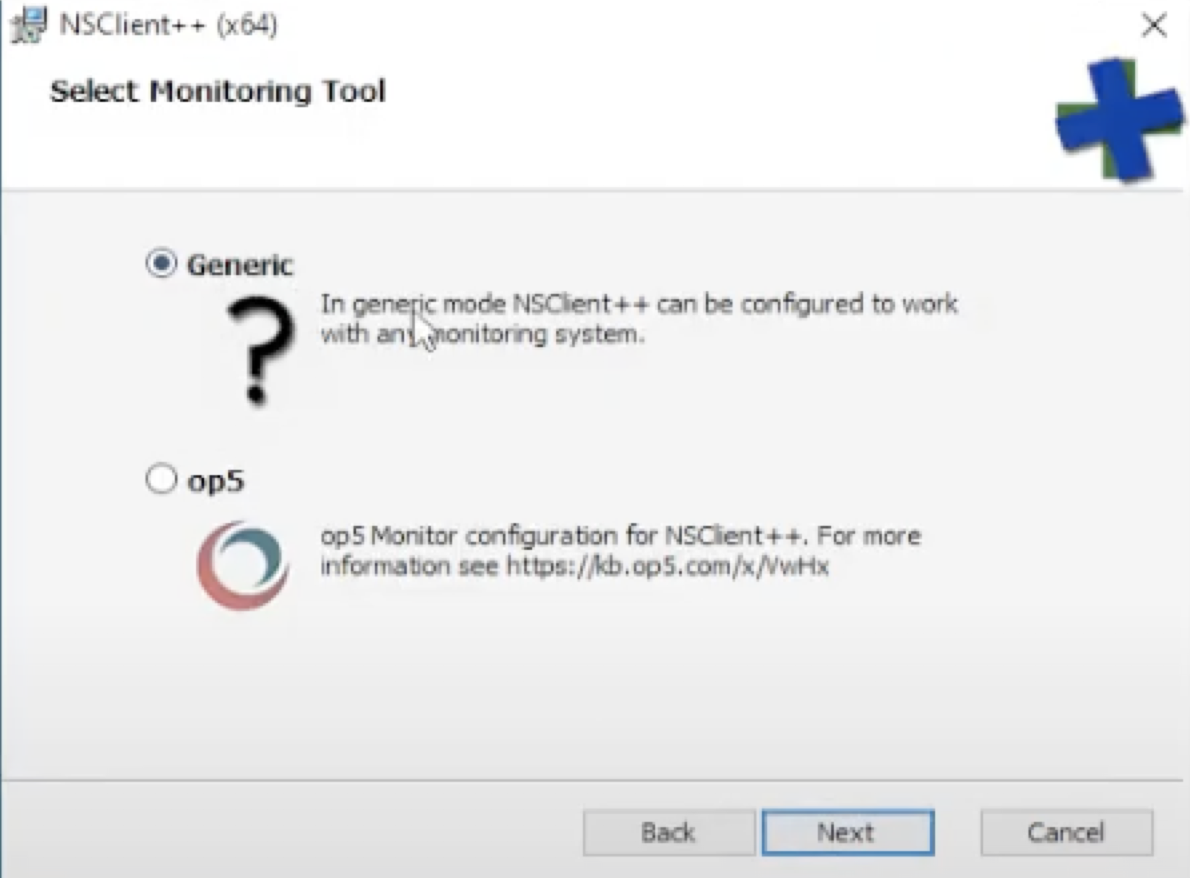
Step 3: Click on the generic option > Next
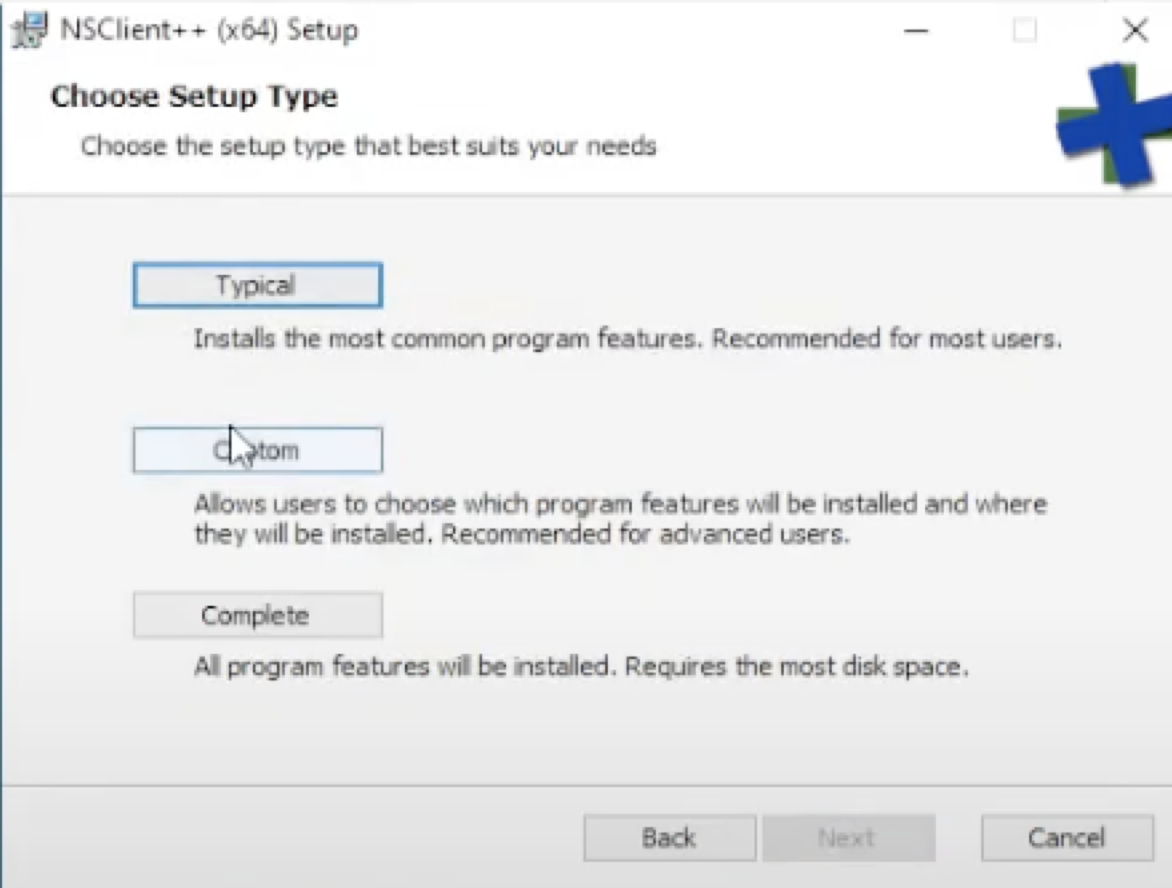
Step 4: Click on custom > Next
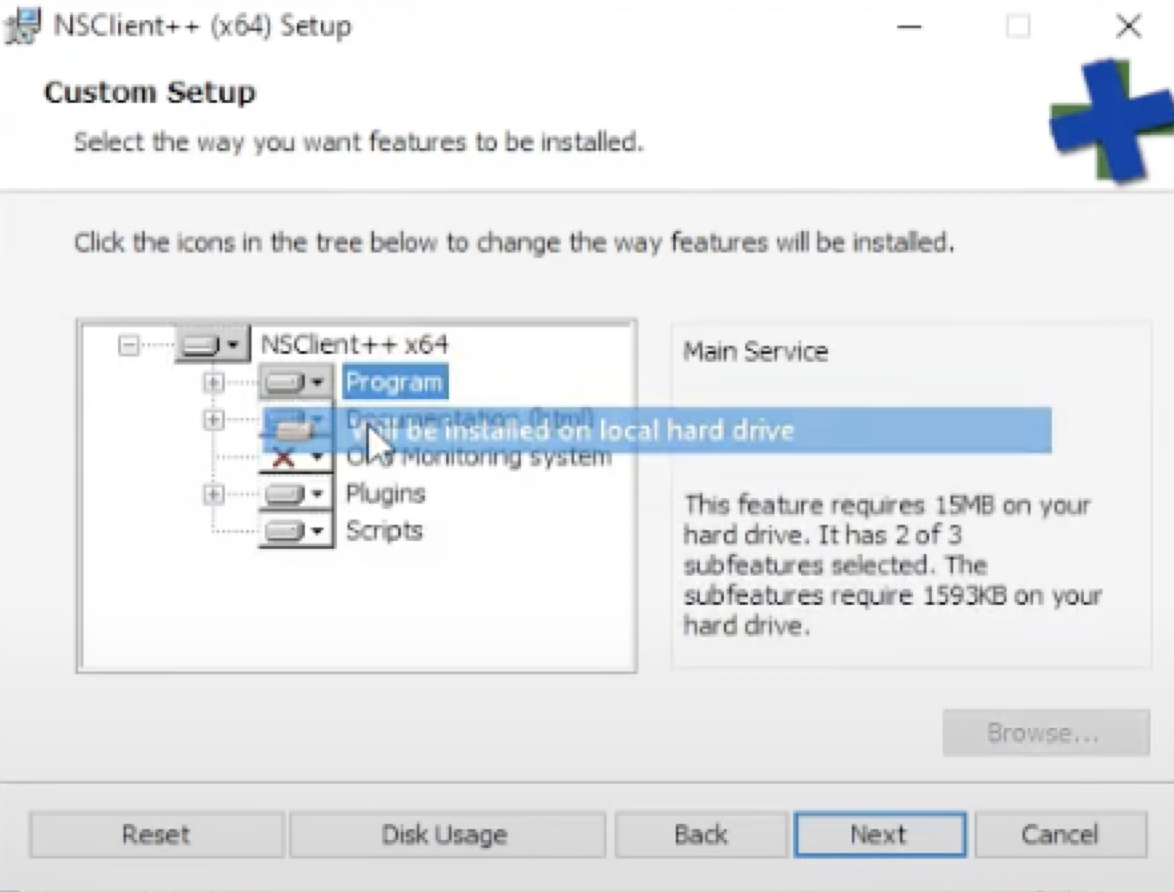
Step 5: Navigate the program and choose “will be installed on local hard drive” then next
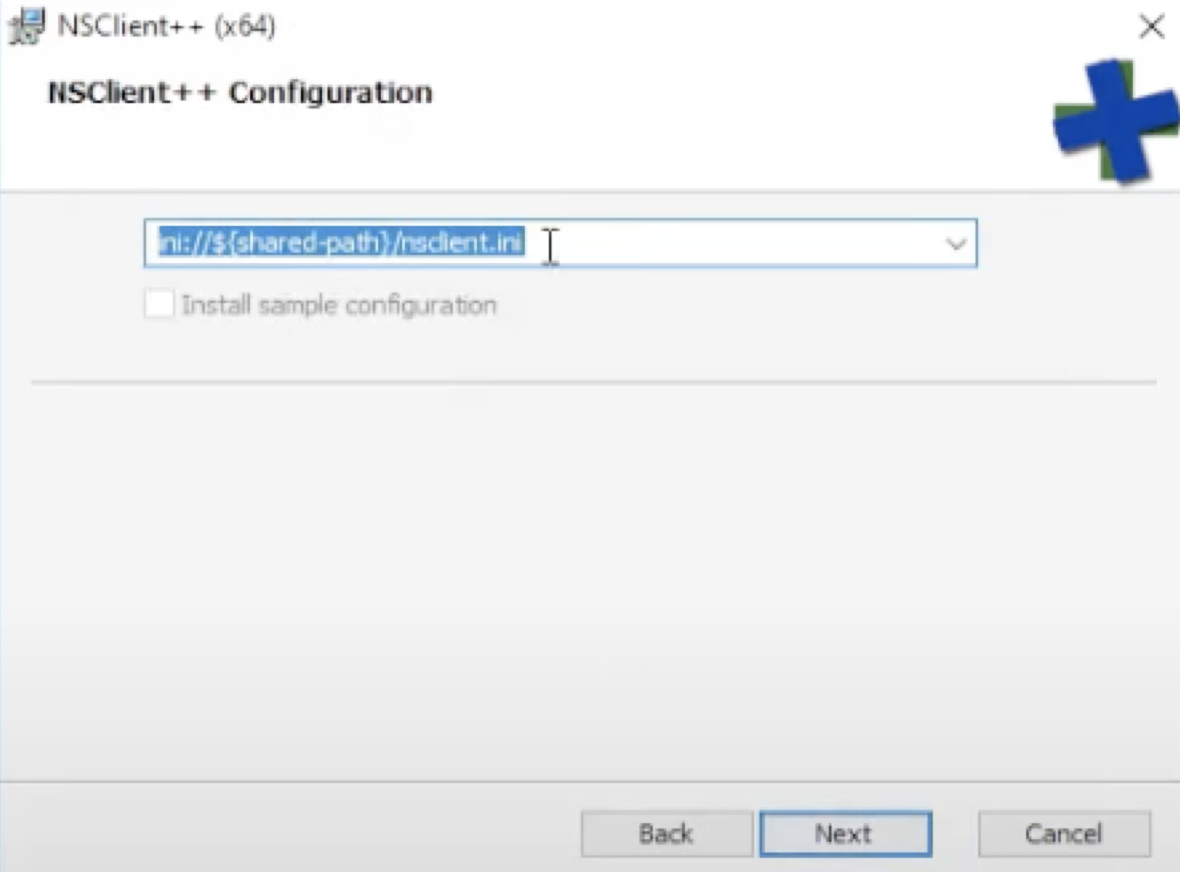
Step 6: Leave the default path and click on next
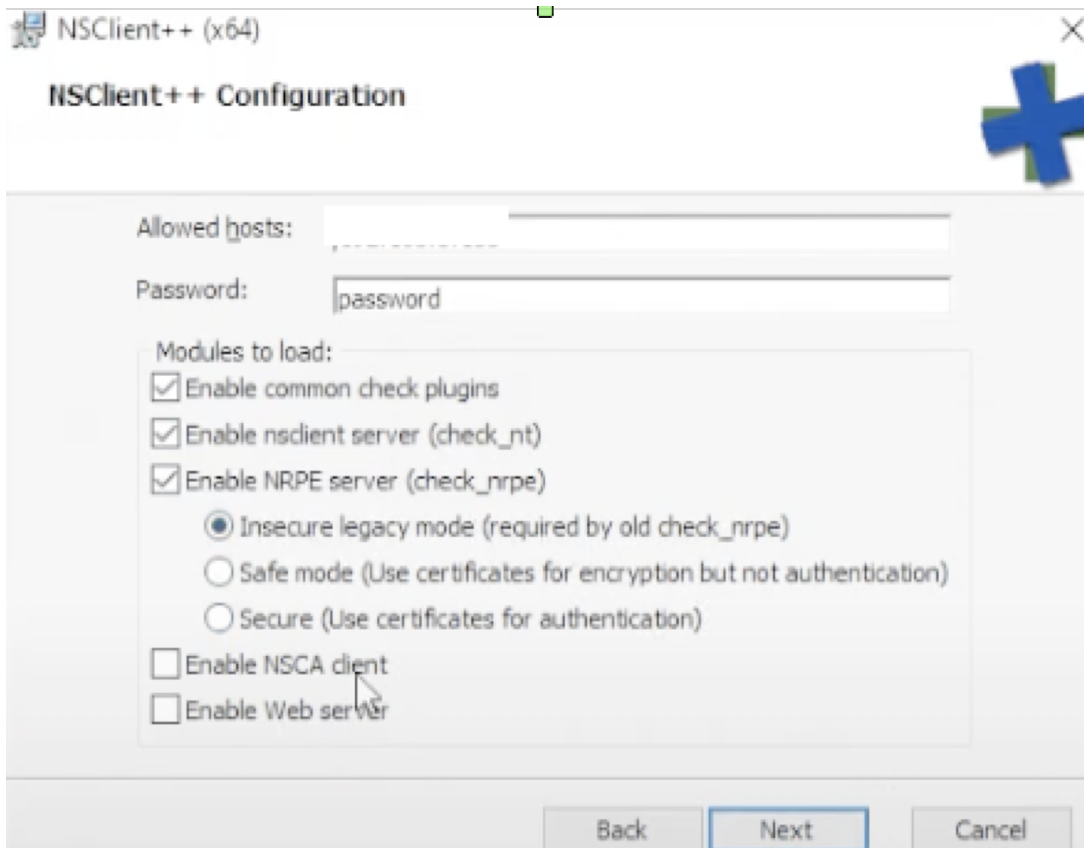
Step 7: Specify the Nagios host IP and a new strong password. Then enable the NRPE server option and Insecure legacy mode > next
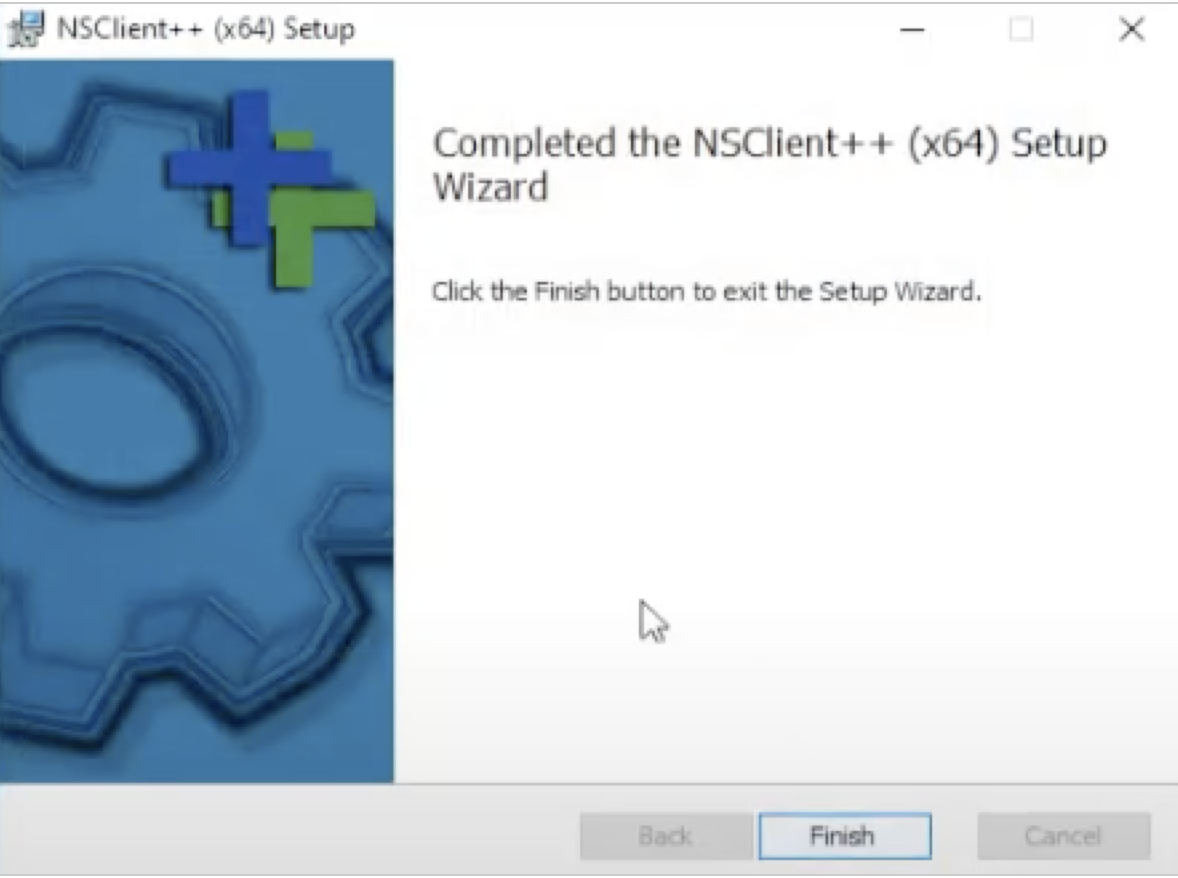
Step 8: Click on Install to initiate the installation and finish the installation
Step 9: On the Nagios host server, modify the check_nt command definition to include the password and restart the Nagios service
$ vi /usr/local/nagios/etc/objects/commands.cfg
Change the definition of the check_nt command to include the -s argument (where PASSWORD is the password you specified on the Windows machine) like this:
define command{ command_name check_nt command_line $USER1$/check_nt -H $HOSTADDRESS$ -p 12489 -s PASSWORD -v $ARG1$ $ARG2$ }
$ service nagios restart
Step 10: Edit the hostname and IP to configure the Windows server in Nagios
$vi /usr/local/nagios/etc/objects/windows.cfg
Note: Type hostname in the command prompt to find the hostname of the Windows server.

Step 11: Uncomment the windows.cfg file in /usr/local/nagios/etc/nagios.cfg

Step 12: Verify the Nagios configuration files for any errors and restart Nagios
$/usr/local/nagios/bin/nagios -v /usr/local/nagios/etc/nagios.cfg

$service nagios restart
Step 13: Edit the nsclient.ini file from the path C:\Program Files\NSClient++ in the Windows server as mentioned below
============================================================
# If you want to fill this file with all available options run the following command:
# nscp settings –generate –add-defaults –load-all
# If you want to activate a module and bring in all its options use:
# nscp settings –activate-module <MODULE NAME> –add-defaults
# For details run: nscp settings –help
; in flight – TODO
[/settings/default]
; Undocumented key
password = password
; Undocumented key
allowed hosts = nagiosIP, 127.0.0.1
port = 12489
; in flight – TODO
[/settings/NRPE/server]
; Undocumented key
verify mode = none
allowed ciphers = ALL:!MD5:@STRENGTH
use ssl = false
performance data = 1
; Undocumented key
insecure = true
; in flight – TODO
[/modules]
; Undocumented key
CheckExternalScripts = 1
; Undocumented key
CheckHelpers = 1
; Undocumented key
CheckEventLog = 1
; Undocumented key
CheckNSCP = 1
; Undocumented key
CheckDisk = 1
; Undocumented key
CheckSystem = 1
; Undocumented key
NSClientServer = 1
; Undocumented key
NRPEServer = enabled
=============================================================
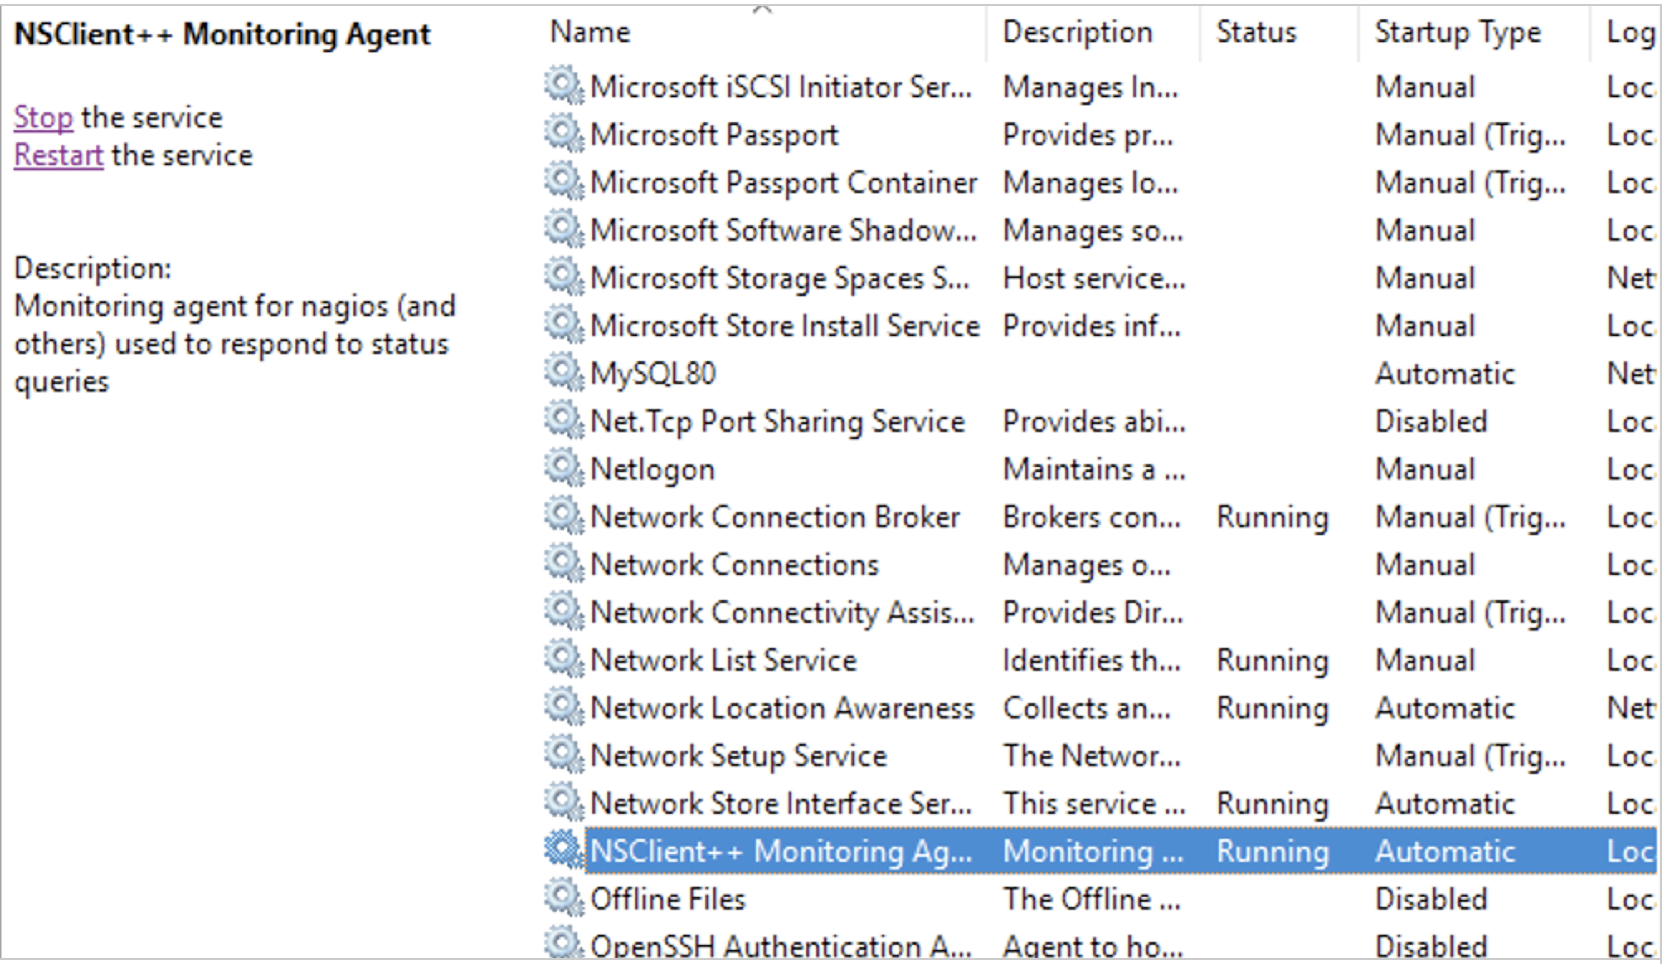
Step 14: Restart the NSClient service in the Windows server. Search service in the search bar and click on service

Step 15: Search for the NSClient monitoring agent and click on restart
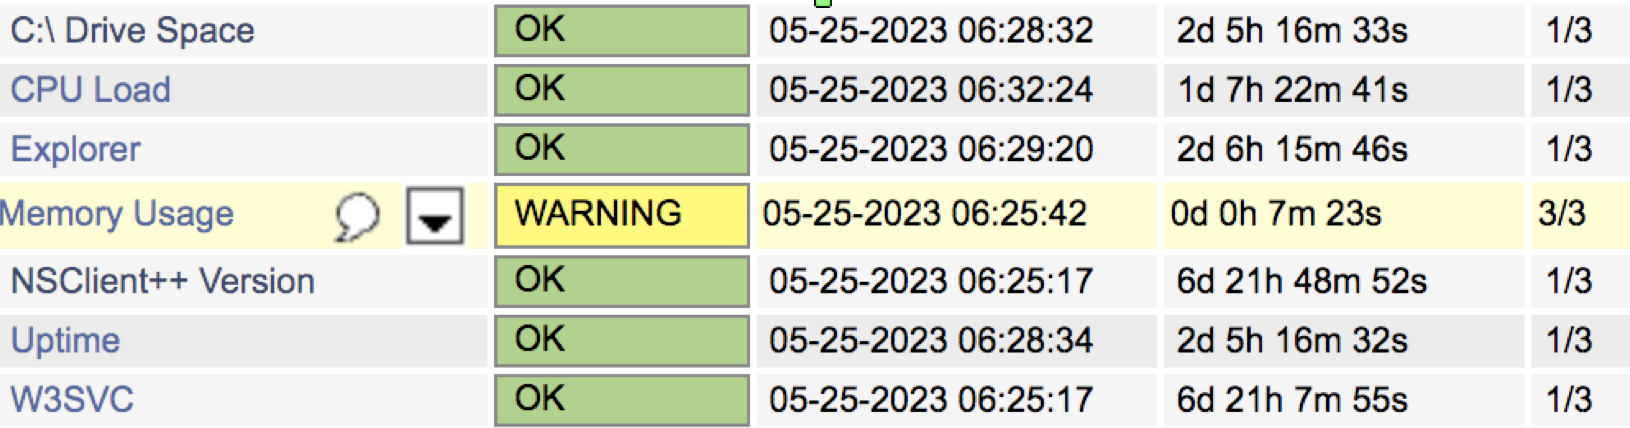
Step 16: Check on the Nagios Monitoring Web interface (https://nagiosip/nagios) to ensure the Windows server has been added to that list