How to install osTicket on ubuntu 20.04
Introduction:
osTicket is a free and open source ticketing system for Linux. It is written in PHP and uses MySQL/MariaDB as a database backend. It also supports MySQL and PostgreSQL. osTicket is a helpdesk solution suitable for organizations of all sizes. It is excellent for managing your customer inquiries created either from emails, phone calls, or your website. In this guide, you’ll install osTicket on your Ubuntu 20.04 with Apache, PHP8.0 or above and a higher version of MySQL 5.0.
Prerequisites:
- Apache
- PHP8.0 or Above
- MySQL 5.0 (or better)
Procedure:
Step 1: Download osTicket files
Download the osTicket files from the link https://osticket.com/download/, Select the osTicket version that you need and start downloading.
Step 2: Unzip the downloaded osTicket file and rename the upload directory to osTicket & move it to the /var/www/html directory.
Step 3: Create a database and user for osTicket installation.
Run the following queries to create a database and user on mysql database,
| > CREATE DATABASE database_name; > CREATE USER ‘database_username’@’%’ IDENTIFIED BY ‘password’; > GRANT ALL PRIVILEGES ON database_name.* TO ‘database_username’@’%’ |
Step 4: Create a virtual host for the domain
$ sudo cd /etc/apache2/sites-available/
$ sudo vim domain.com.conf
Add the following contents,
| <VirtualHost *:80> ServerName domain.com ServerAlias www.domain.com DocumentRoot /var/www/html/osTicket <Directory /var/www/html/osTicket/> Options FollowSymlinks AllowOverride All Require all granted </Directory> ErrorLog ${APACHE_LOG_DIR}/error.log CustomLog ${APACHE_LOG_DIR}/access.log combined </VirtualHost> |
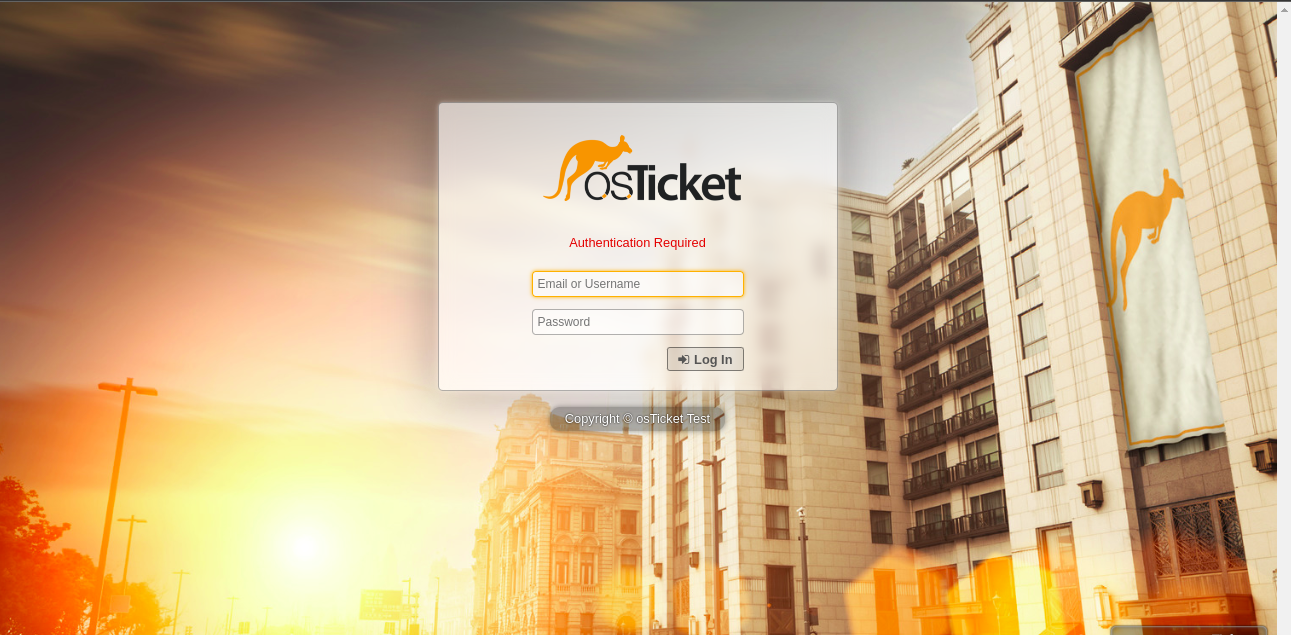
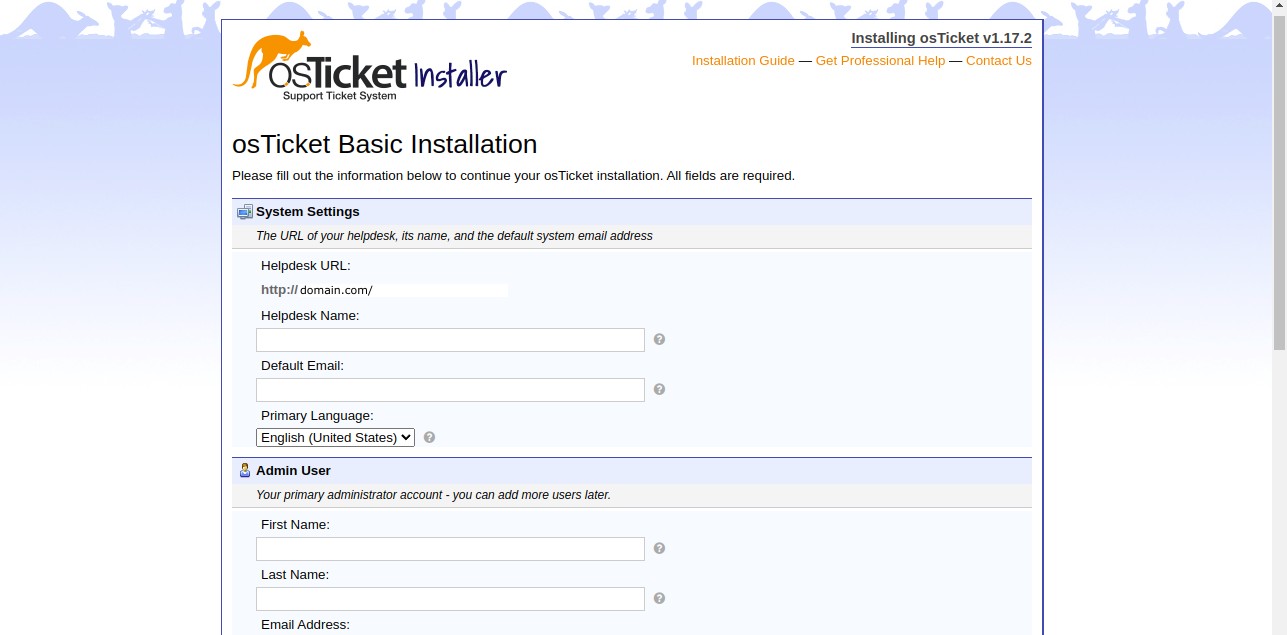
Step 5: Browse the domain.com/scp on the browser to start the osTicket installation

Follow the commands to complete the osTicket installation.
$ cd /var/www/html/osTicket
$ cp include/ost-sampleconfig.php include/ost-config.php
$ chmod 0666 include/ost-config.php
Step 6: Complete the osTicket installation
- Fill in the required details, admin username & password for osTicket login and also fill in the database credentials.
- Then, click the Install Now button to complete the installation.

Now the osTicket installation is completed. We can get the osTicket login pages by browsing the domain.com/scp on the browser.