How to Install single node OpenStack on CentOS 7.6
How to Install single node OpenStack on CentOS 7.6
Date posted : 15/05/2019
OpenStack is a free and open-source software platform which provides IaaS (infrastructure-as-a-service) for public and private clouds.
OpenStack platform consists of several inter-related projects that control hardware, storage, networking resources of a datacenter, such as: Compute, Image Service, Block Storage, Identity Service, Networking, Object Storage, Telemetry, Orchestration and Database.
Though OpenStack’s core function is to provide an IaaS platform, it is used as a DBaaS (database-as-a-service), building Hadoop clusters, Container orchestration and much more. The administration of those components can be managed through the web-based interface or with the help of OpenStack command line.
In this tutorial, we will be showing how to setup a fully functional all-in-one openstack node for your cloud infra.
Prerequisites
- Cent OS 7.6 server with VT enabled in BIOS
- SSH Access to server
- Set server host name
- Minimum of 16 GB of RAM
- Processor with VT support
To verify VT support, please run the below command. As a result you will see the numbers.
 egrep --color 'vmx|svm' /proc/cpuinfo | wc –l
16
Output: (The value should not be zero)
Before we move to opestack installation. Lets make sure our machine has the latest version of CentOS 7 on the machine.
yum -y update
Remove unnecessary services
If we are planning to configure external network access to servers and instances, we need to disable the network manager and firewalld. Also remove postfix if exists.
# systemctl stop postfix firewalld NetworkManager
 # systemctl disable postfix firewalld NetworkManager
 # yum remove postfix NetworkManager
Disable SELinux
# setenforce 0

# getenforce

# sestatus
SELinux status:                 disabled
Install Openstack from RDO repo
On CentOS, the Extras repository provides the RPM that enables the OpenStack repository. Extras is enabled by default on CentOS 7, so you can simply install the RPM to set up the OpenStack repository.
$ sudo yum install -y centos-release-openstack-stein
Make sure the repository is enabled:
$ yum-config-manager --enable openstack-stein
Update your current packages:
$ sudo yum update -y
Looking for an older version? See http://rdoproject.org/repos/ for the full listing.
Install Packstack Installer
$ sudo yum install -y openstack-packstack
Run Packstack to install All-in-one OpenStack
Packstack takes the work out of manually setting up OpenStack. For a single node OpenStack deployment, run the following command:
$ sudo packstack --allinone
If you have run Packstack previously, there will be a file in your home directory named something like packstack-answers-20190516-153728.txt You will probably want to use that file again, using the --answer-file option, so that any passwords you have already set (for example, mysql) will be reused.
The installer will ask you to enter the root password for each host node you are installing on the network, to enable remote configuration of the host so it can remotely configure each node using Puppet.
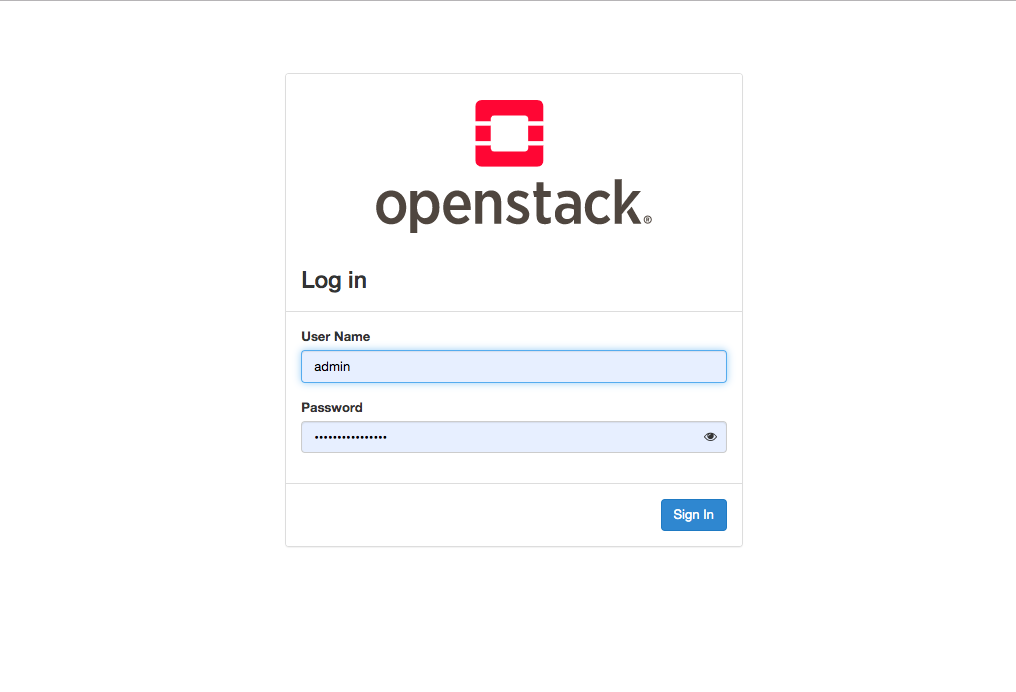
Once the process is complete, you can login to the OpenStack web interface Horizon by going to http://$YOURIP/dashboard. For instance, http://1.1.1.1/dashboard
The user name is admin. The password could found in the file keystonerc_admin in the /root directory of the control node.
Thanks for using pheonix solutions.
You find this tutorial helpful? Share with your friends to keep it alive.