How to install WordPress for the website by using Plesk Panel
How to install WordPress for the website by using Plesk Panel
Date: 30-05-2020
Introduction
The Plesk includes an automatic installer that you can use to set WordPress up on your domains for you.
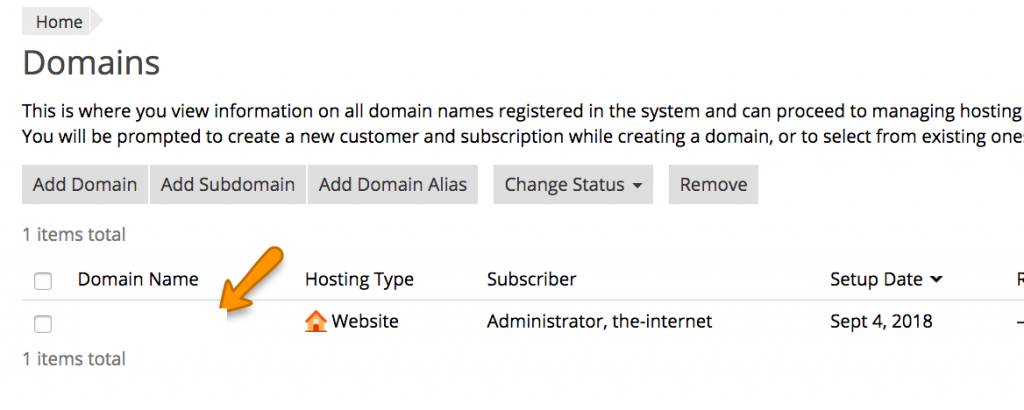
Step -1:
Log in to the Plesk control panel and select Domains from the hosting services menu on the left.

Step -2:
Select Manage in Customer Panel for the relevant domain.
Step -3:
Select Applications from the column on the right.

Step -4:
Select the WordPress version that you would like to use and click install. For the latest version, just click install.

Step -5:
Once the installation has been completed, you will be taken to the CMS management screen. From there you may view your login credentials. Plesk automatically assigns a random username and password to new installs.
Thank you.