How to use push,pull,commit in android studio.
How to use push,pull,commit in android studio.
Date: 26 /04/2019
Prerequisite
- Enable Version Control in android studio.
- Remote repository configured with your project.
- Account in git lab.
Step 1:Push command
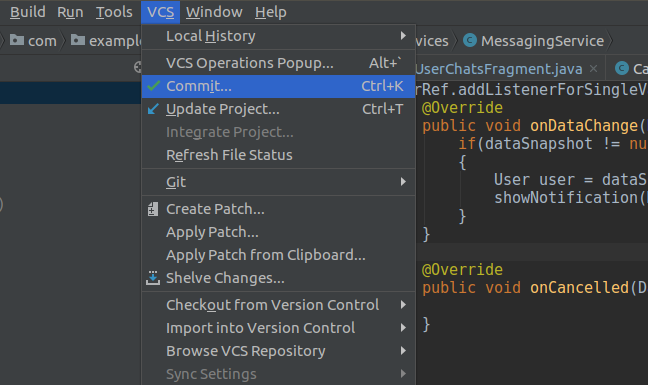
Every Git project should have a remote or central repository where other developers can collaborate on the project from anywhere in the world. In Android Studio, it’s also possible to push our commits or changes to a remote repository. To do that, navigate to VCS > Git > Push…

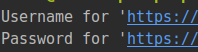
You can do it from command line like below.It will ask for authentication in both methods.
Run this command > git push -u -f origin master
Verify with your git lab account.
Step 2: Commit Command
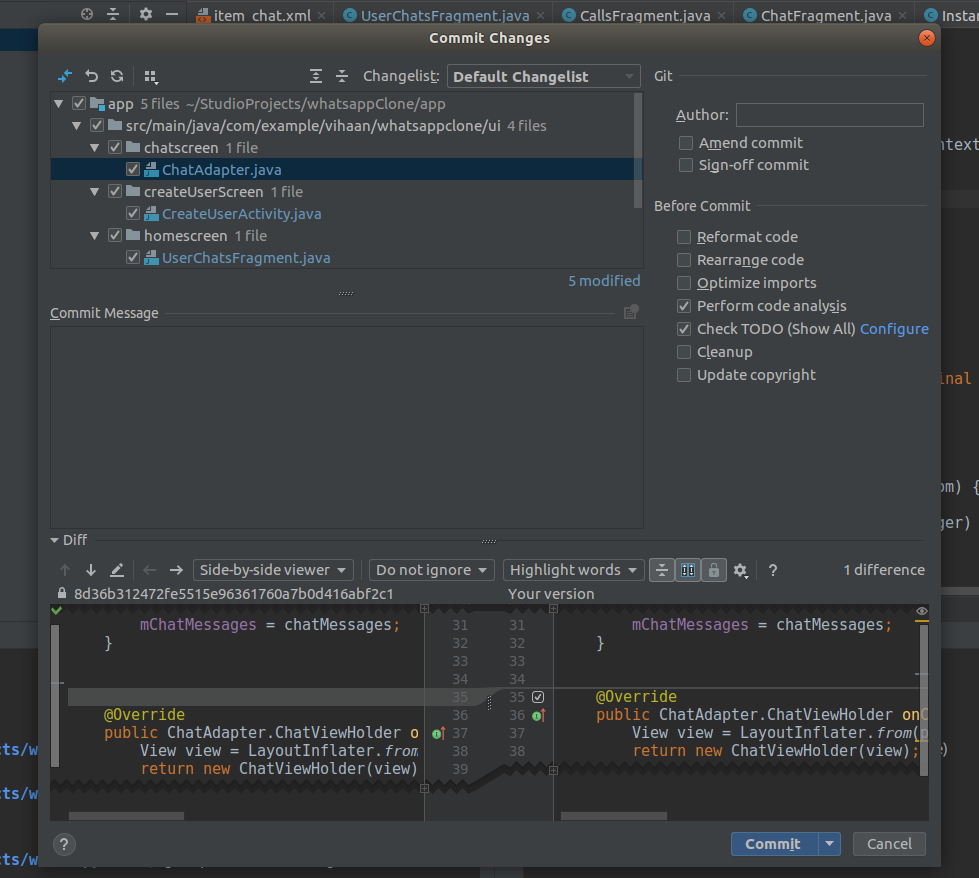
Commit means you make updating the changes to your local repository.
Select Commit in the Commit drop-down to finally commit your changes. Note that you can use the shortcut Control-K to commit changes anytime from Android Studio.
If you now revisit the Local Changes tab in the Version Control window, you won’t see any of your files listed there anymore—because we successfully committed them to our local repo.
Note that you can also navigate to VCS > Git > Commit File… to make a commit and VCS > Git > Add to add a file for staging. In addition, you can click the commit changes icon in the main top toolbar in Android Studio to make a quickly make a commit (or commit and push).
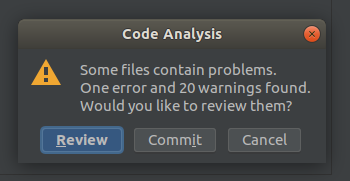
Click on Commit to make it successful commit.
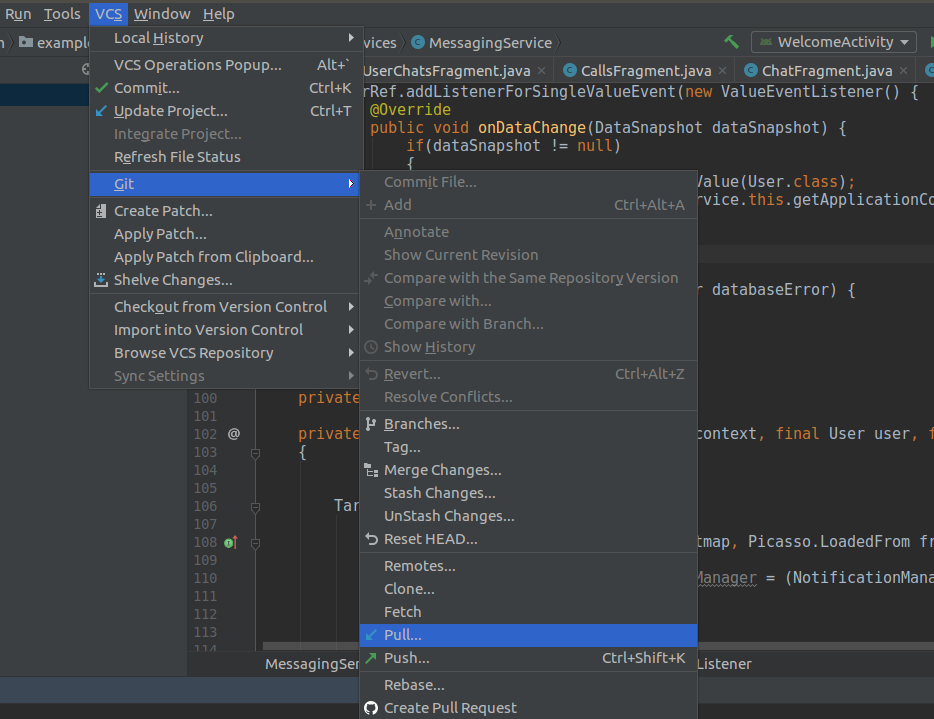
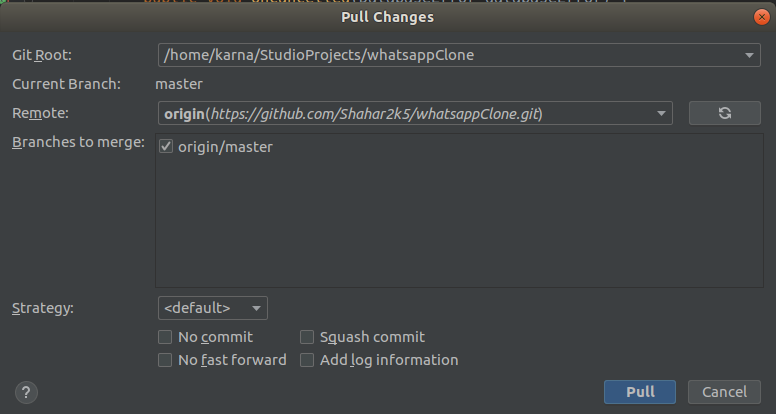
Step 3: Pull Command
git pull is one of many commands that claim the responsibility of ‘syncing’ remote content.
Pull will get remote repository codes from there to your android studio application.
It’s used to update changes in remote repo to your local repo since last pull.
Thanks for using pheonixsolutions.
You find this tutorial helpful? Share with your friends to keep it alive.