Install OpenLiteSpeed On Ubuntu
Install OpenLiteSpeed On Ubuntu
Date : 20/03/2019
OpenLiteSpeed is the Open Source edition of LiteSpeed Web Server Enterprise Lite speed. OpenLiteSpeed is designed to be lightweight with a user friendly web interface to help webmasters create and manage their websites easily and most importantly used web sever.

Installation step for OpenLiteSpeed
- The first update ubuntu server using the following commands.
sudo apt update
sudo apt dist-upgrade
sudo apt autoremove
2. Install required dependencies for OpenLiteSpeed.
apt install build-essential libexpat1-dev libgeoip-dev libpcre3-dev libudns-dev zlib1g-dev libssl-dev libxml2 libxml2-dev rcs libpng-dev libpng-dev openssl
3.Go and fetch the latest version of OpenLiteSpeed. The commands below will download version 1.4.45 to your server.
cd /tmp/

wget https://openlitespeed.org/packages/openlitespeed-1.4.45.src.tgz
4. Next, run the commands below to extract the downloaded package.
tar -xvzf openlitespeed-1.4.45.tgz
5. Switch into the directory extracted directory
cd openlitespeed-1.4.45
6. Run the commands below to install OpenLiteSpeed.
sudo ./configure
sudo make
sudo make install
7. Configure the administrative password for the web interface. Run the commands below to do that.
sudo /usr/local/lsws/admin/misc/admpass.sh
8. Once setup is completed then start the webserver.
sudo /etc/init.d/lsws start
9. Access your browser and browse to the server IP or hostname followed by 8088 to view the default page page.
http://localhost:8088
10. Access the admin panel using the port number.
https://xxx.xxx.xxx:7080
11. Install PHP 7.2 and Modules
sudo ln -sf /usr/local/lsws/lsphp72/bin/lsphp /usr/local/lsws/fcgi-bin/lsphp72
12. After that, open your browser and browse to OpenLiteSpeed backend portal.
http://example.com:7080
13.Go to the Dashboard and select Server Configuration==>External App then click Edit as shown in the image below
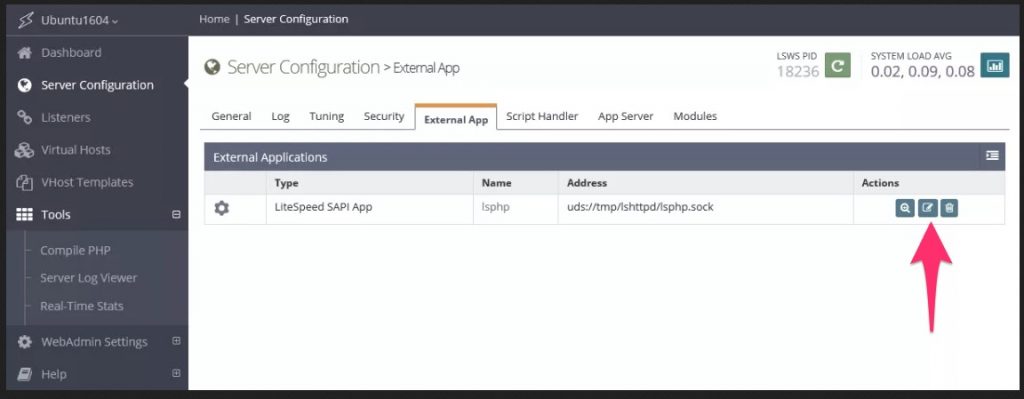
14. Change the command to reflect the symbolic link created above for PHP 7.2 and save.
$SERVER_ROOT/fcgi-bin/lsphp72

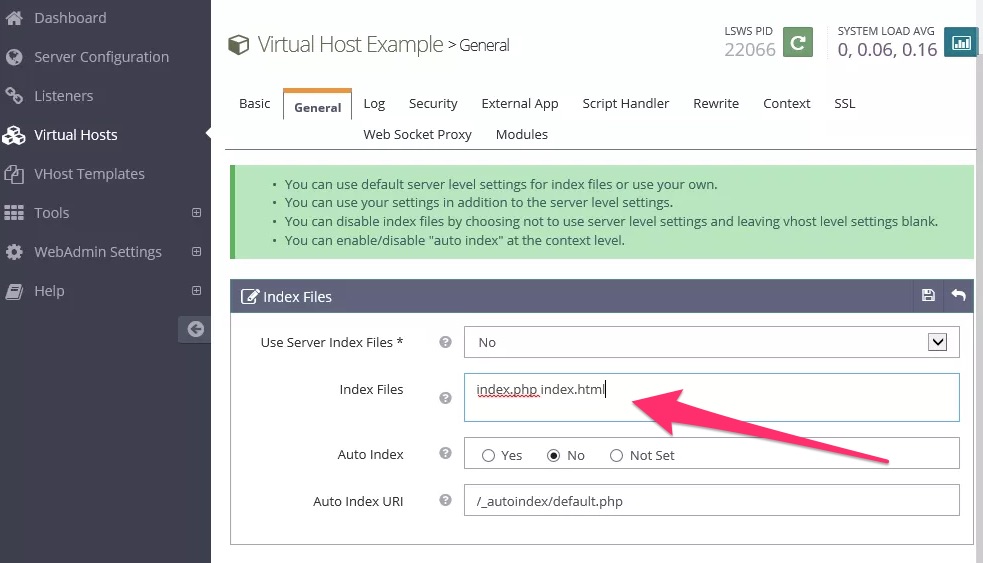
15. Go to Virtual Hosts ==> General page…. and click edit of the Index File section and add index.php to the list as shown below.
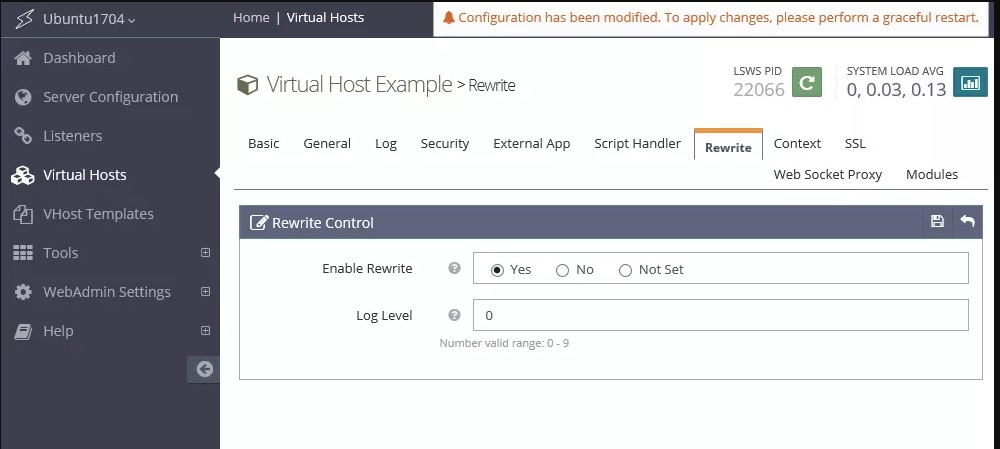
16. Rewrite tab and turn on Rewrite Control
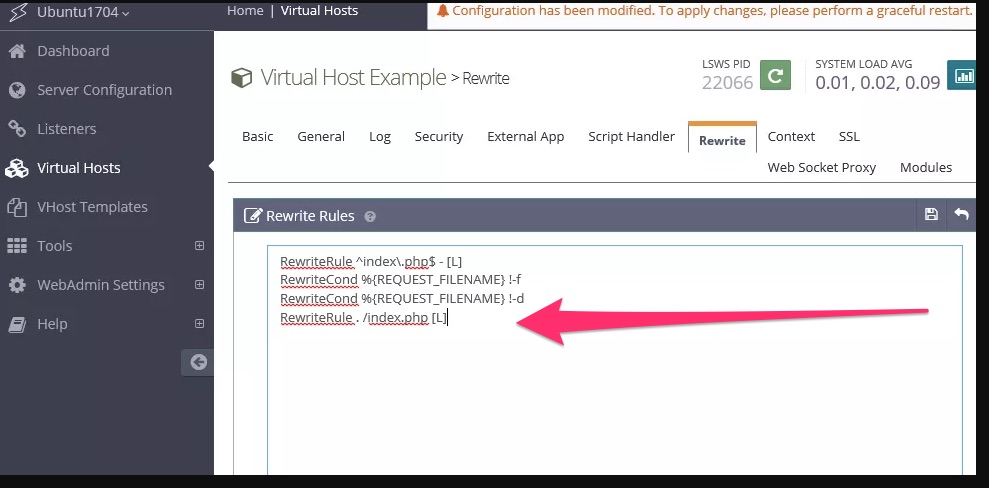
17. Edit the Rewrite Rules and replace the below code , then save..
RewriteRule ^index\.php$ - [L]
RewriteCond %{REQUEST_FILENAME} !-f
RewriteCond %{REQUEST_FILENAME} !-d
RewriteRule . /index.php [L]
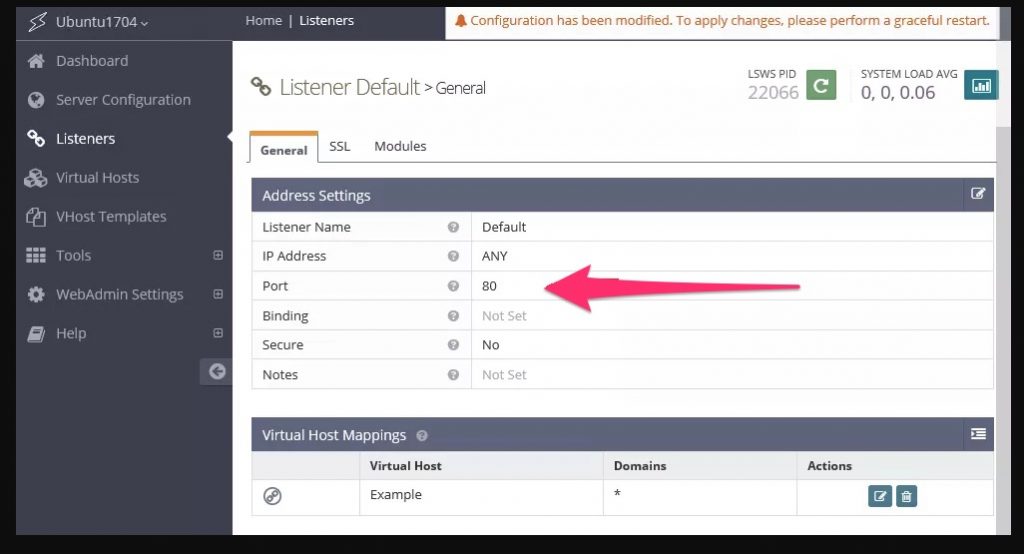
18. Click on the Listeners from the left menu, then edit to change the current port from 8088 to 80.
19. Restart the server from the top right corner and open the URL in browser.
http://localhost/phpinfo.php
Thanks for using pheonix solutions.
You find this tutorial helpful? Share with your friends to keep it alive.
I would recommend all to use OLS on VPS. try https://openlitepanel.com for zero pain server setup.