How to create a SQL Server database instance in Amazon RDS?
Introduction:
In this post, you create an SQL Server database instance in Amazon RDS.
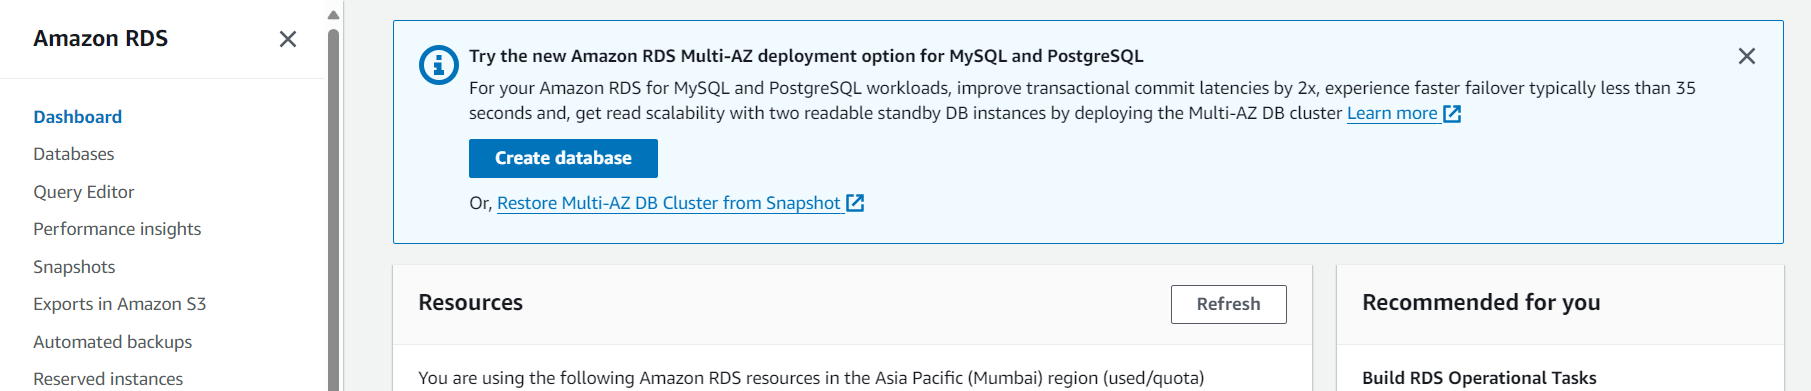
Step:1
Navigate to the Amazon RDS console. On the main page, choose Create Database to create a new database.
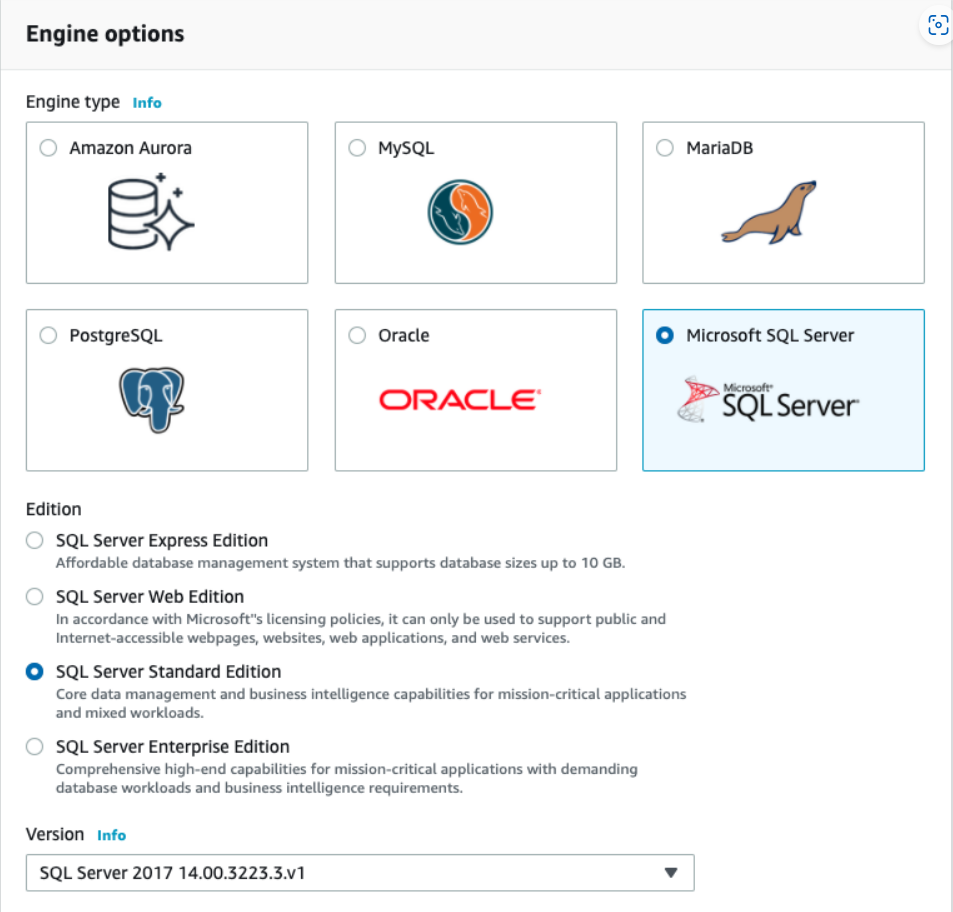
Step:2
This initiates the database creation wizard. In the Engine options section, choose Microsoft SQL Server as the Engine type. Then choose the edition and version of SQL Server you want to use. When using SQL Server in Amazon RDS, the commercial license is included so that you do not have to worry about managing licenses yourself.
The database creation wizard includes templates to make it easier to configure the settings for your Amazon RDS database. If you are creating this database to be used in production, you should choose the production template.
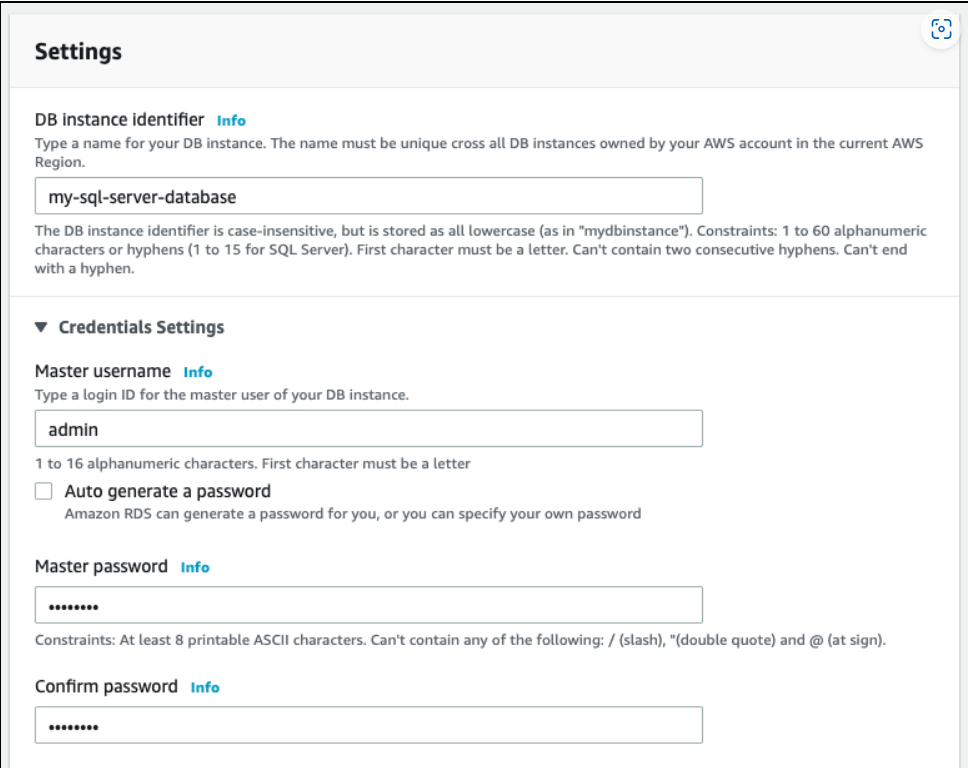
Step:3
In the Settings section, give your database a name, and set the master username and password. Make sure you write these down because you need them to connect to your database.
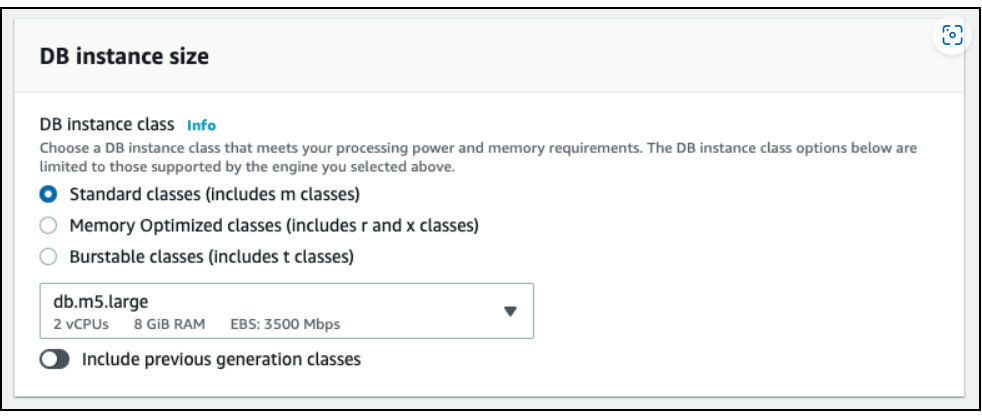
Step:4
Next, choose the database instance size. You should make this choice based on your estimated capacity.
If you want to increase or decrease your database instance size in the future, Amazon RDS allows you to do that easily. However, you may incur some downtime to change your database size.
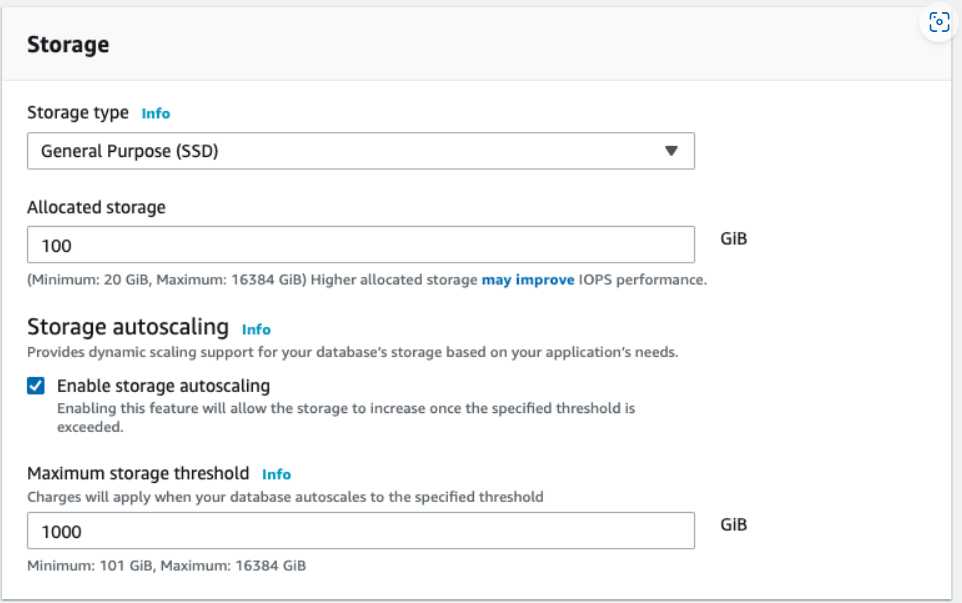
Step:5
Next, configure the storage options for your Amazon RDS database. There are two storage options in Amazon RDS: general purpose and provisioned IOPS, or I/O operations per second.
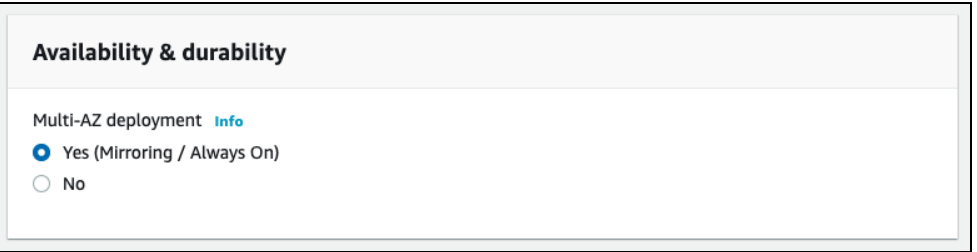
Step:6
Next, decide whether to create a standby instance. A standby instance is a replica of your data that is available in the event of failure. It is located in a different Availability Zone in the same AWS Region as your Amazon RDS database to limit the impact of failures within a single data center. If you are running a production database where uptime is essential, a standby instance is recommended.
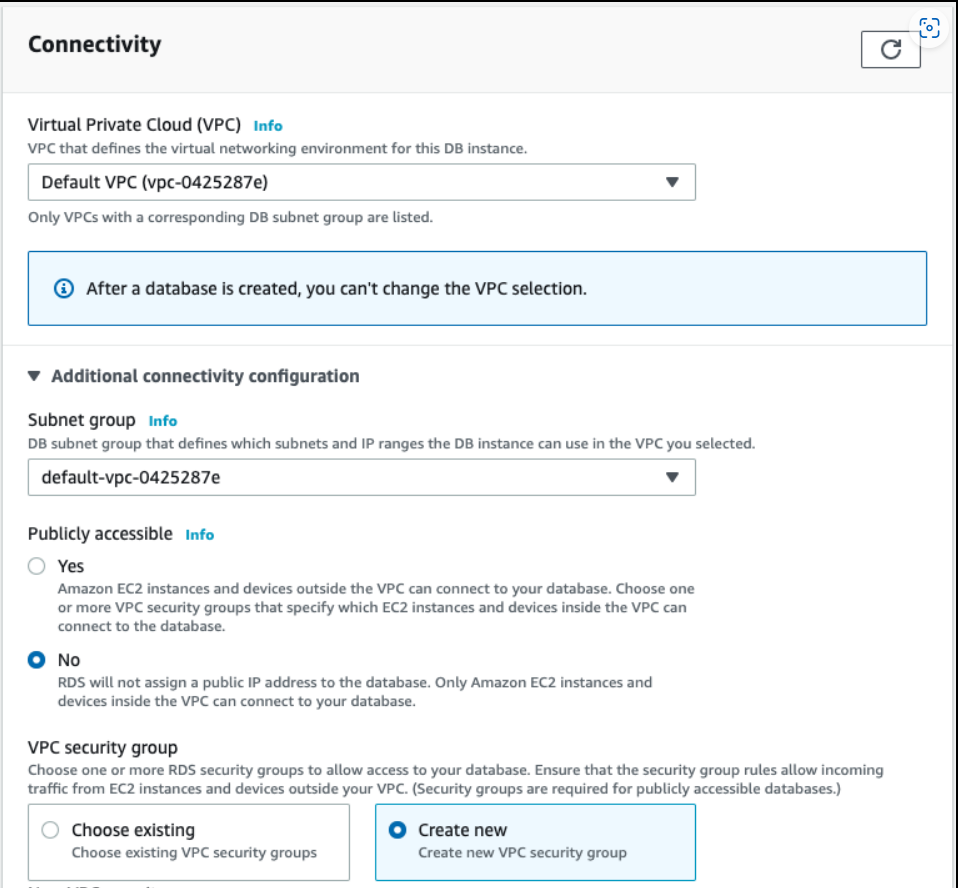
Step:7
The next section in the Amazon RDS database creation process is about connectivity. You must specify the Amazon VPC in which your database resides, as well as the network subnet and security groups for your database instance.

Step:8
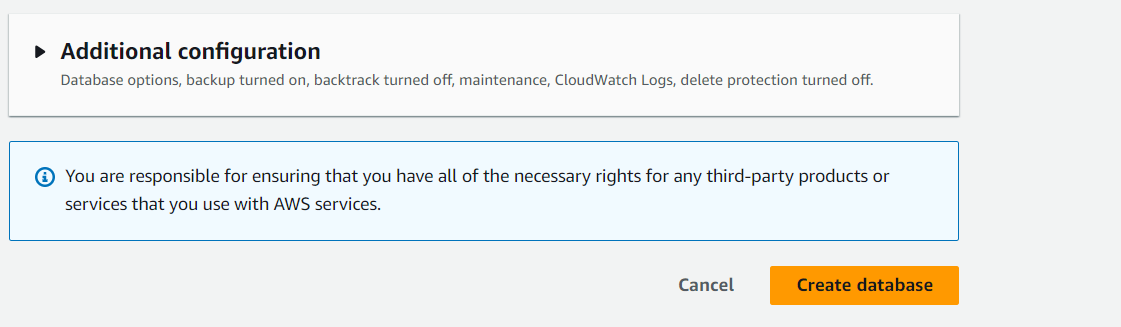
You also can configure additional options, including settings for backups, monitoring, maintenance, and automated upgrades. The default settings work for most situations, but you should review them to ensure that they work for your needs.

Step:9
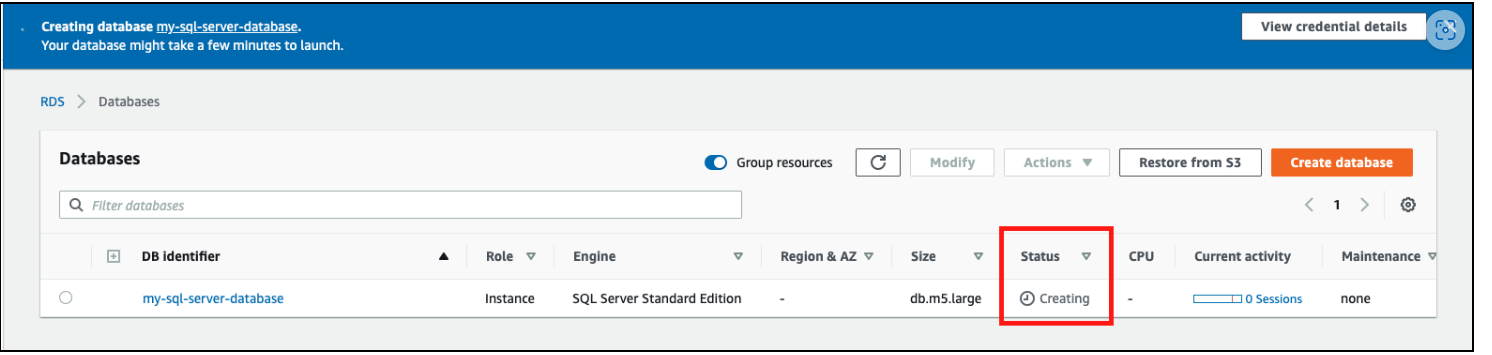
The last step will be to choose to “Create Database” to create your database instance.
As Amazon RDS is provisioning your infrastructure and initializing your database, the Status of your database is creating.
When your database is ready to use, its status is available.
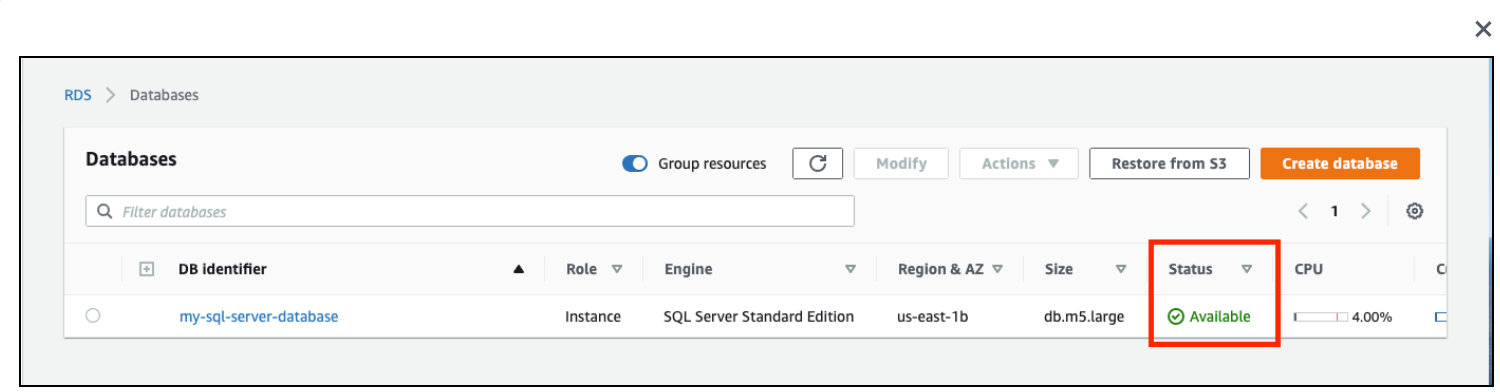
Now your database will be ready to use.
Conclusion:
Creating an SQL Server database instance in Amazon RDS is a straightforward process that offers numerous benefits, including scalability, reliability, and managed services. By following the steps outlined in this guide, you can quickly